Generating Purchase Orders
After the vendor selection process, you can generate a Purchase Order (PO) and send it to the vendor. It will serve as a legal agreement between the organization and the vendor and ensures a clear understanding of the terms and expectations of the contract. Once both parties agree upon the terms, the vendor processes the order and provides the specified goods or services listed in the purchase order.
To create a purchase order,
Navigate to the PURCHASE ORDER section. The list of purchase orders appears.
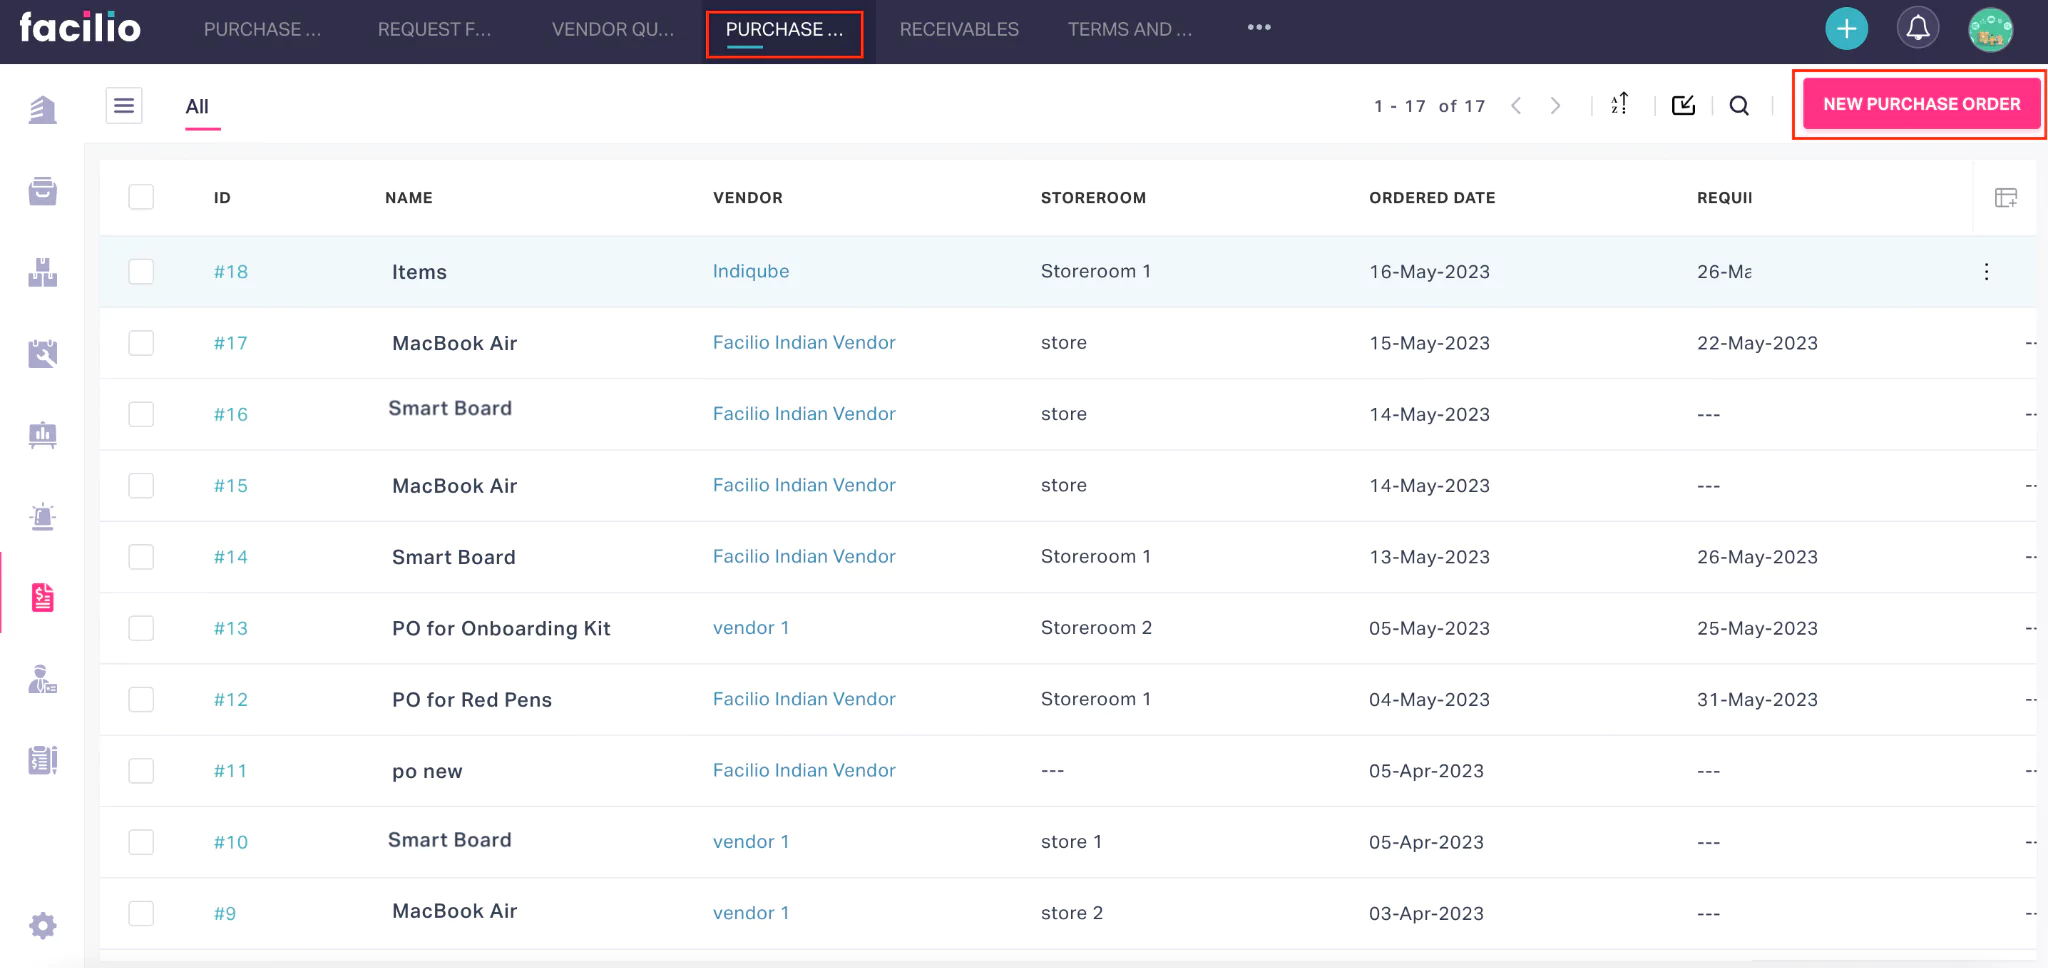
Click NEW PURCHASE ORDER. The Create Purchase Order screen appears.

Update the required fields in this screen. Read the Updating Procurement Request Details section for more information.
Note: Ensure to update the Vendor who has been shortlisted based on the RFQ evaluation.Click SAVE. A purchase order is now created successfully.
Once a purchase order record is created, you can complete the purchase order, associate terms for that order, and navigate to the Receivables section to check the status of the order.
Completing PO
Any purchase order created is initially saved as a draft. After you review the order details, you must mark it as Complete to send the order request to the selected vendor. In other words, by completing the PO, you confirm that you have reviewed the order details and confirm to pass on the request to the finalized vendor.
To complete the purchase order,
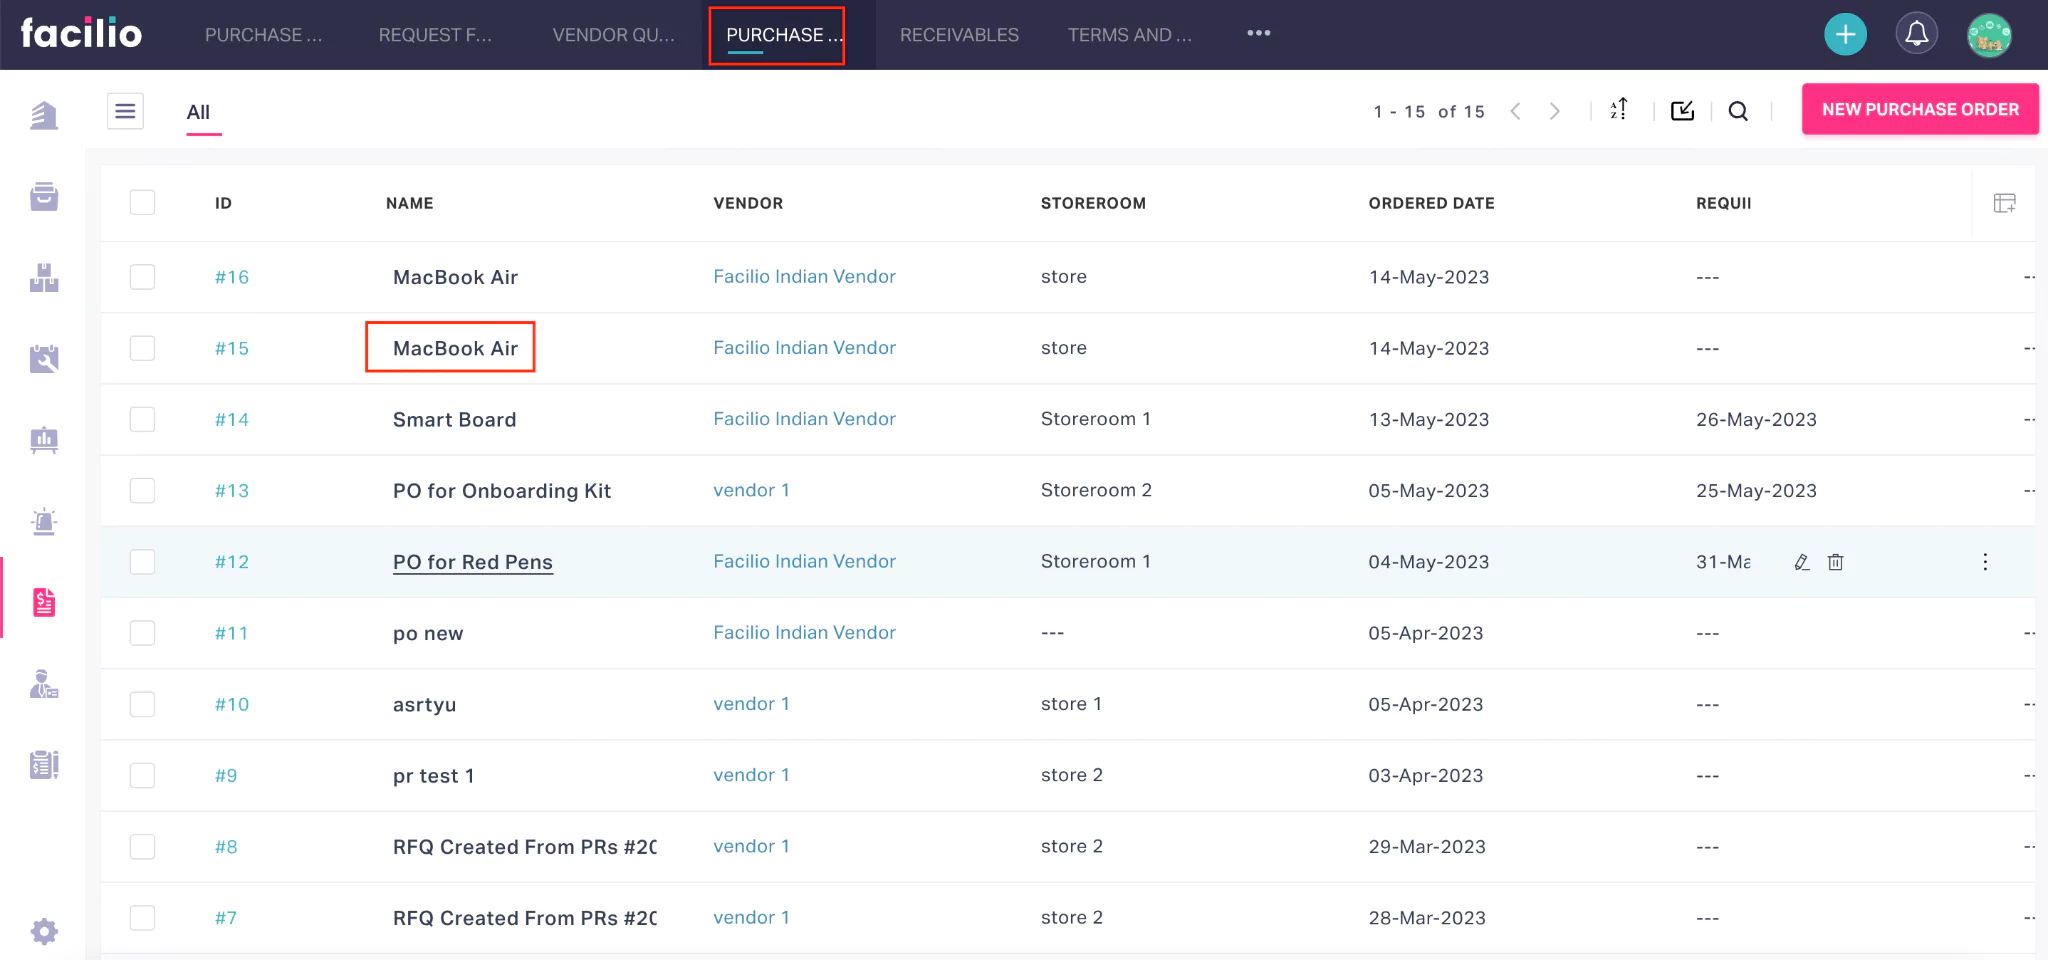
Click the required purchase requests from the PURCHASE ORDER section.
Click the
 (ellipsis) icon on the top right corner of the screen and click Complete PO.
A confirmation prompt appears.
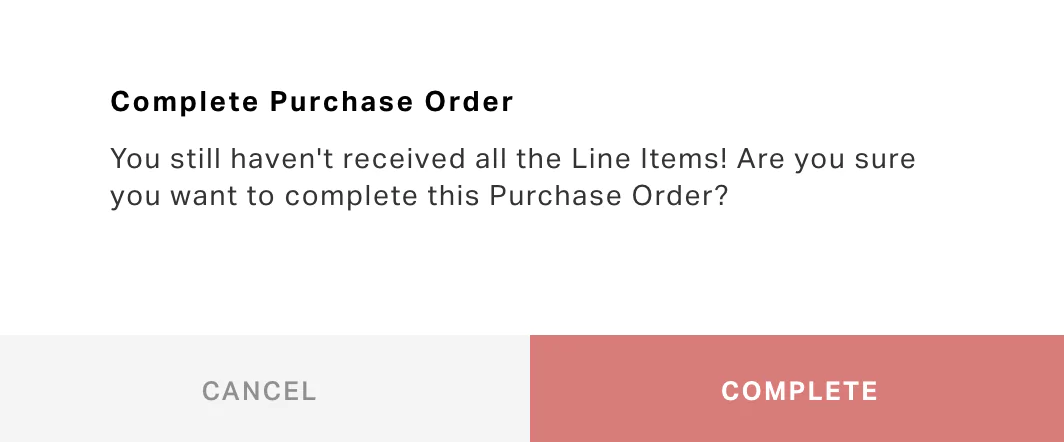
Click COMPLETE. The purchase order is now sent to the vendor.
Once a purchase order is created, it is displayed in the Receivables section with the status as YET TO BE RECEIVED.
Associating Terms
Including specific terms and conditions in a purchase order helps protect both the buyer and the seller by clearly outlining the rights, responsibilities, and obligations of each party. To associate terms and conditions to a purchase order,
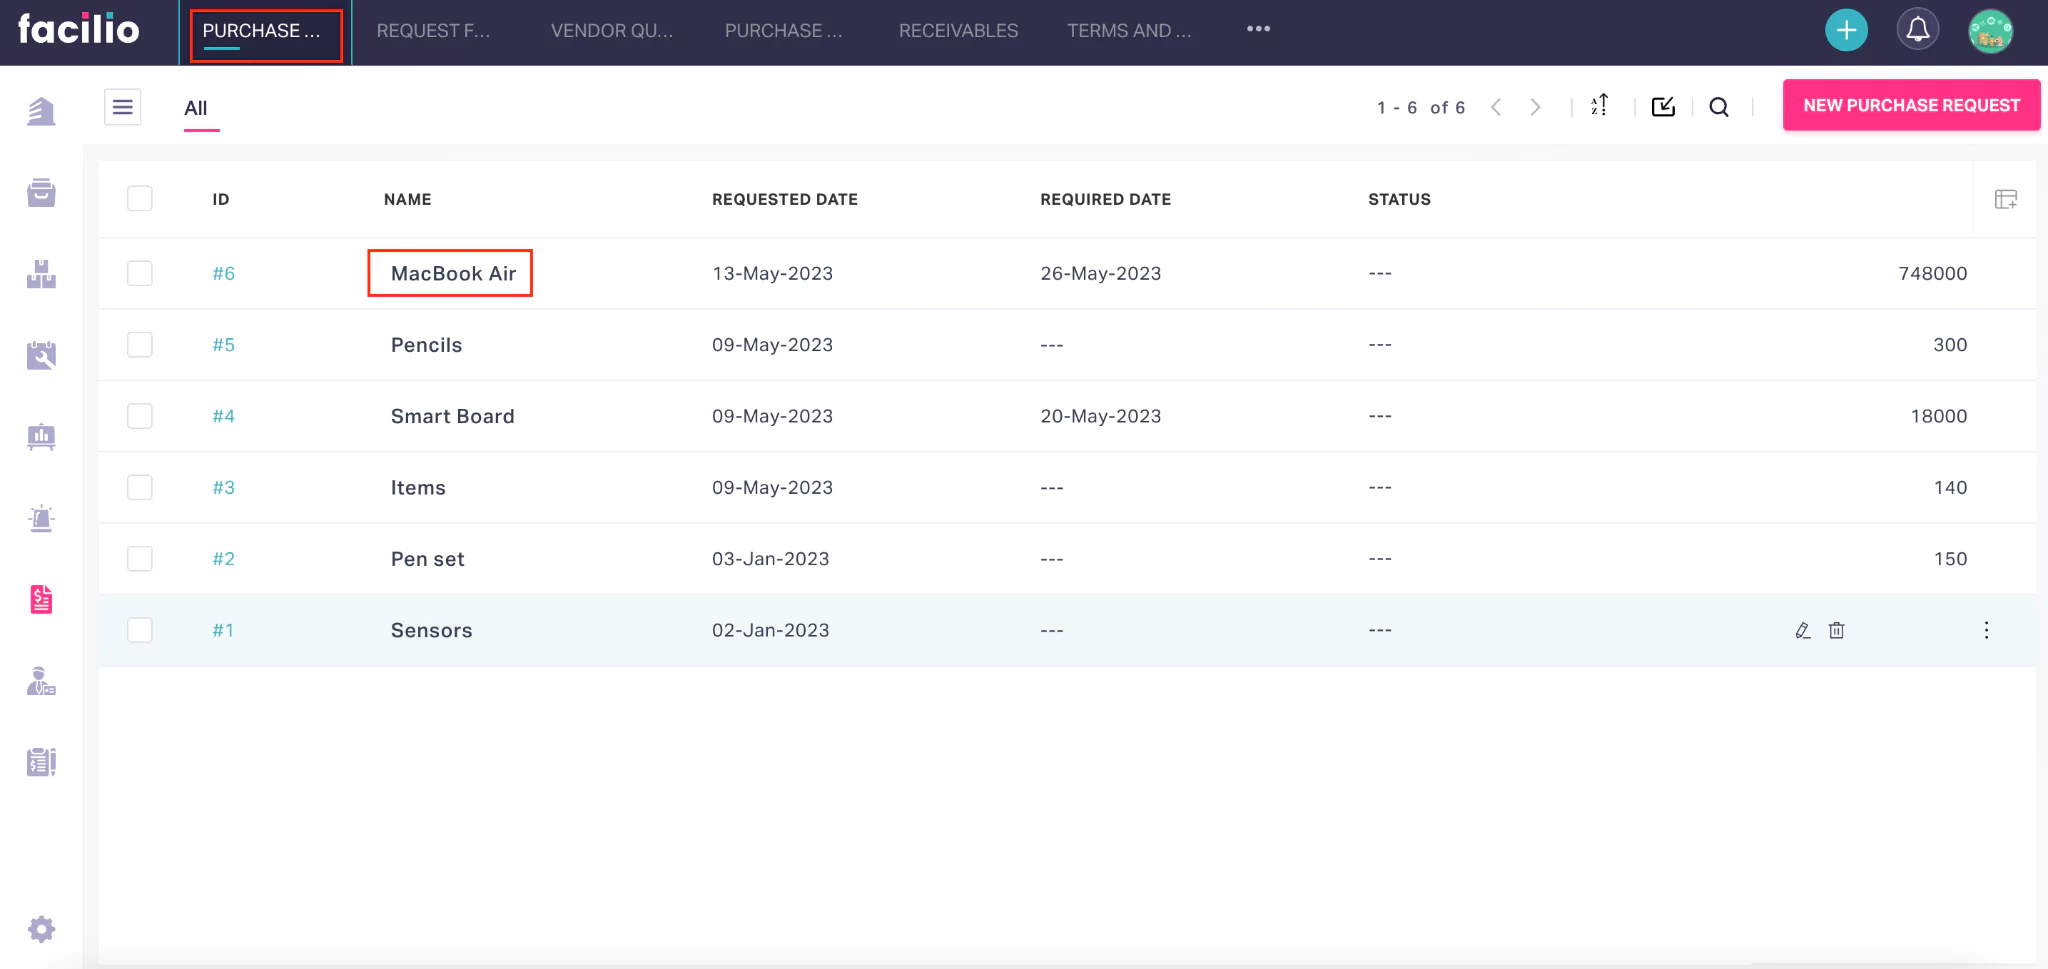
Click the required purchase request(s) from the PURCHASE ORDER section.
Click the
(ellipsis) icon on the top right corner of the screen and click Associate Terms. 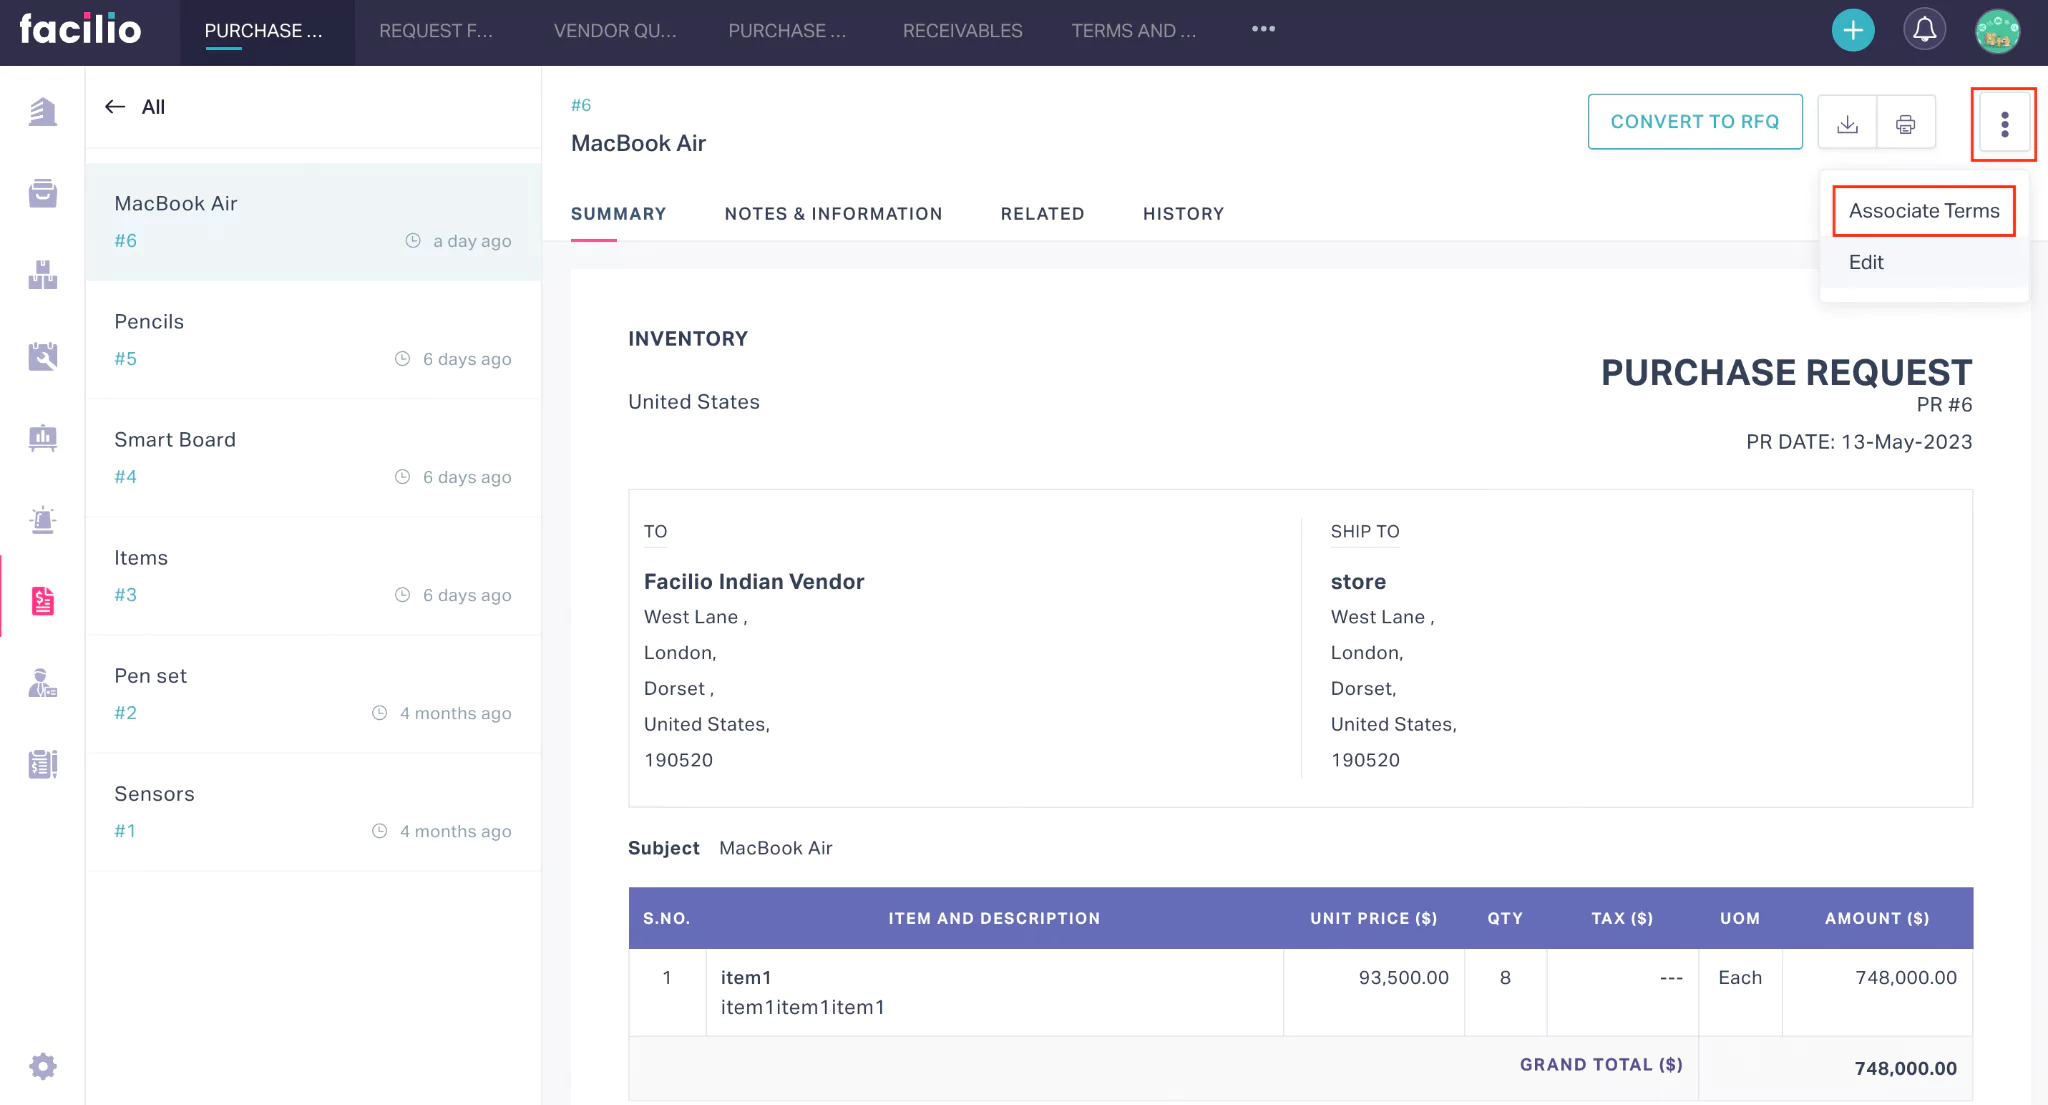
The ASSOCIATE TERMS window with the list of available terms appears, as shown below.
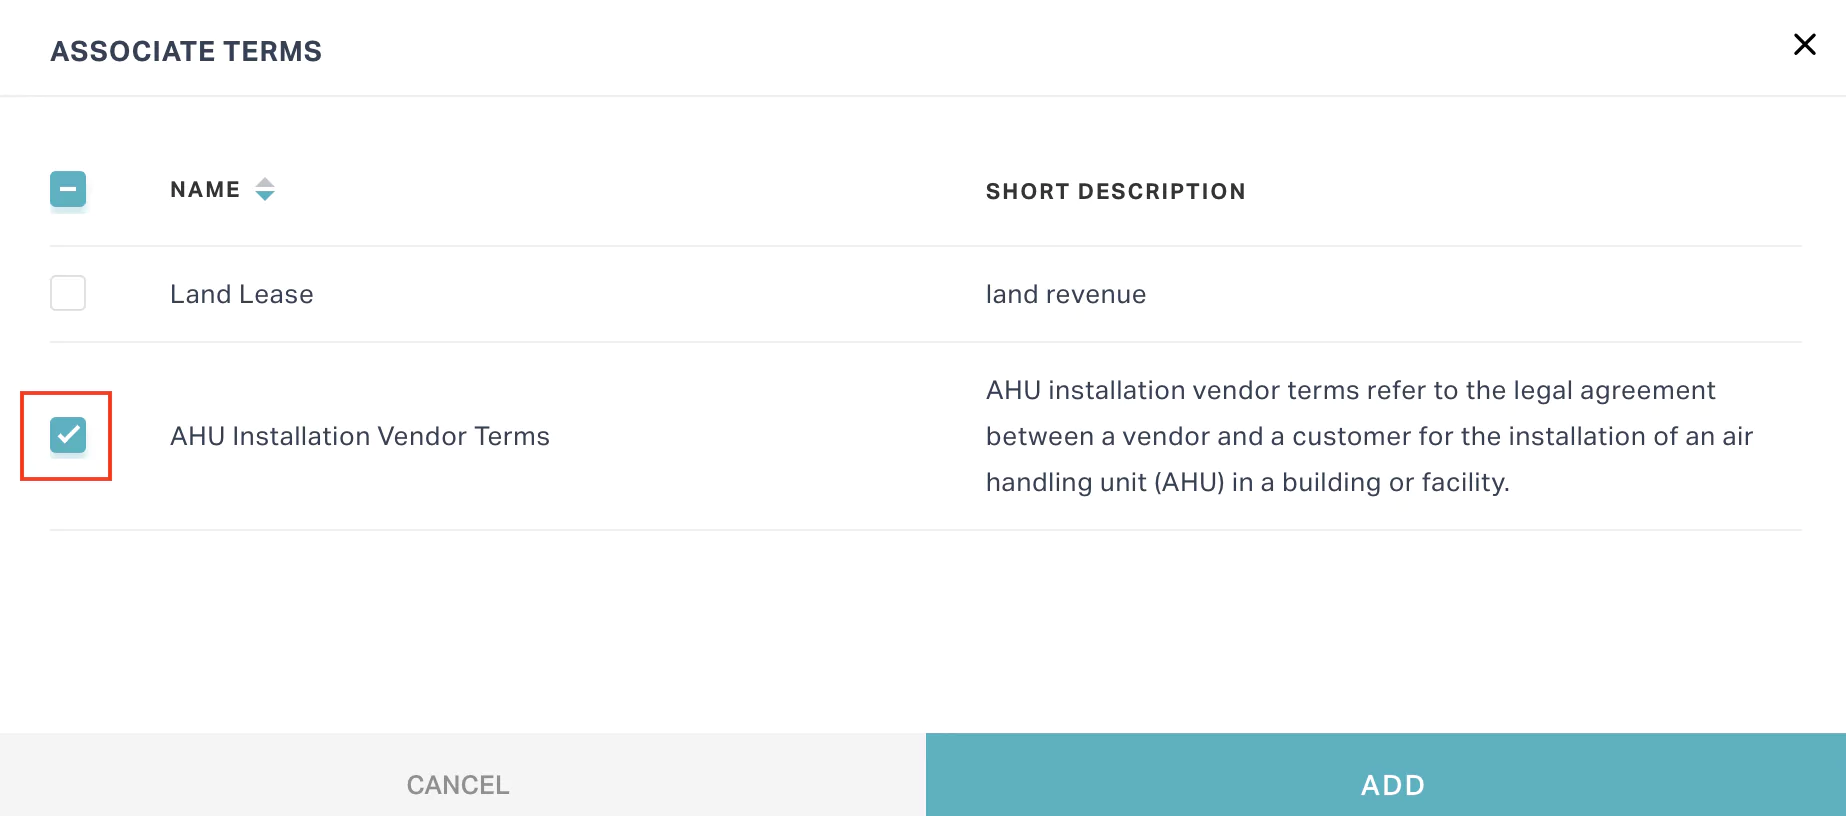
Select one or more terms and click ADD. The terms and conditions are associated with the purchase request and displayed on the PO SUMMARY screen.
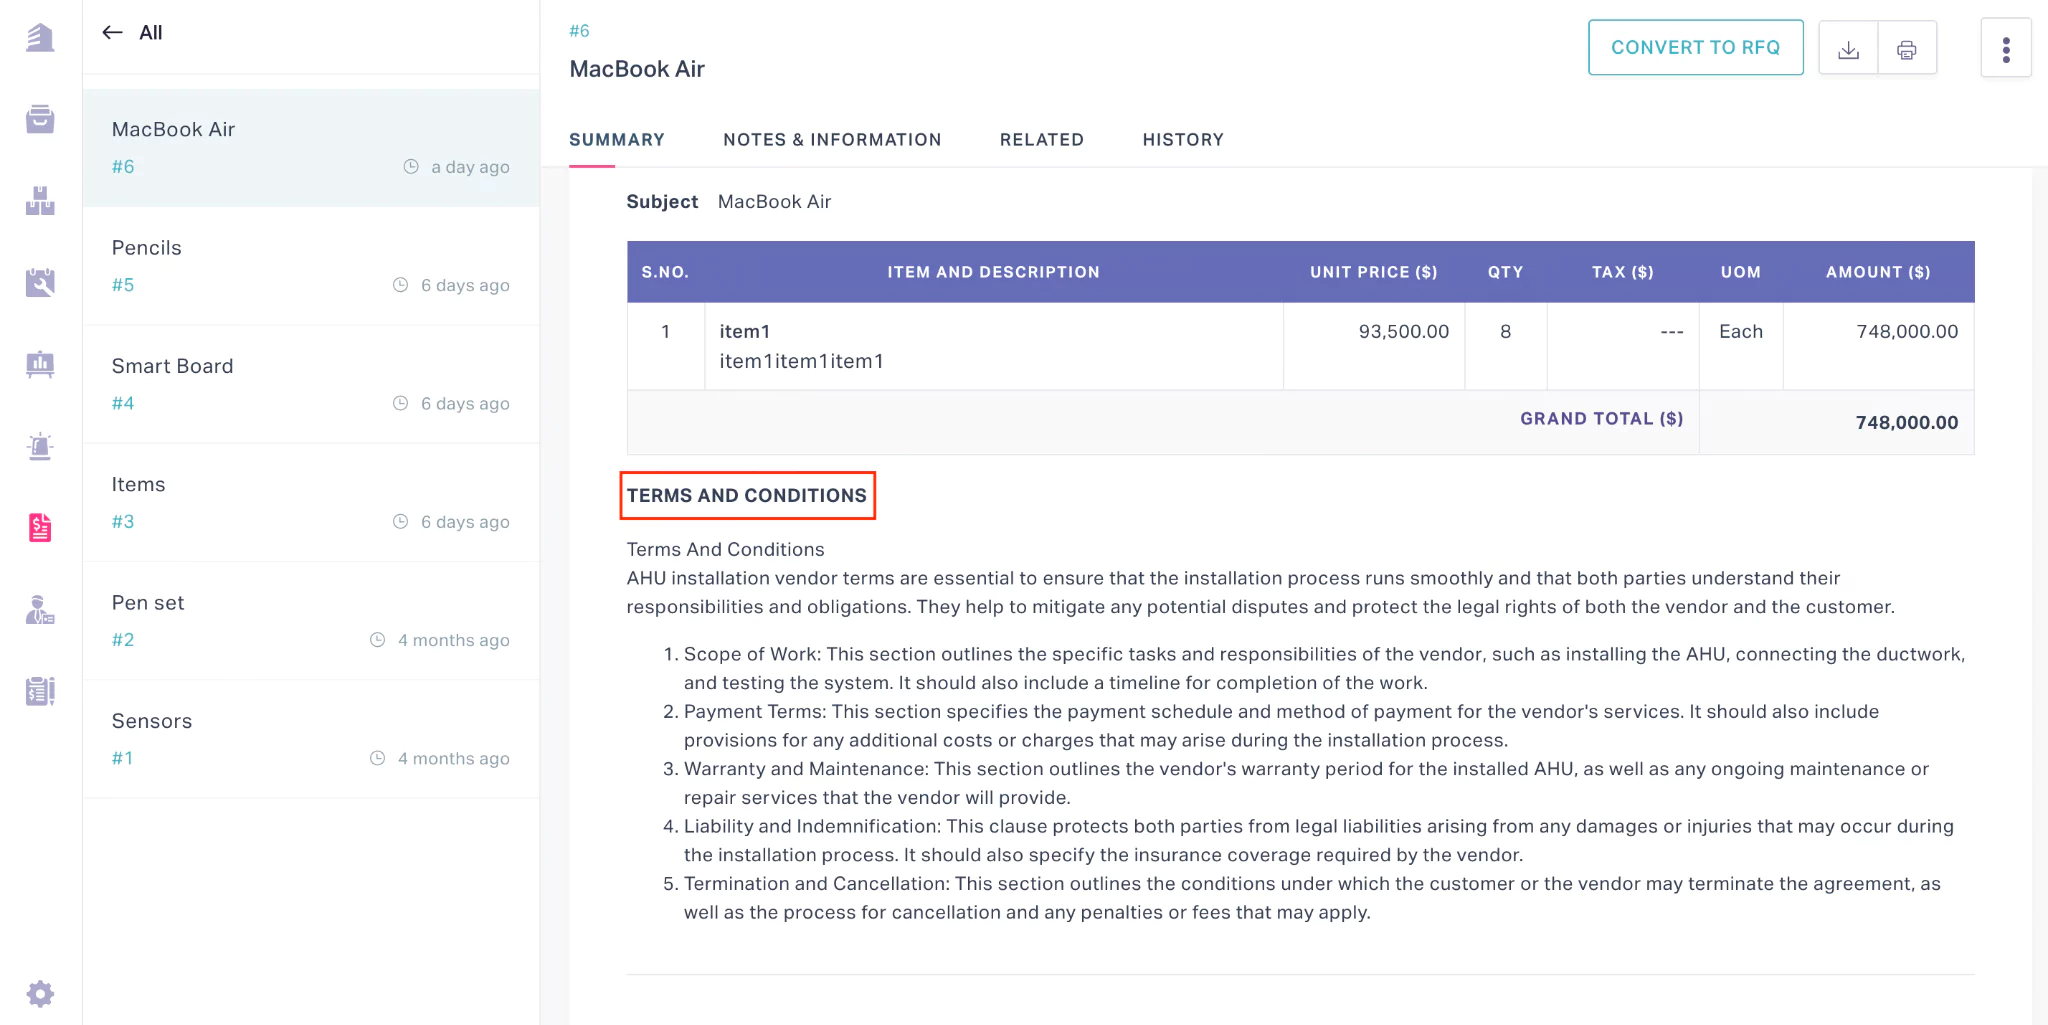
The supplier is subject to agreeing to these terms by accepting the purchase order or performing the services.
Going to Receivables
Once the purchase request is converted to a purchase order, the application allows you to track whether the ordered goods or services are received. You can view the status of the purchase order from the Receivables section. To navigate, click on the  (ellipsis) icon at the top right corner of the PO SUMMARY and select Go To Receivables. The purchase order details are displayed, as shown below.
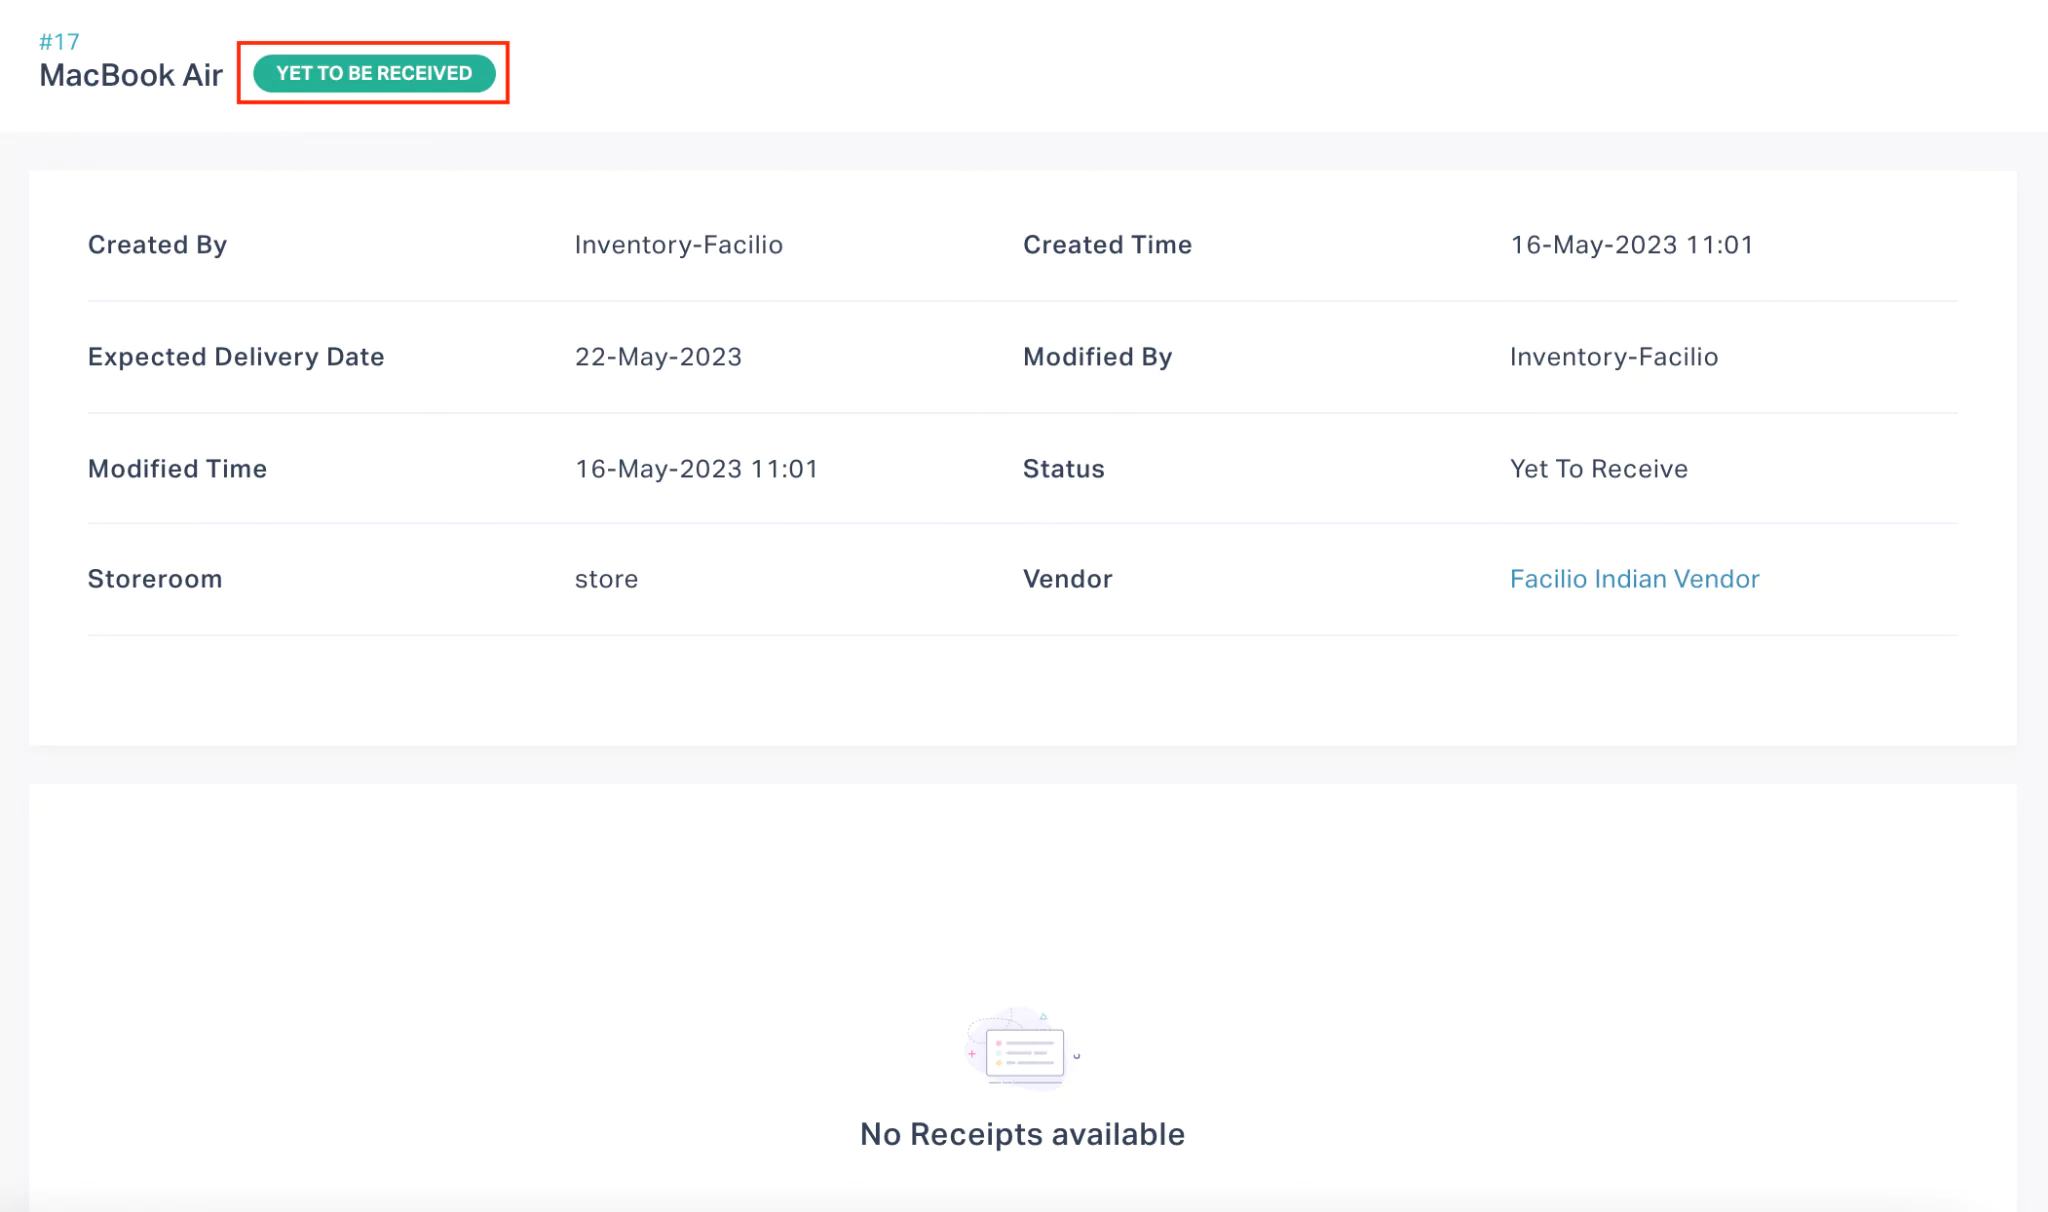
Here, the status of the order is YET TO BE RECEIVED and it keeps updating as the order is processed further.
Read the Associating Receivables section for more information.