Associating Receivables
After the purchase order generation, the details reflect in the Receivables section. Once the organization has received the goods or services, you can review them to ensure they meet the specifications outlined in the purchase order. In case of any anomalies or discrepancies, collaboration happens with the vendor to address them. Else, it leads to Purchase Receivables (PR) generation, which involves recording the invoice for the goods or services the vendor delivered.
The vendor can dispatch the items either in part or whole. Based on the quantity of delivered items, the status is updated as PARTIALLY RECEIVED or RECEIVED.
Adding a Receipt
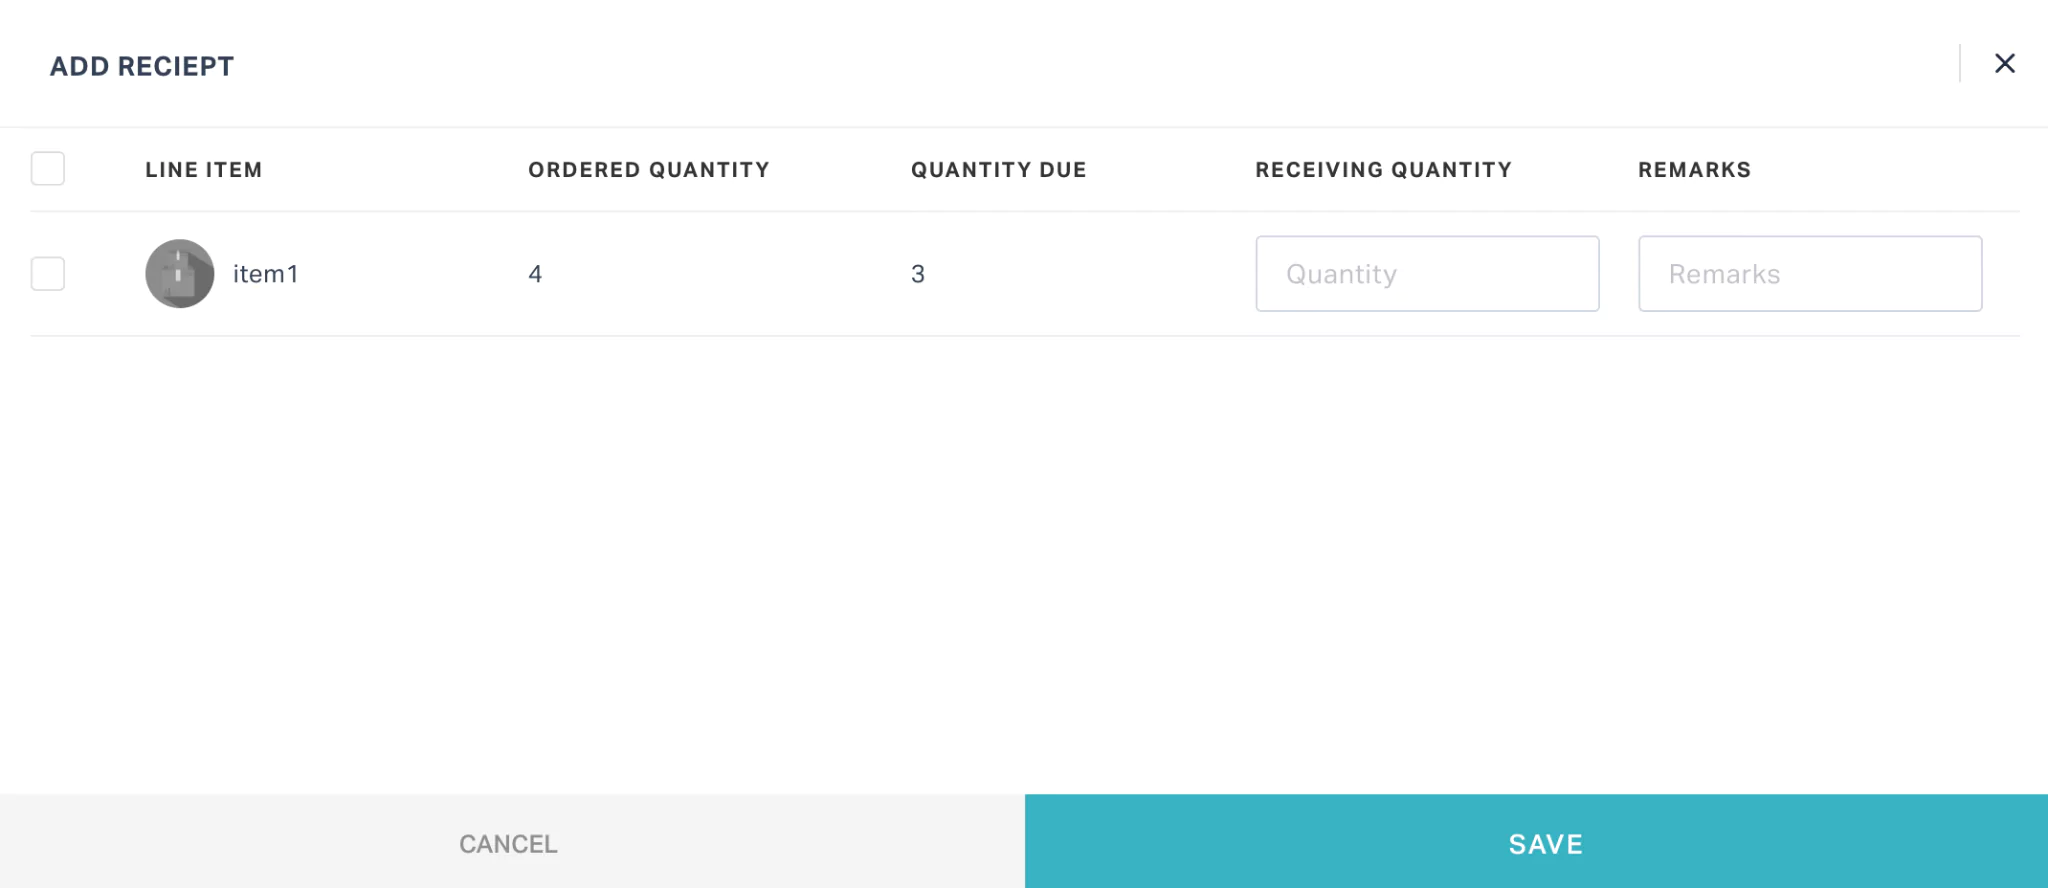
A receipt is an electronic document which serves as proof of a sale transaction between two parties (buyer and seller). It includes the purchase details, such as the ordered item and quantity, quantity due, receiving quantity, and remarks. To add a receipt,
Navigate to the Receivables section. The records created for PO appear, as shown below.

Select on the record for which the receipt is to be added. The PO details are displayed.
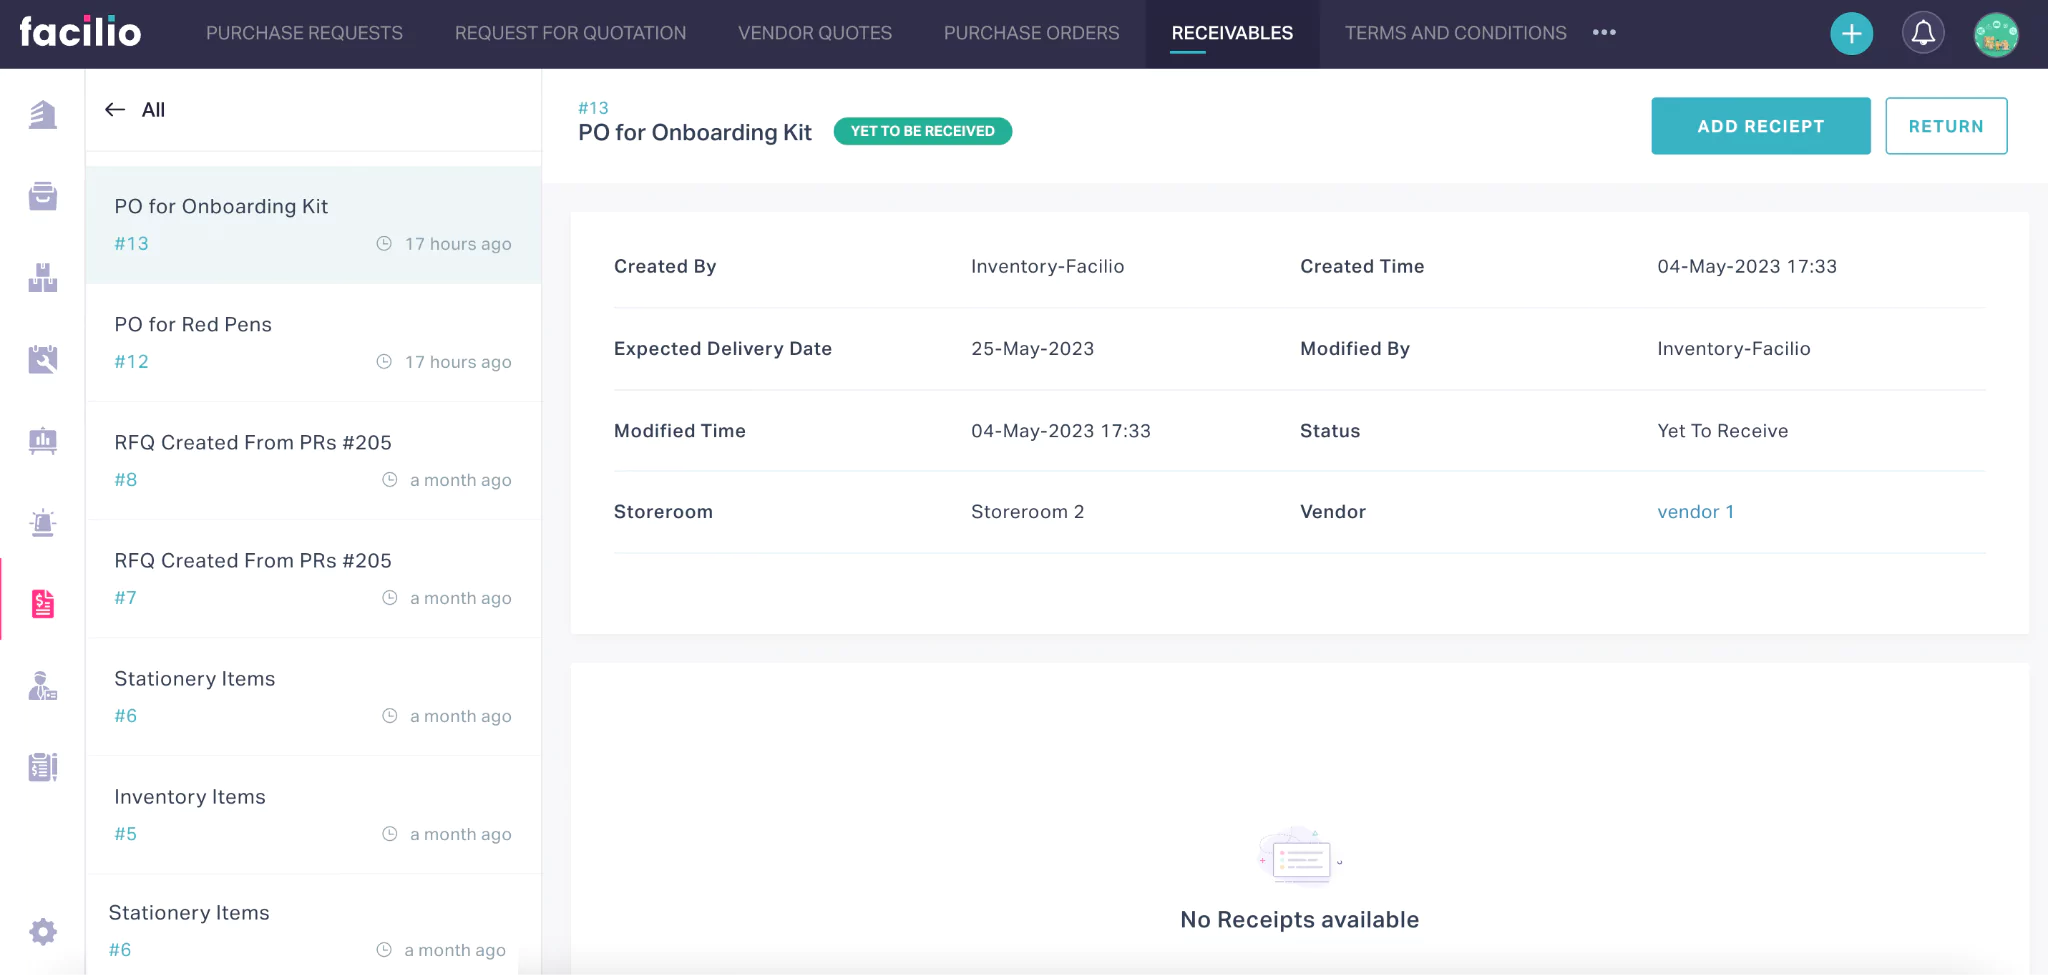
Click ADD RECEIPT. The ADD RECEIPT window appears.
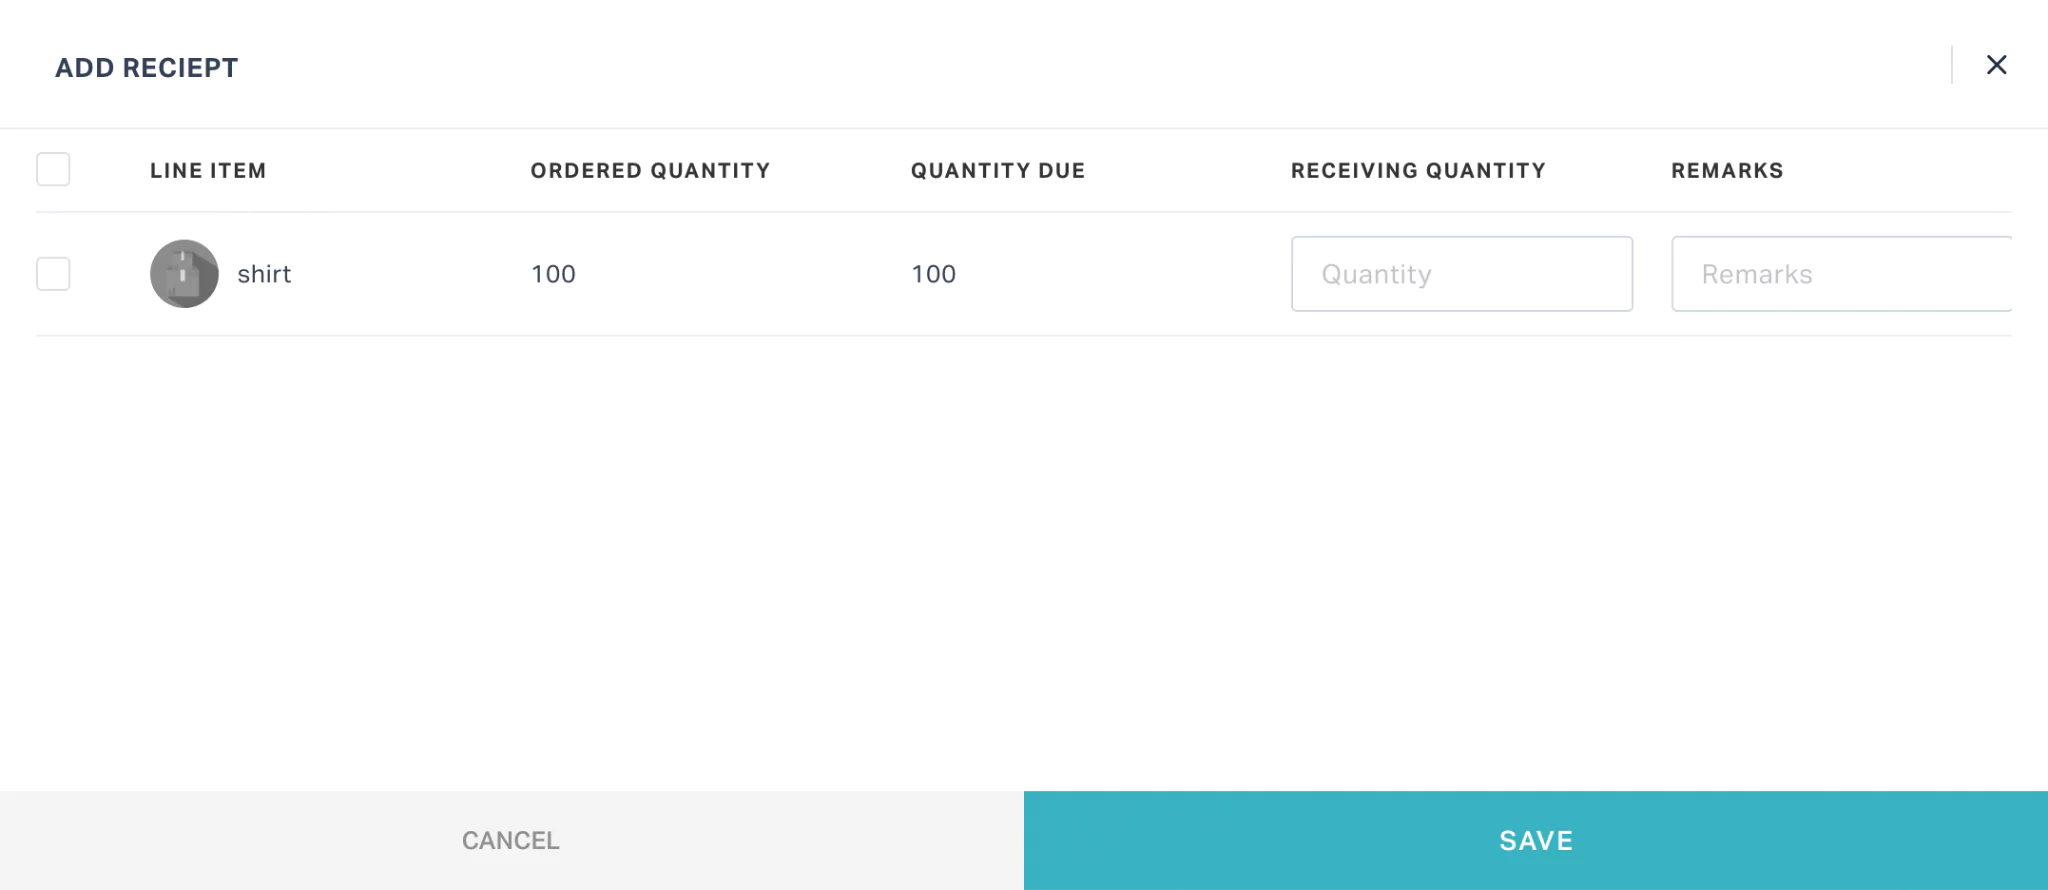
Update the RECEIVING QUANTITY and REMARKS, and click SAVE.
If the RECEIVING QUANTITY is less than the ORDERED QUANTITY, the PO status is automatically changed to PARTIALLY RECEIVED.
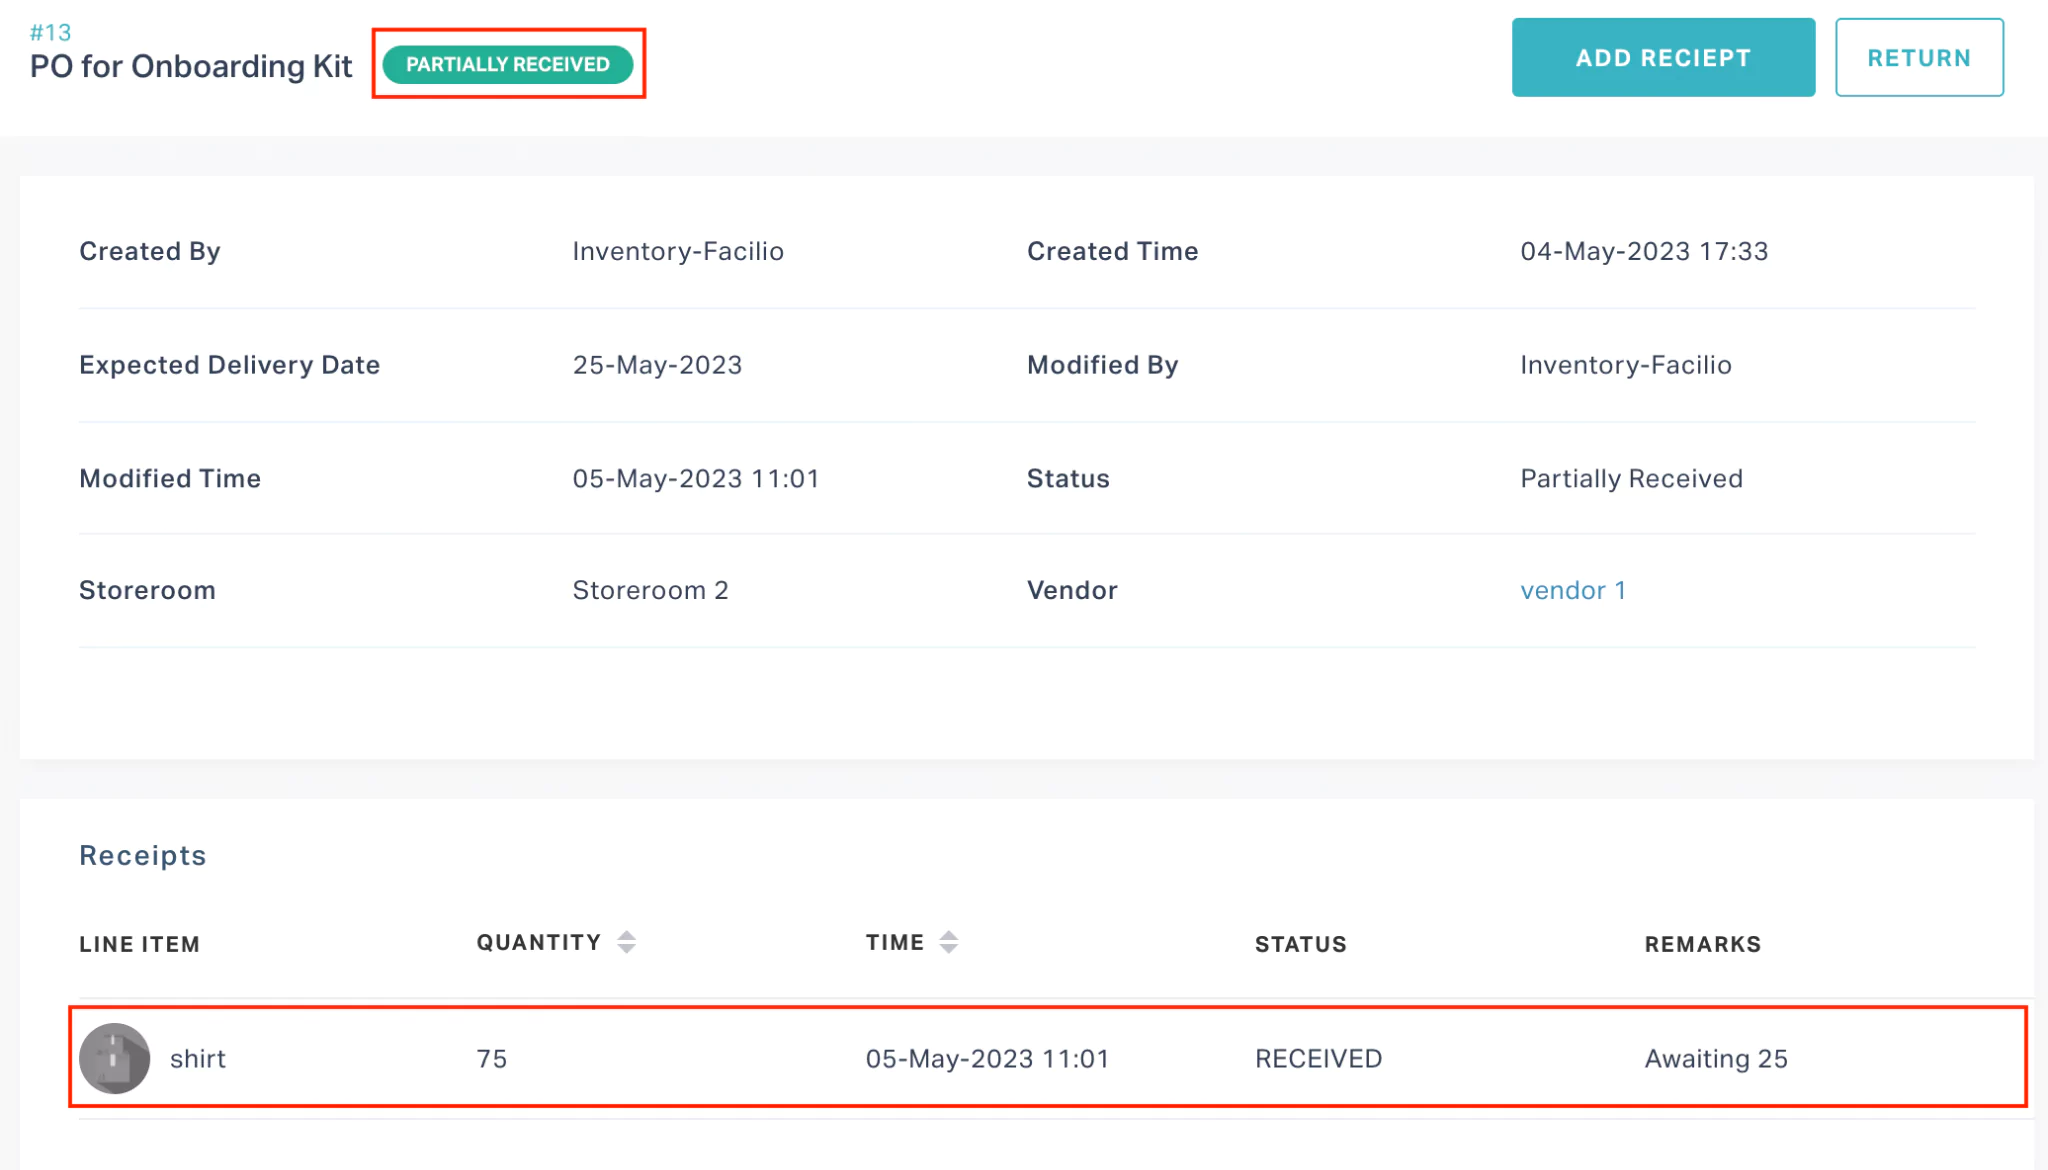
If the RECEIVING QUANTITY and ORDERED QUANTITY are the same, the PO status changes to RECEIVED.
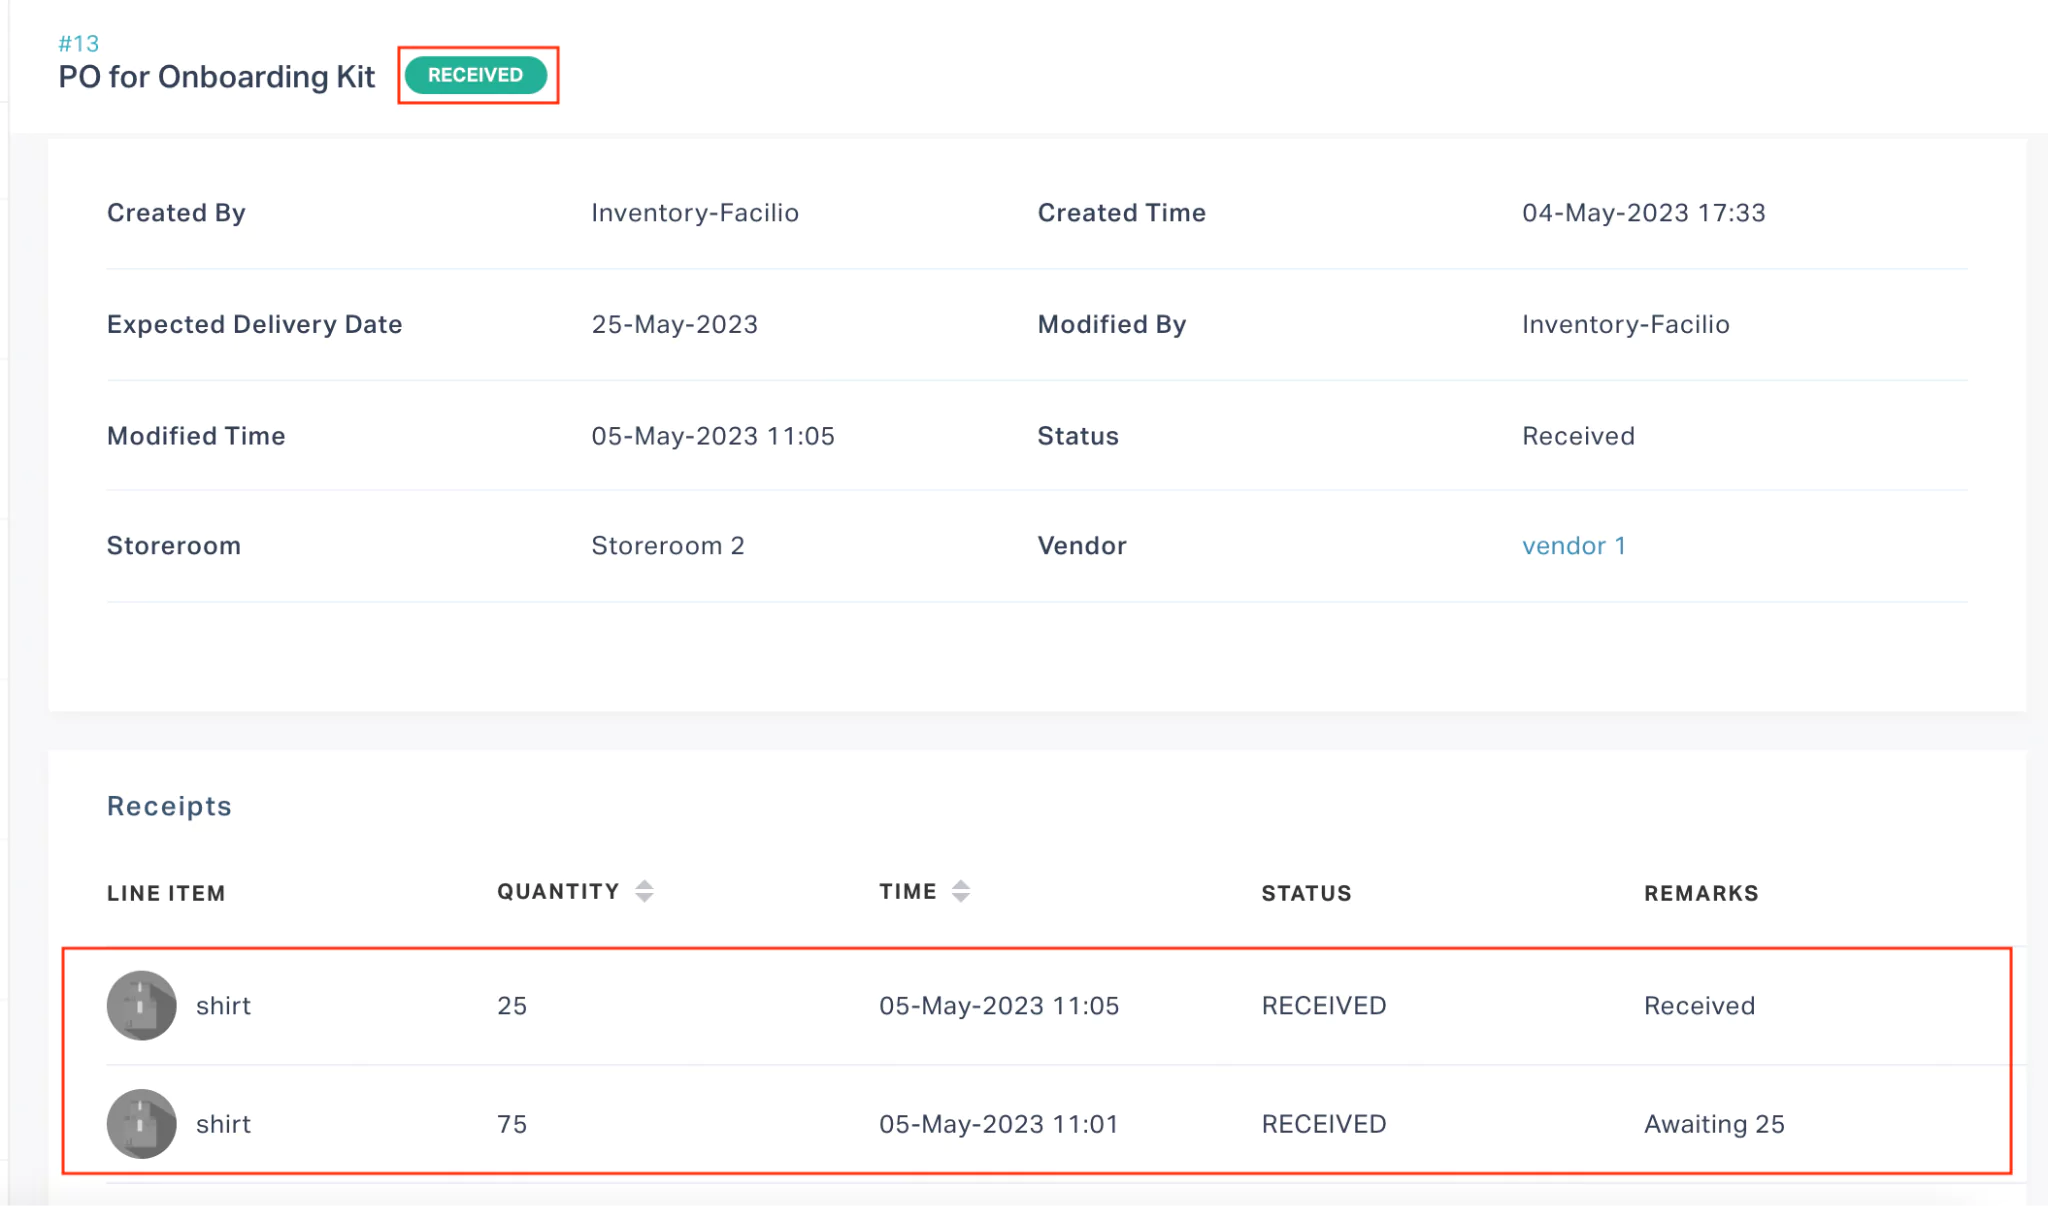
You can also add notes and attach documents relevant for the received items.
Returning Receivables
Returning items refers to sending the received items back to the vendor for various reasons, such as quality issues, damage during shipping, late delivery, and others.
To return items,
Select the item from the Receivables section that you want to return. The item details appear, as shown below.
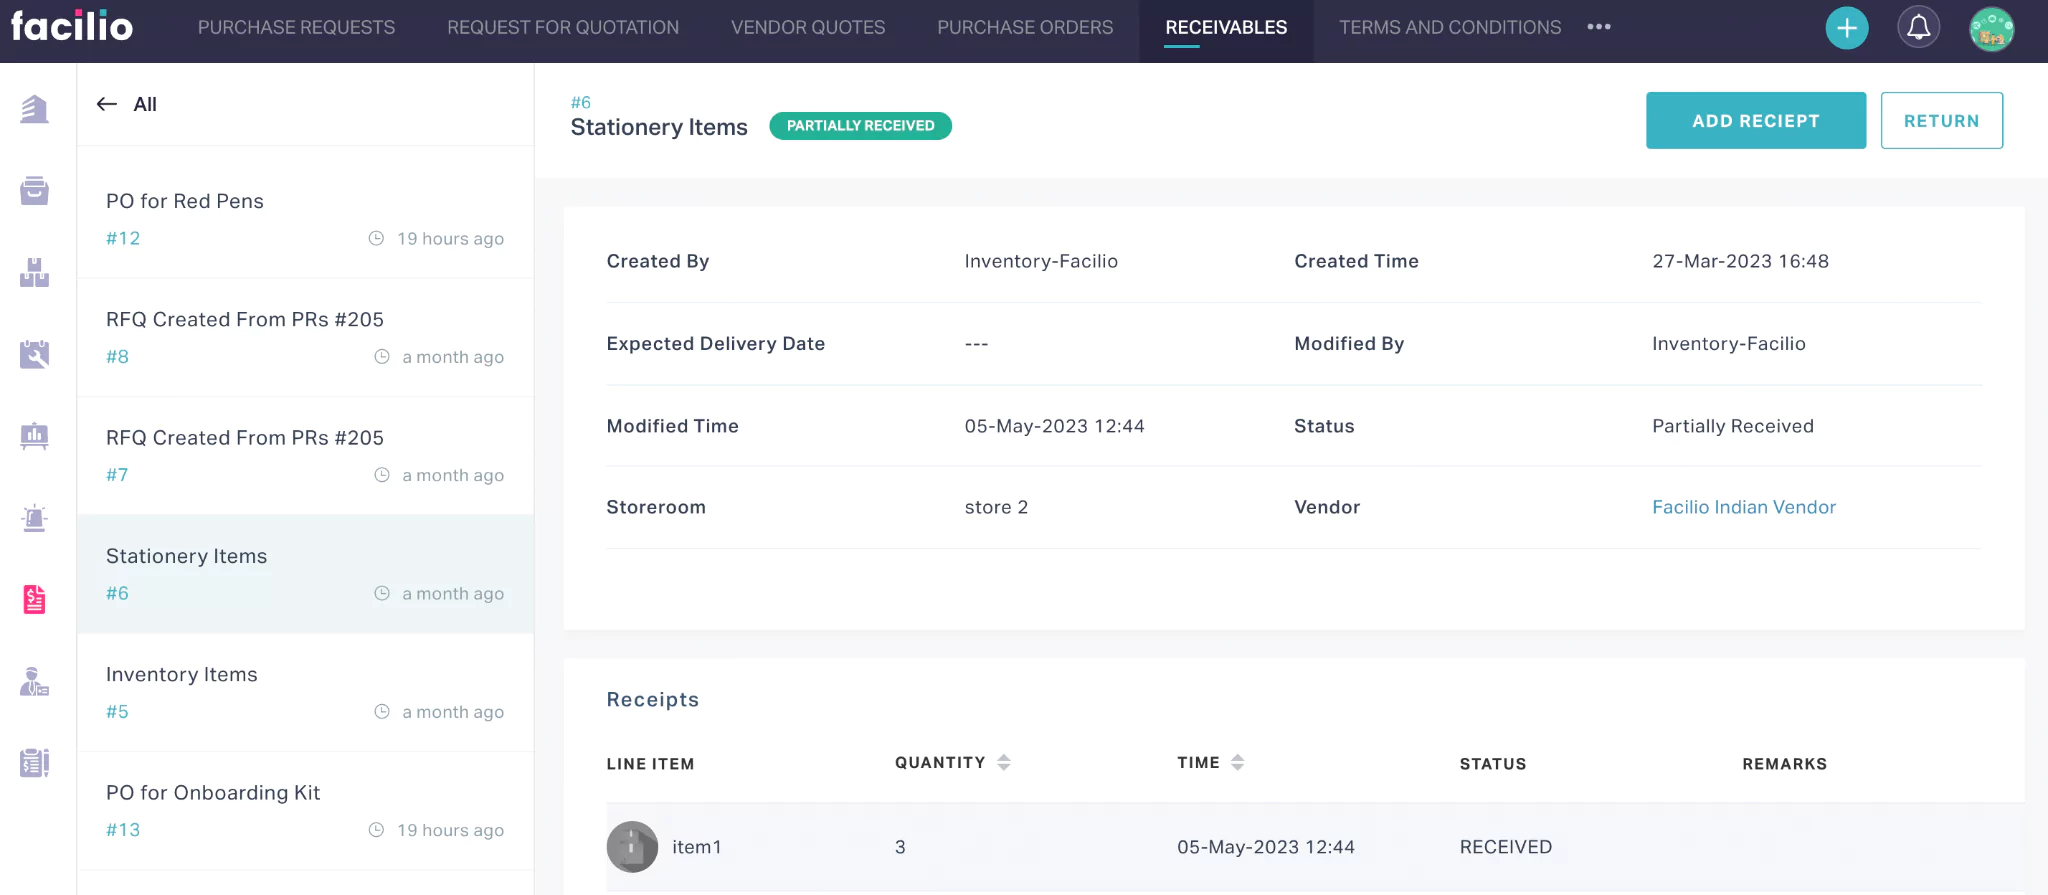
Click RETURN at the top right of the screen.
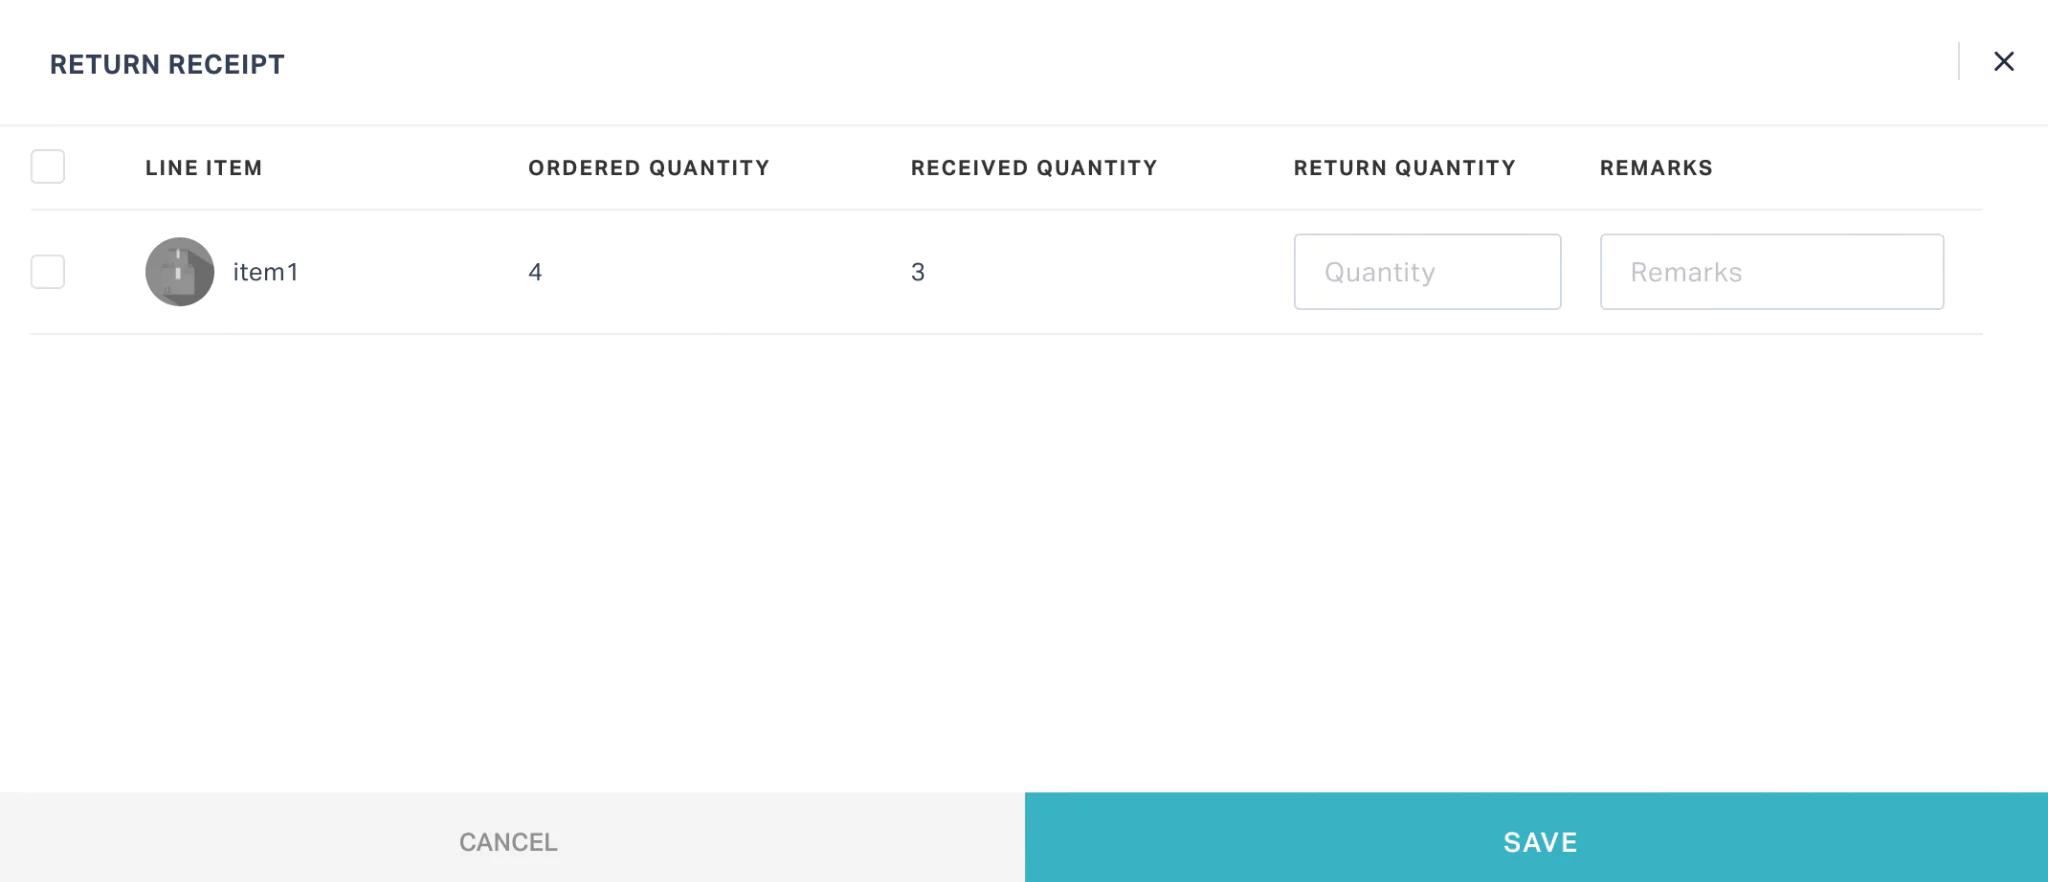
Enter the quantity to return and comments in the RETURN QUANTITY and REMARKS fields, respectively.
Click SAVE. The return is initiated successfully and the count of returned items is added to the list of QUANTITY DUE items along with the pending items (if any).
