Uploading Bills
Uploading bills refers to the process of submitting bills to the system for parsing and extraction of relevant details after the parsing logic has been configured. This step involves transferring the bills, typically in electronic format, to the application or platform where the parsing logic is implemented. By uploading the bills, users initiate the extraction process, allowing the system to analyze the documents and extract the necessary information according to the configured parsing rules.
To upload a bill,
Navigate to the Bill Uploads section. The uploaded bills summary for the selected parsing logic and year appears, as shown below.
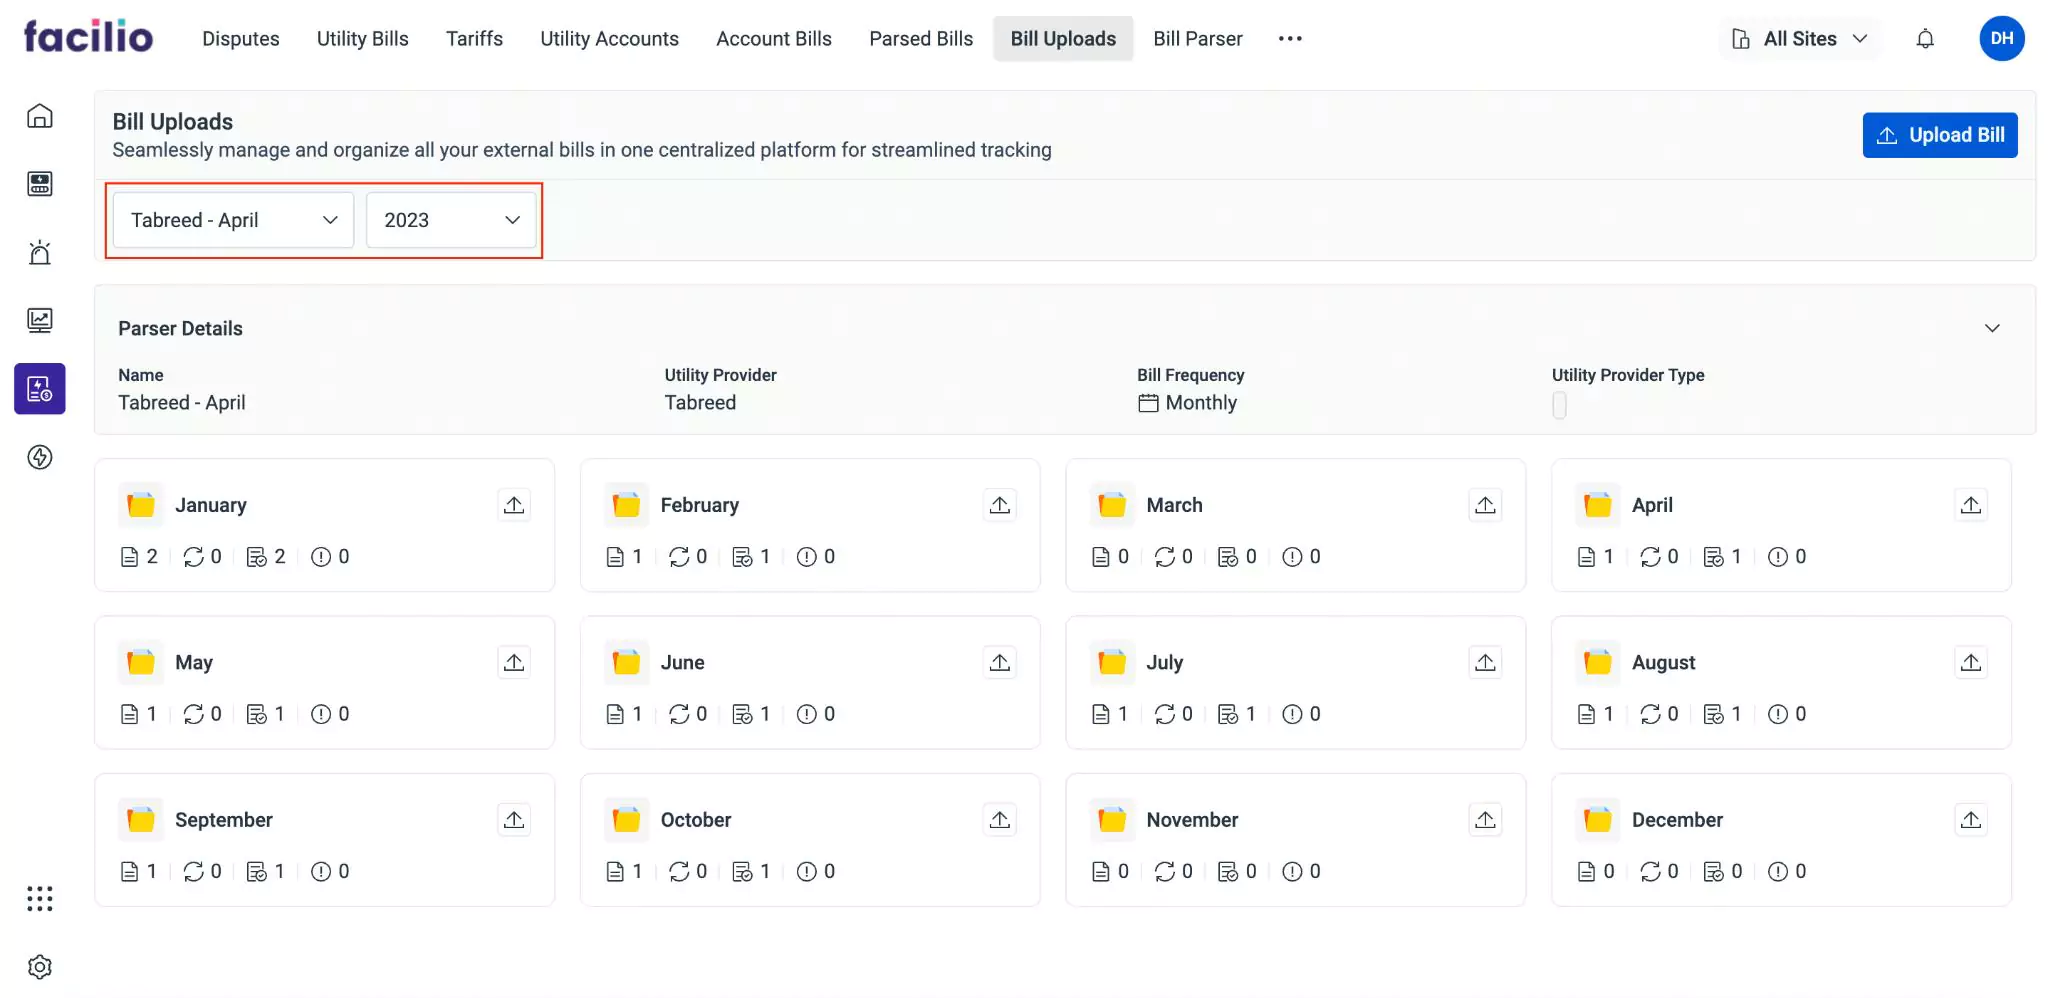 Note:The folders displayed vary with respect to the Bill Frequency set in the selected parsing logic. In the above scenario, there are 12 folders, each corresponding to a month, as the frequency set was Monthly.
Click Upload Bill at the top right. The Bill Uploads screen appears.
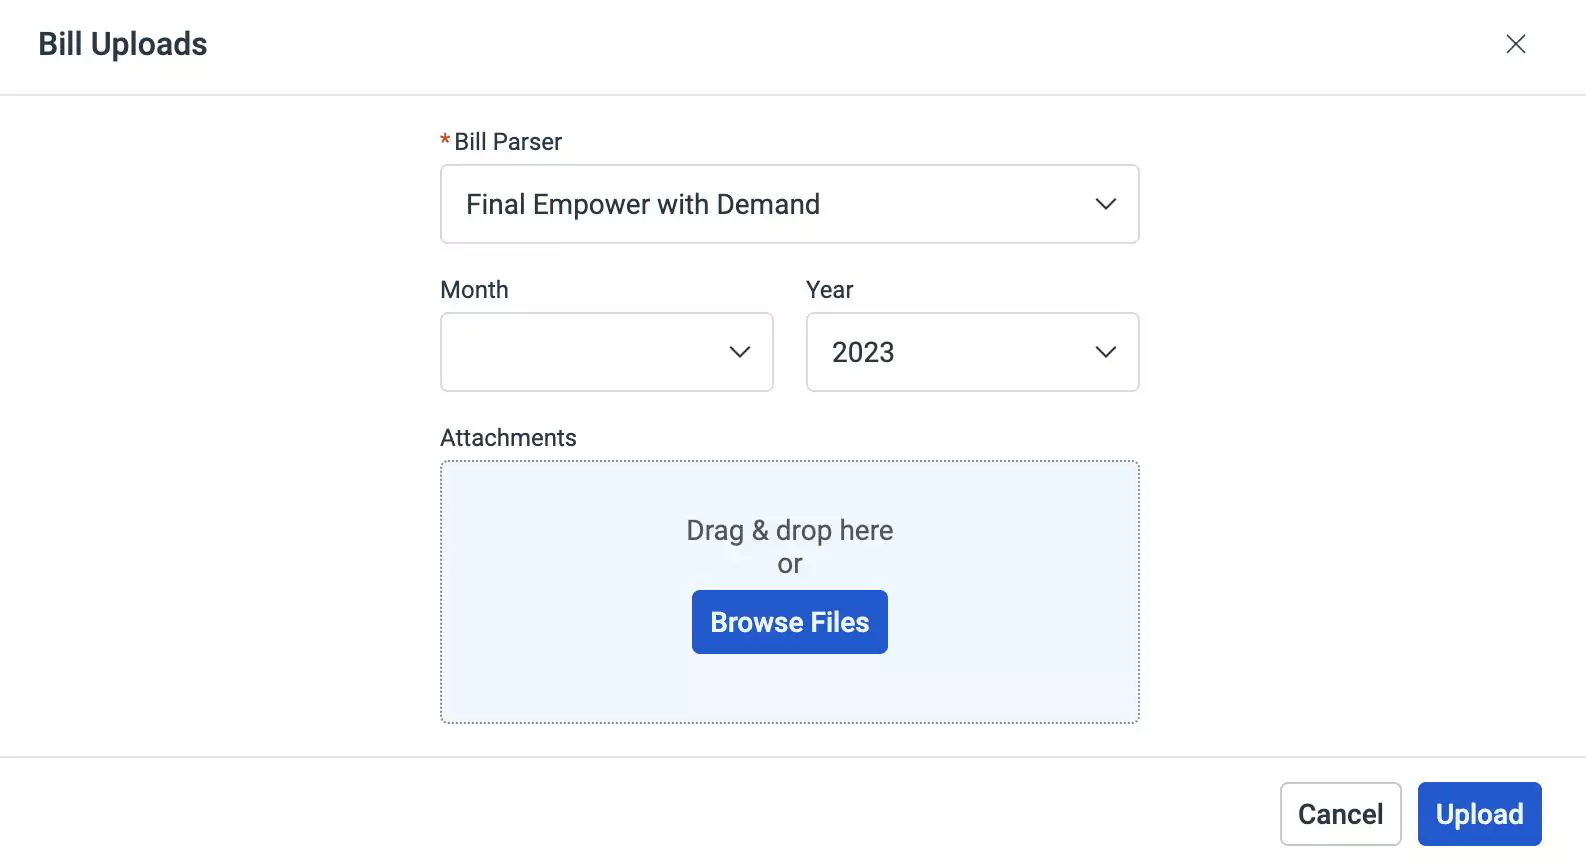
Update the required fields/details in this screen.
- Bill Parser - The parsing logic to be applied to the bill
- Month - The month for which the bill is being uploaded
- Year - The year to which the bill belongs
- Attachments - The files to be attached for parsing
Alternatively, you can directly click on the
 icon corresponding to the folder to upload bills into it.
Click Upload. The bill upload status and other details appear, as shown below.
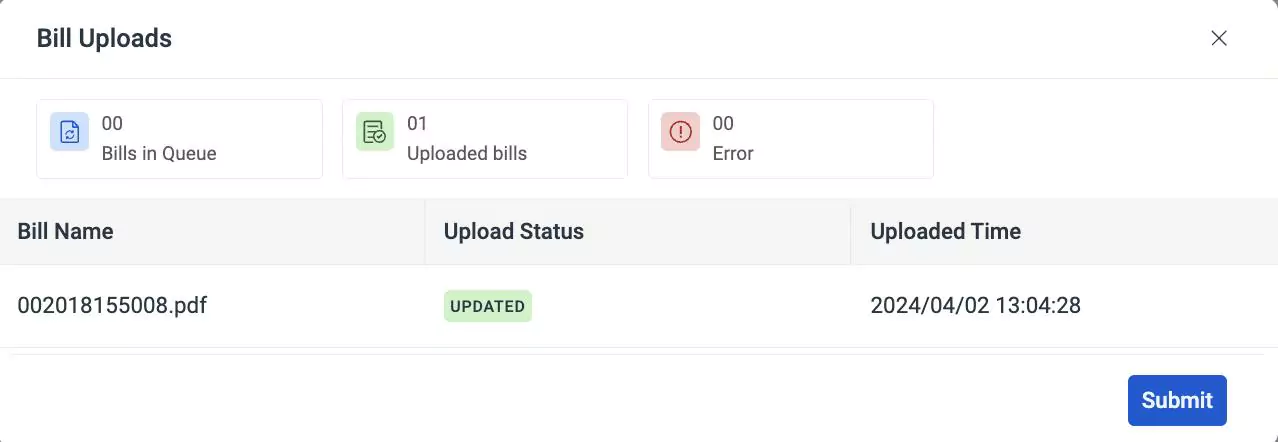
Click Submit. The bill is now uploaded successfully.
You can click on the specific folder to view the list of uploaded bills and their details.
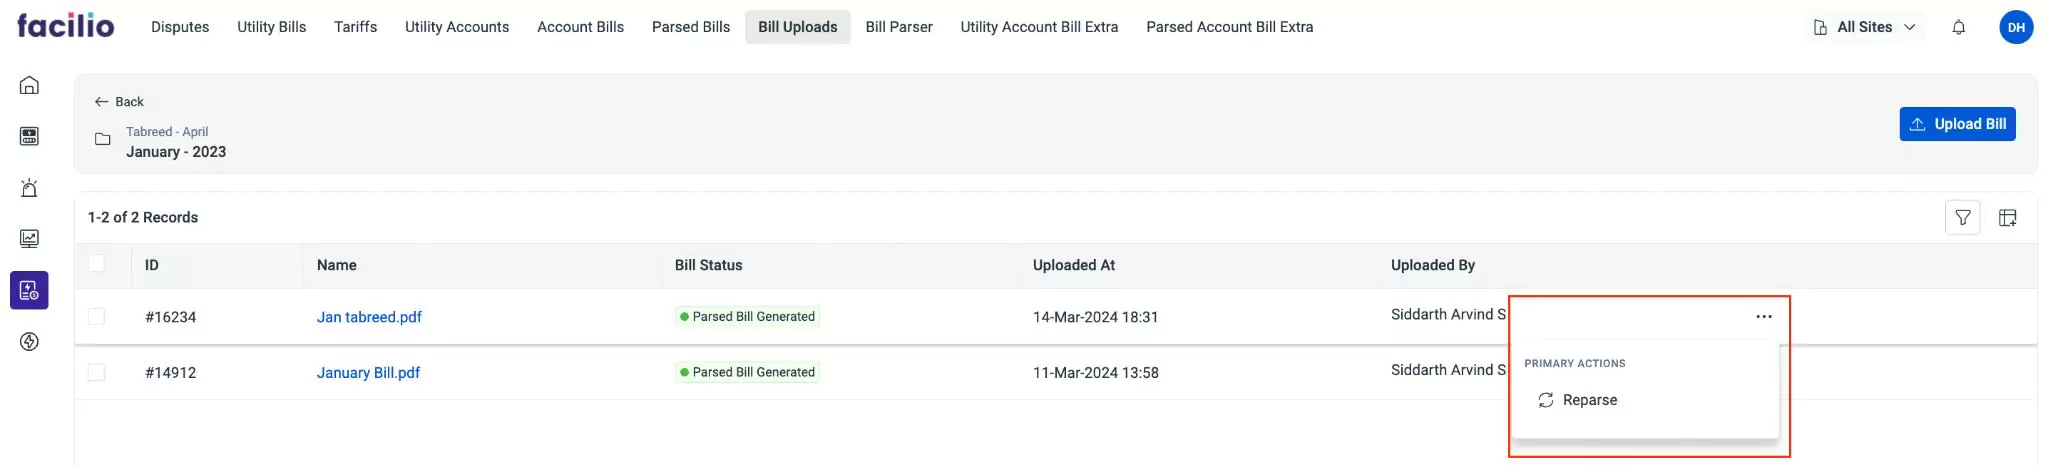
If you've made any changes to the parsing logic, you can utilize the Reparse option to regenerate the parsed bill applying the recent changes. Once the bill is uploaded, the parsed bill is automatically generated and awaits approval from the concerned personnel before its details are listed in the Account Bills and Utility Bills sections.