Managing Assets
This section explains how to create a new asset, change the asset status, mark an asset as rotating, transfer an asset to another location, and modify or delete an existing asset.
Adding New Asset
To create a new item type,
Click the (Assets) icon in the sidebar menu. All assets are displayed by default as shown below.
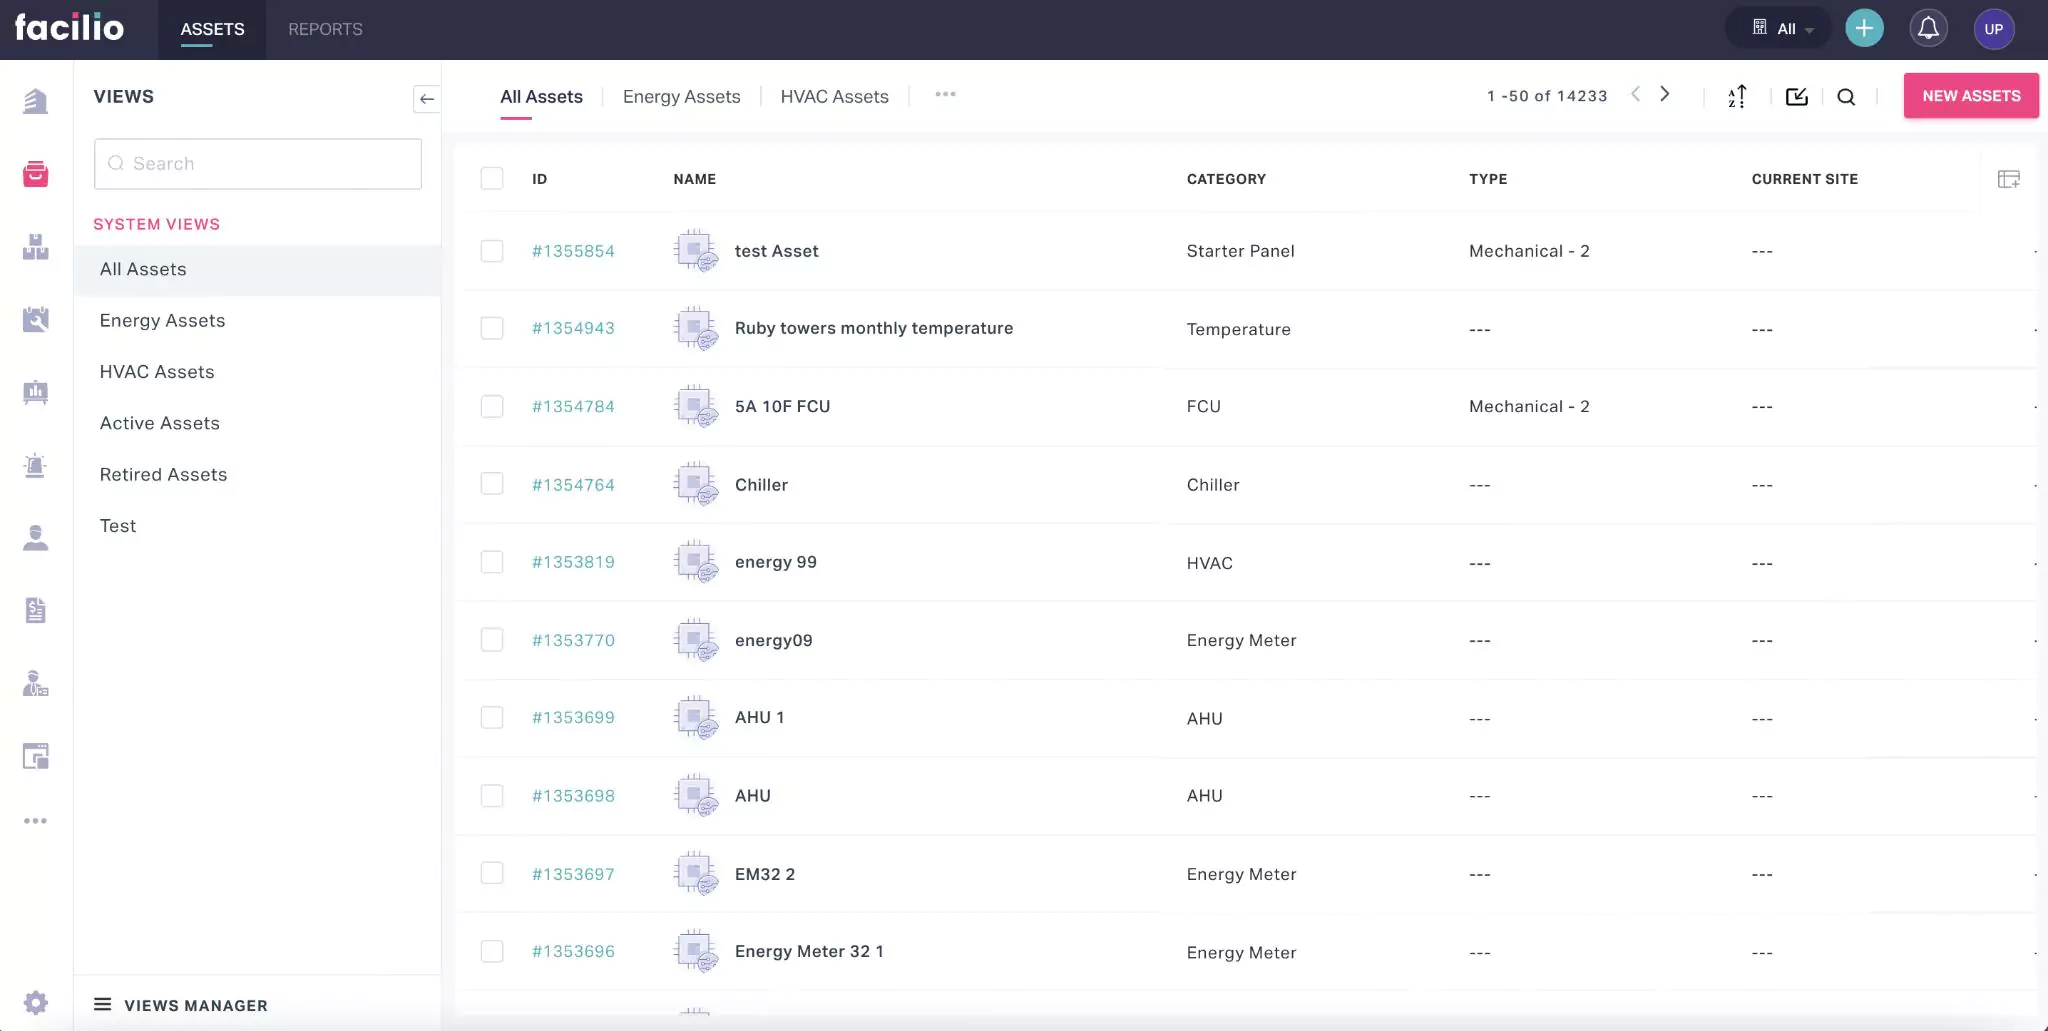
Click NEW ASSETS at the top right of the screen.
Select the Category in the CATEGORY window and click CONFIRM. The CREATE ASSET screen is displayed as shown below.
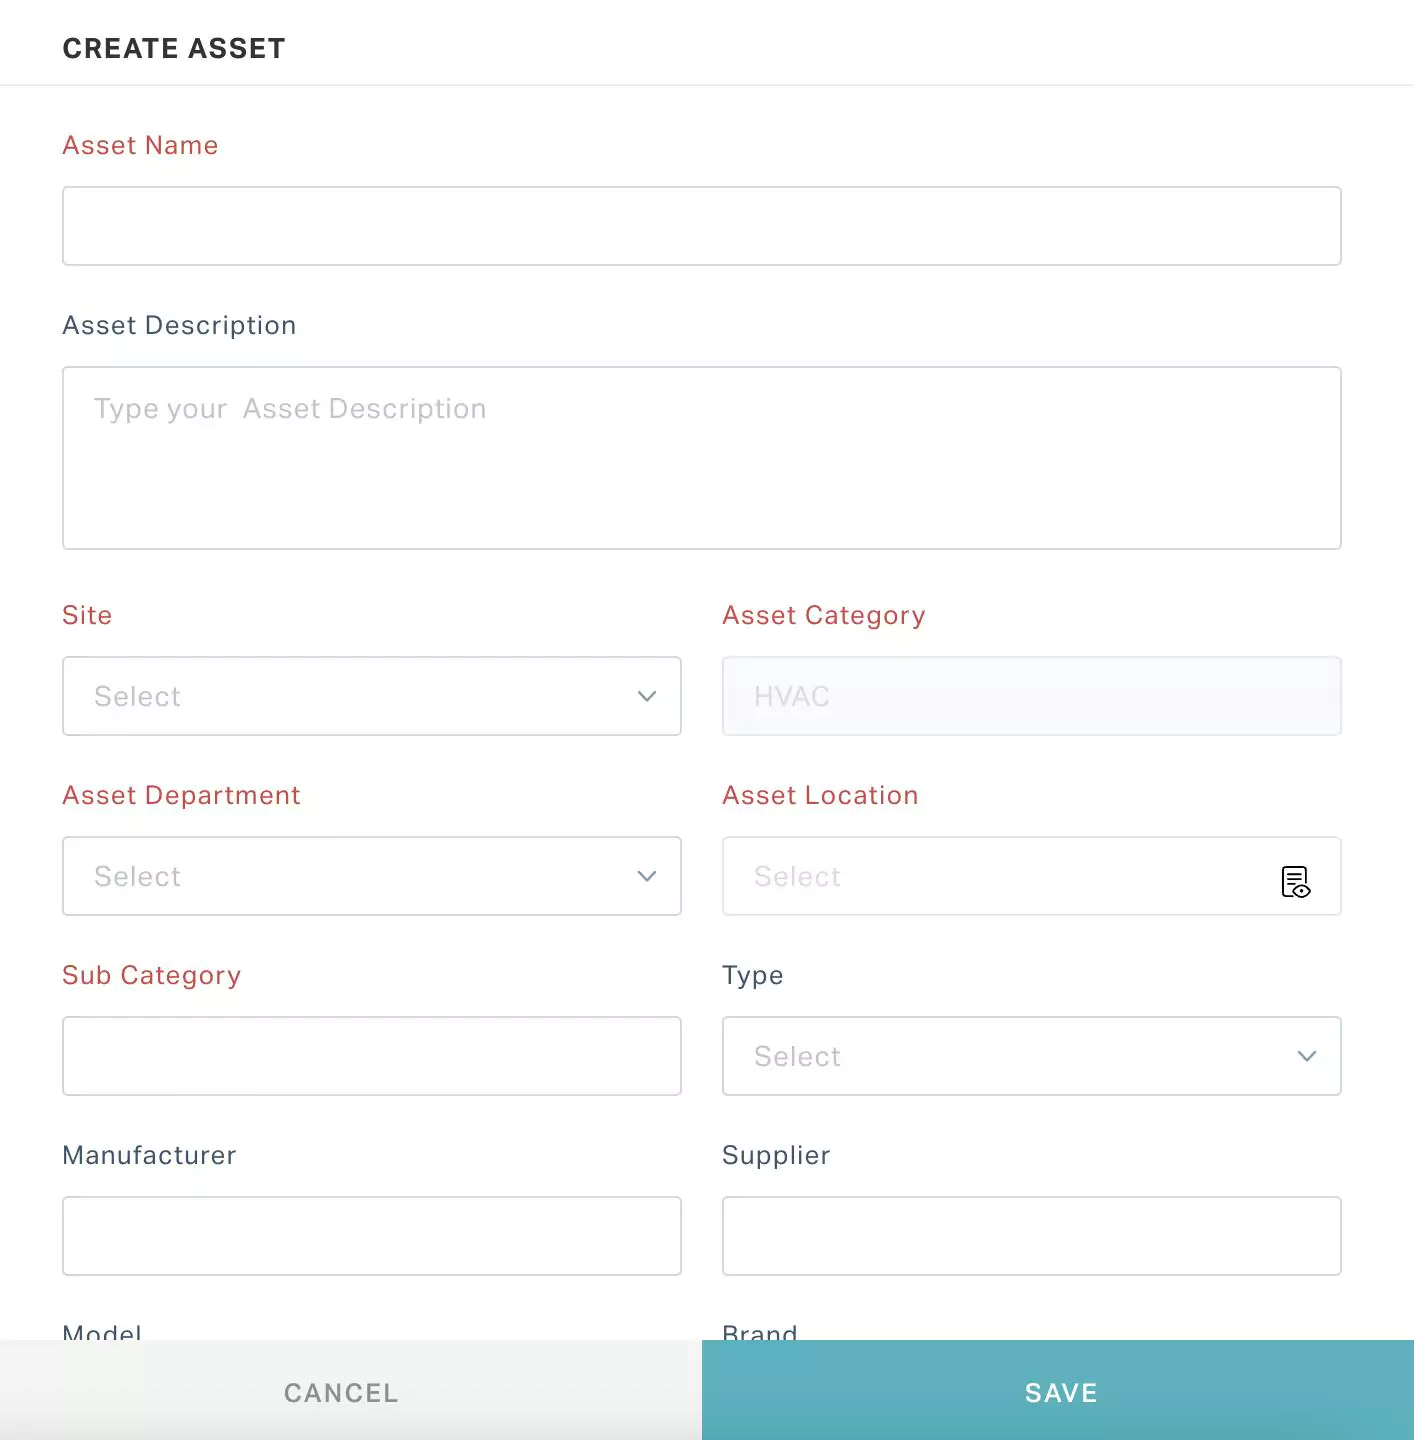 Note: Fields displayed vary with respect to the category selected.
Update all the required fields and click SAVE. An approval is triggered to the respective stakeholders (read the Processing a Request section for more information).
Modifying Assets
To make changes to the attributes of an existing asset,
Click the (Assets) icon in the sidebar menu. All assets are displayed by default.
Select the asset from the dashboard. The asset details are displayed as shown below.
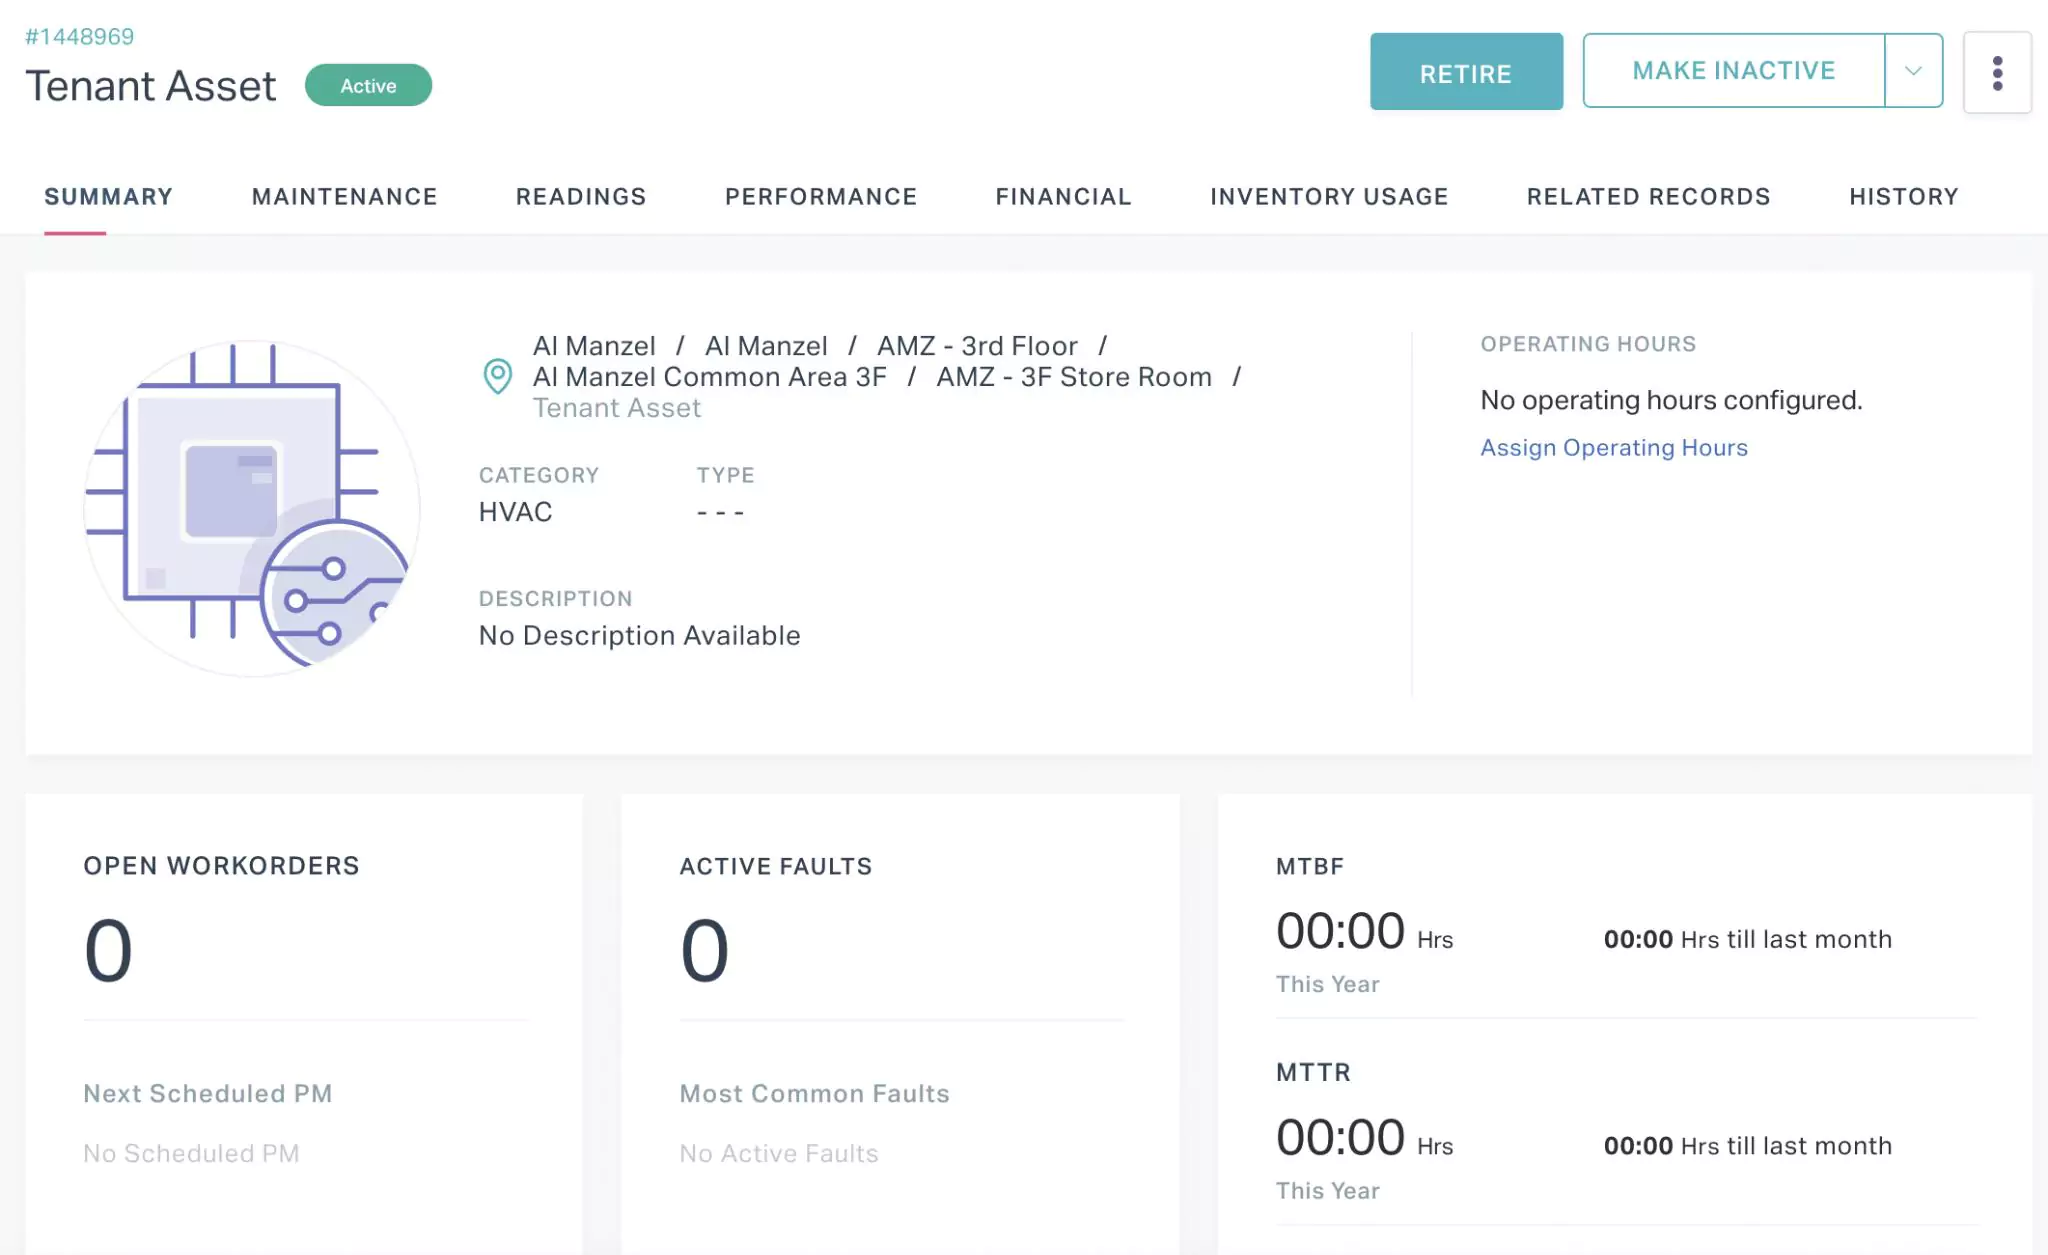
Click the (vertical ellipsis) icon at the top right and select any of the following options:
Edit - To modify the details associated with an asset
Duplicate - To create a duplicate copy of the asset
Update the required fields in the respective screen that appears.
Click SAVE. An approval is triggered to the respective stakeholders (read the Processing a Request section for more information).
To modify the specified attribute(s) in multiple assets at once,
Select the required assets from the dashboard.
Click UPDATE. The Bulk Update dialog appears as shown below.
Select the required attribute from the dropdown and enter the new value to be updated.
Note: You can specify more attributes using the iconClick UPDATE. Approval is triggered to the respective stakeholders (read the Processing a Request section for more information).
Changing Asset Status
To change the status of an asset manually,
Click the (Assets) icon in the sidebar menu. All assets are displayed by default.
Select the asset from the dashboard. The asset details are displayed as shown below.
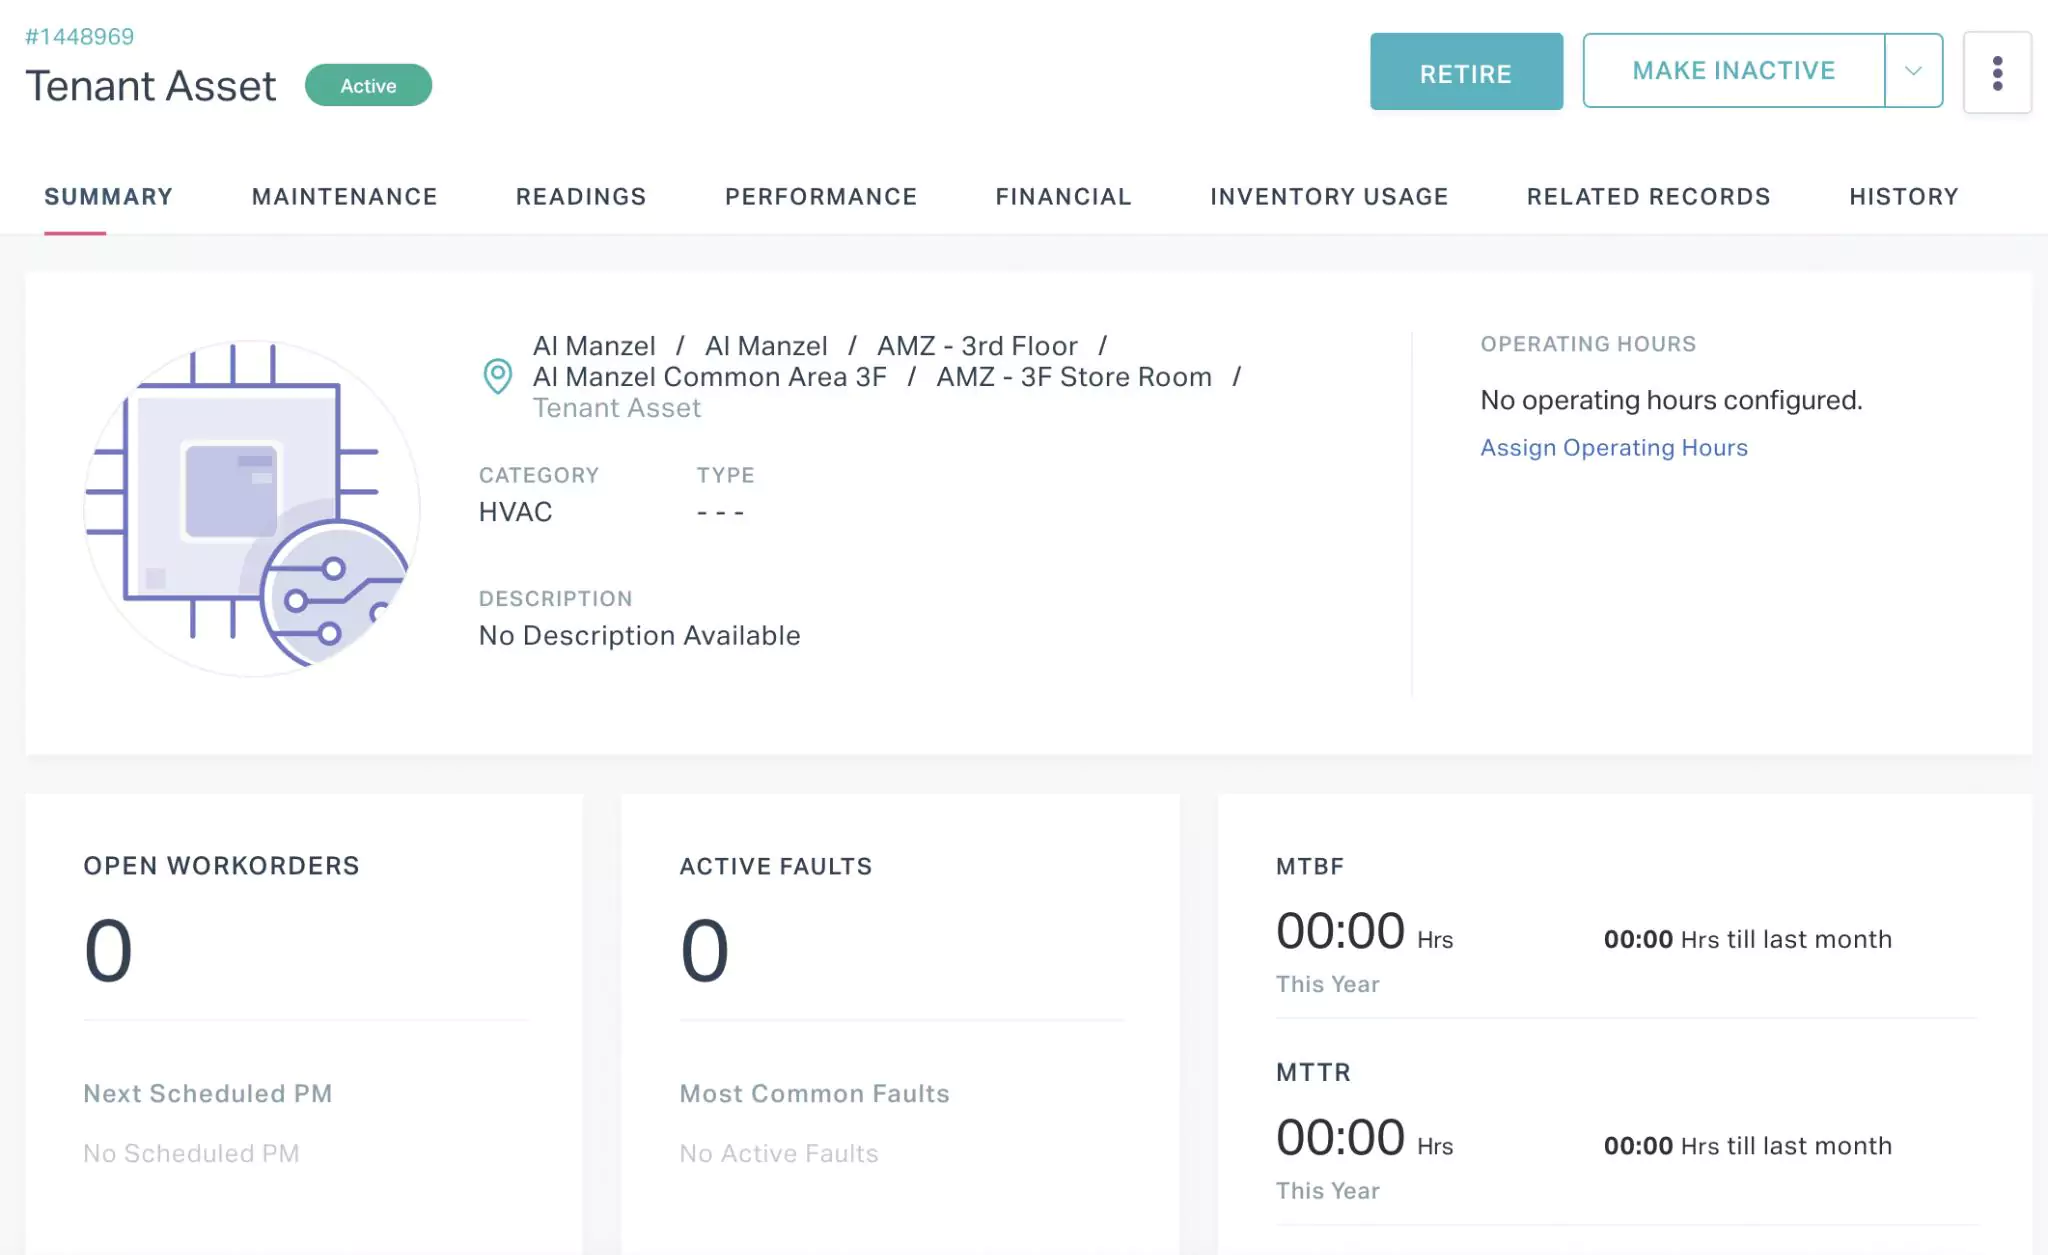 Note: The status of the asset shown above is Active.
Click RETIRE, MAKE INACTIVE or MAKE ACTIVE to retire, inactivate or activate the asset, respectively. An approval is triggered to the respective stakeholders (read the Processing a Request section for more information).
Note: The options displayed may vary with respect to the current status of the asset. You cannot modify the status of an asset that is already awaiting approval for earlier changes.
Transferring an Asset
Click the (Assets) icon in the sidebar menu. All assets are displayed by default.
Select the asset from the dashboard. The asset details are displayed as shown below.
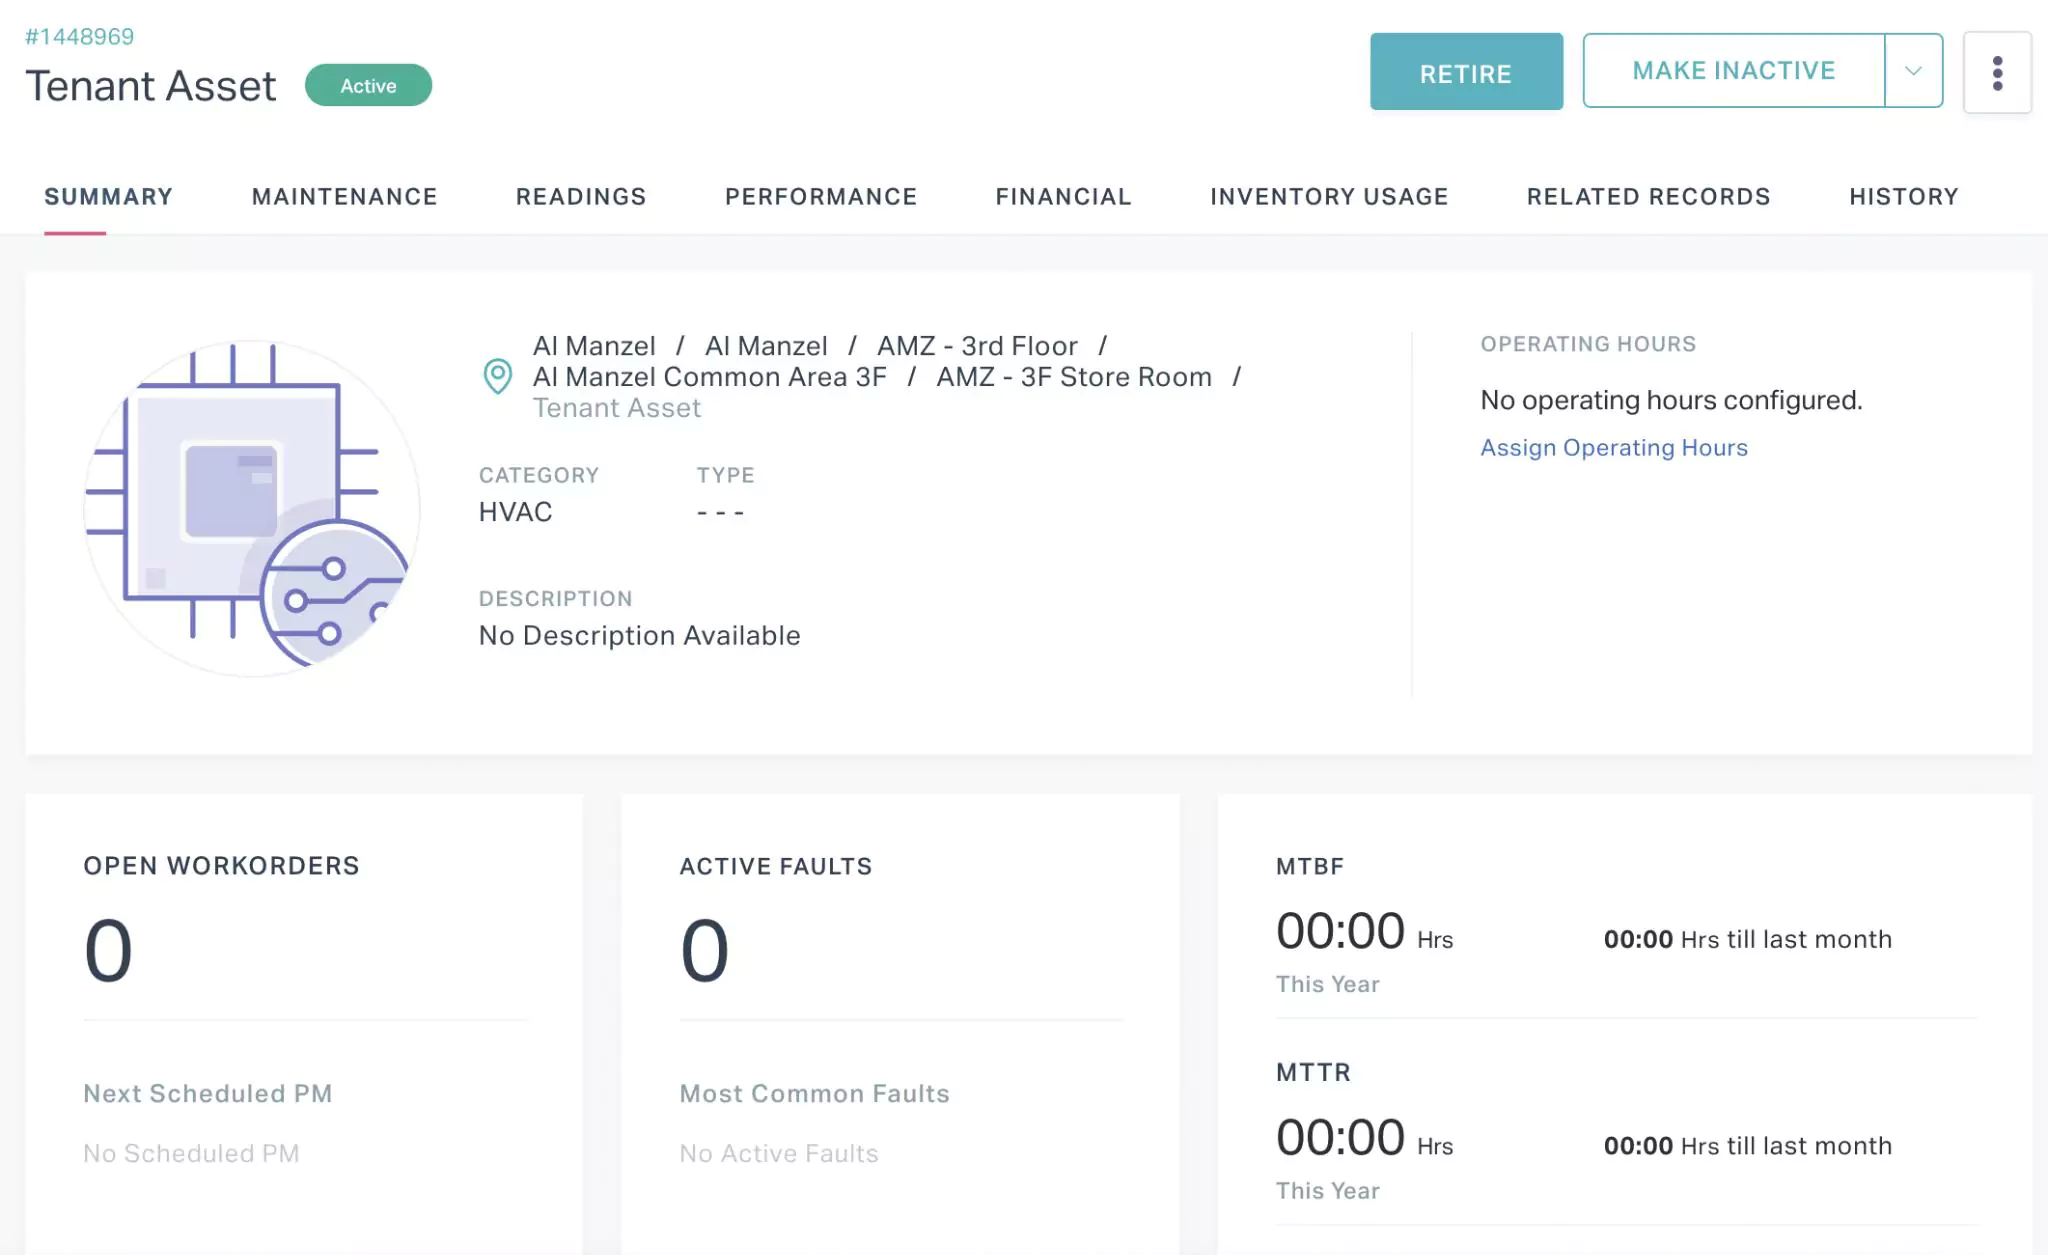
Click the (chevron) and the top right and select Asset Transfer.
Enter the new asset location in the window that appears.
Note: You cannot choose the locations outside the site.Click SAVE. An approval is triggered to the respective stakeholders (read the Processing a Request section for more information).
Marking an Asset as Inventory Item or Tool
Click the (Assets) icon in the sidebar menu. All assets are displayed by default.
Select the asset from the dashboard. The asset details are displayed as shown below.
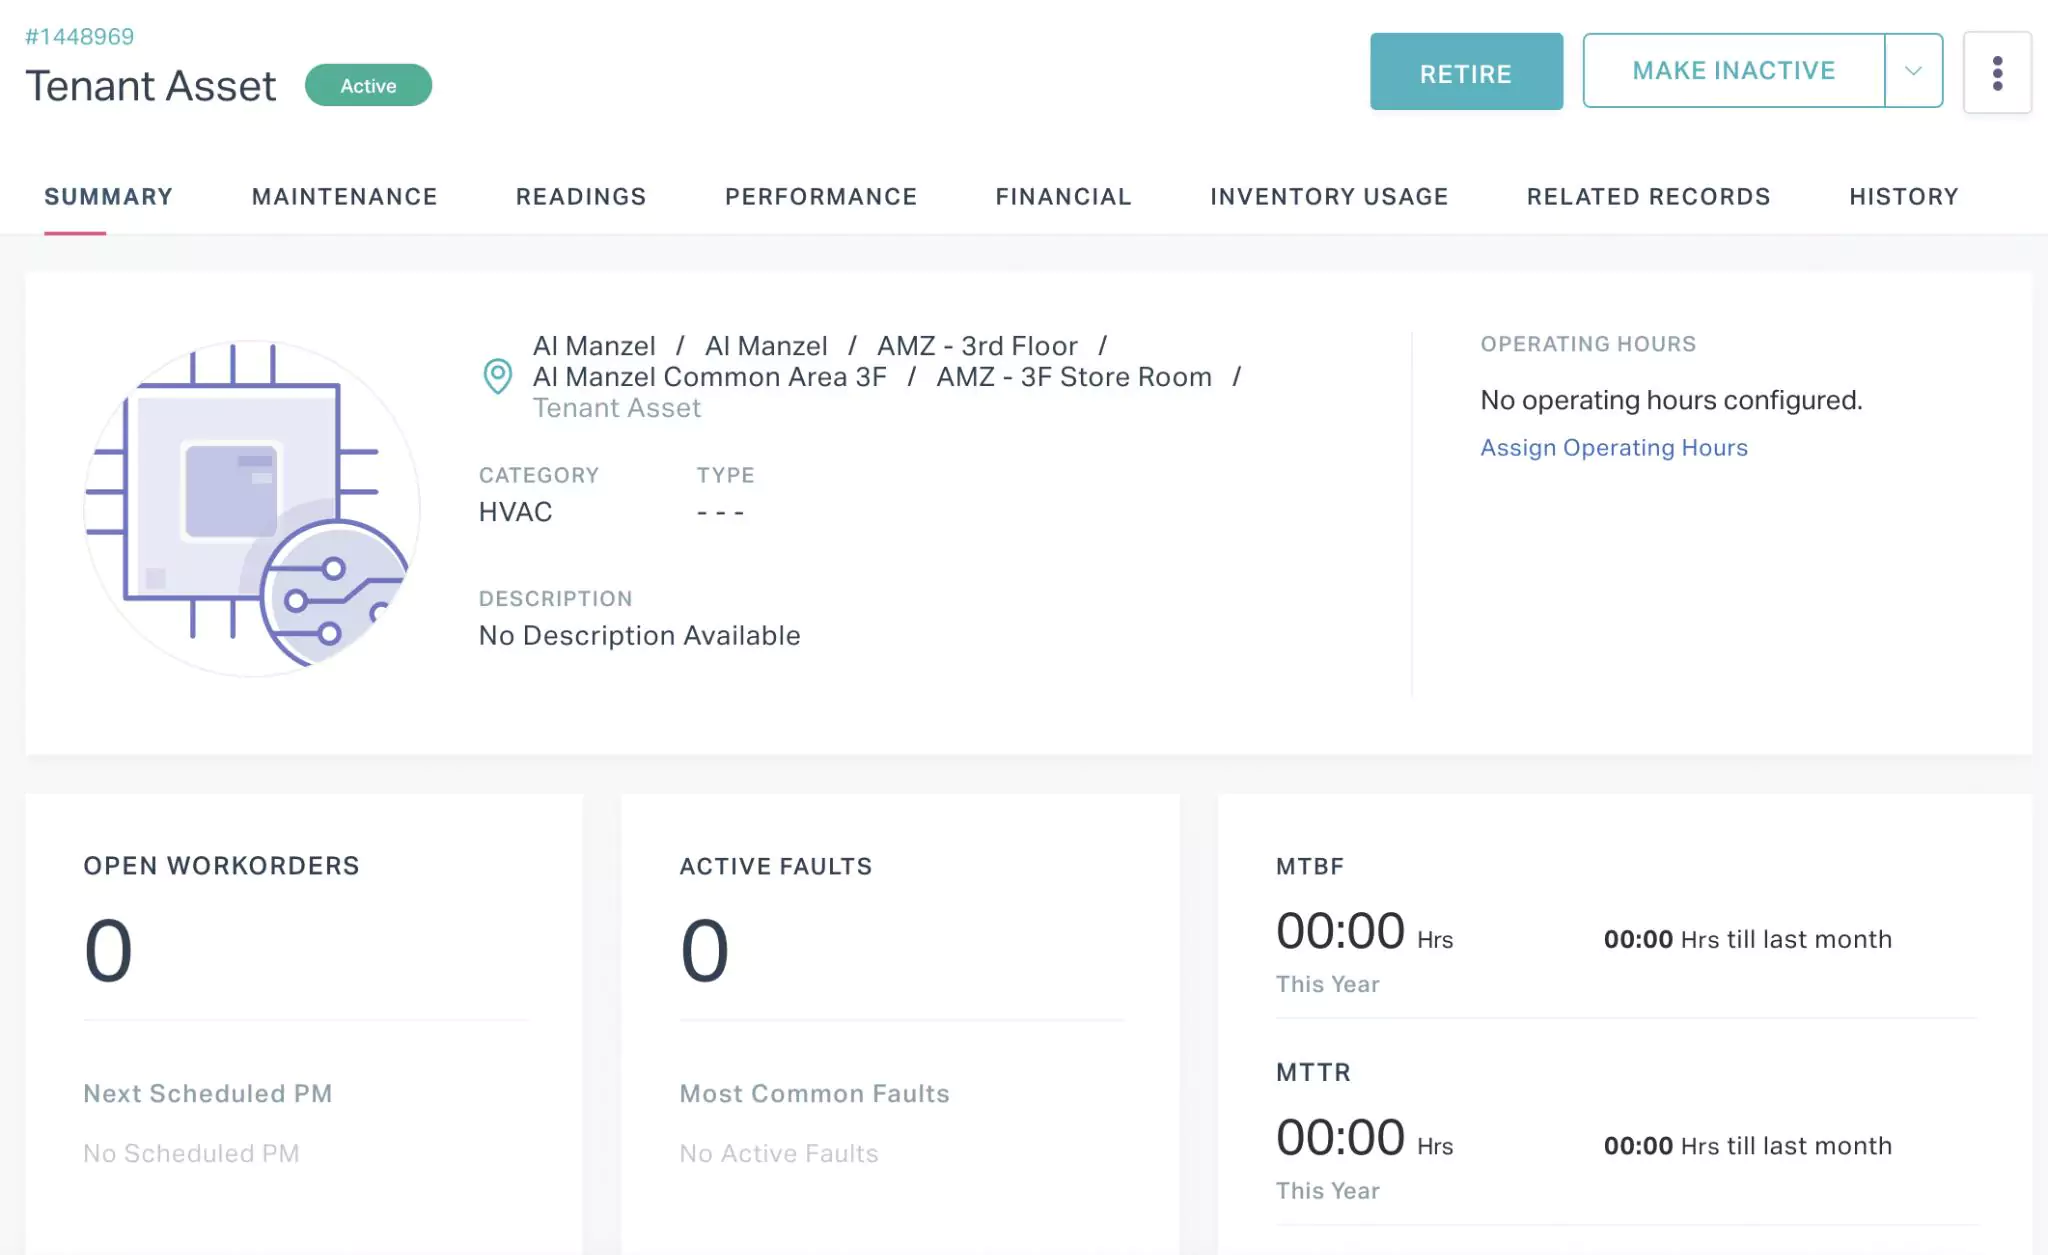
Click the (chevron) and the top right and select any of the following options:
- Mark As Inventory Item
- Mark As Inventory Tool
The respective details window appears.
Select the item/tool type against which you need to mark the asset.
Note: A rotating asset means it can be requested and issued as a temporary replacement. Only the items or tools that are marked as rotating in the Inventory module will be populated in the dropdown.Click SAVE. The asset is now marked as rotating and added to the respective item/tool type in the Inventory module.
Deleting an Asset
To delete an asset from the dashboard,
Click the (Assets) icon in the sidebar menu. All assets are displayed by default.
Select the asset(s) to be deleted.

Click DELETE. A confirmation window appears to confirm the deletion.
Click DELETE again. The selected asset(s) are removed from the dashboard.