Managing Vendors and Vendor Contacts
This section explains how to create a new vendor, associate vendor contacts, change the status, and modify or delete an existing vendor or vendor contact.
Creating a Record
The application allows you to create a vendor and associate contacts to it. Typically, a vendor is a third party organization and vendor contacts are the workers in the organization (that is, vendor company).
Creating a Vendor
To create a new vendor,
Click the
 (Vendor) icon in the sidebar menu. The VENDOR section is displayed by default.
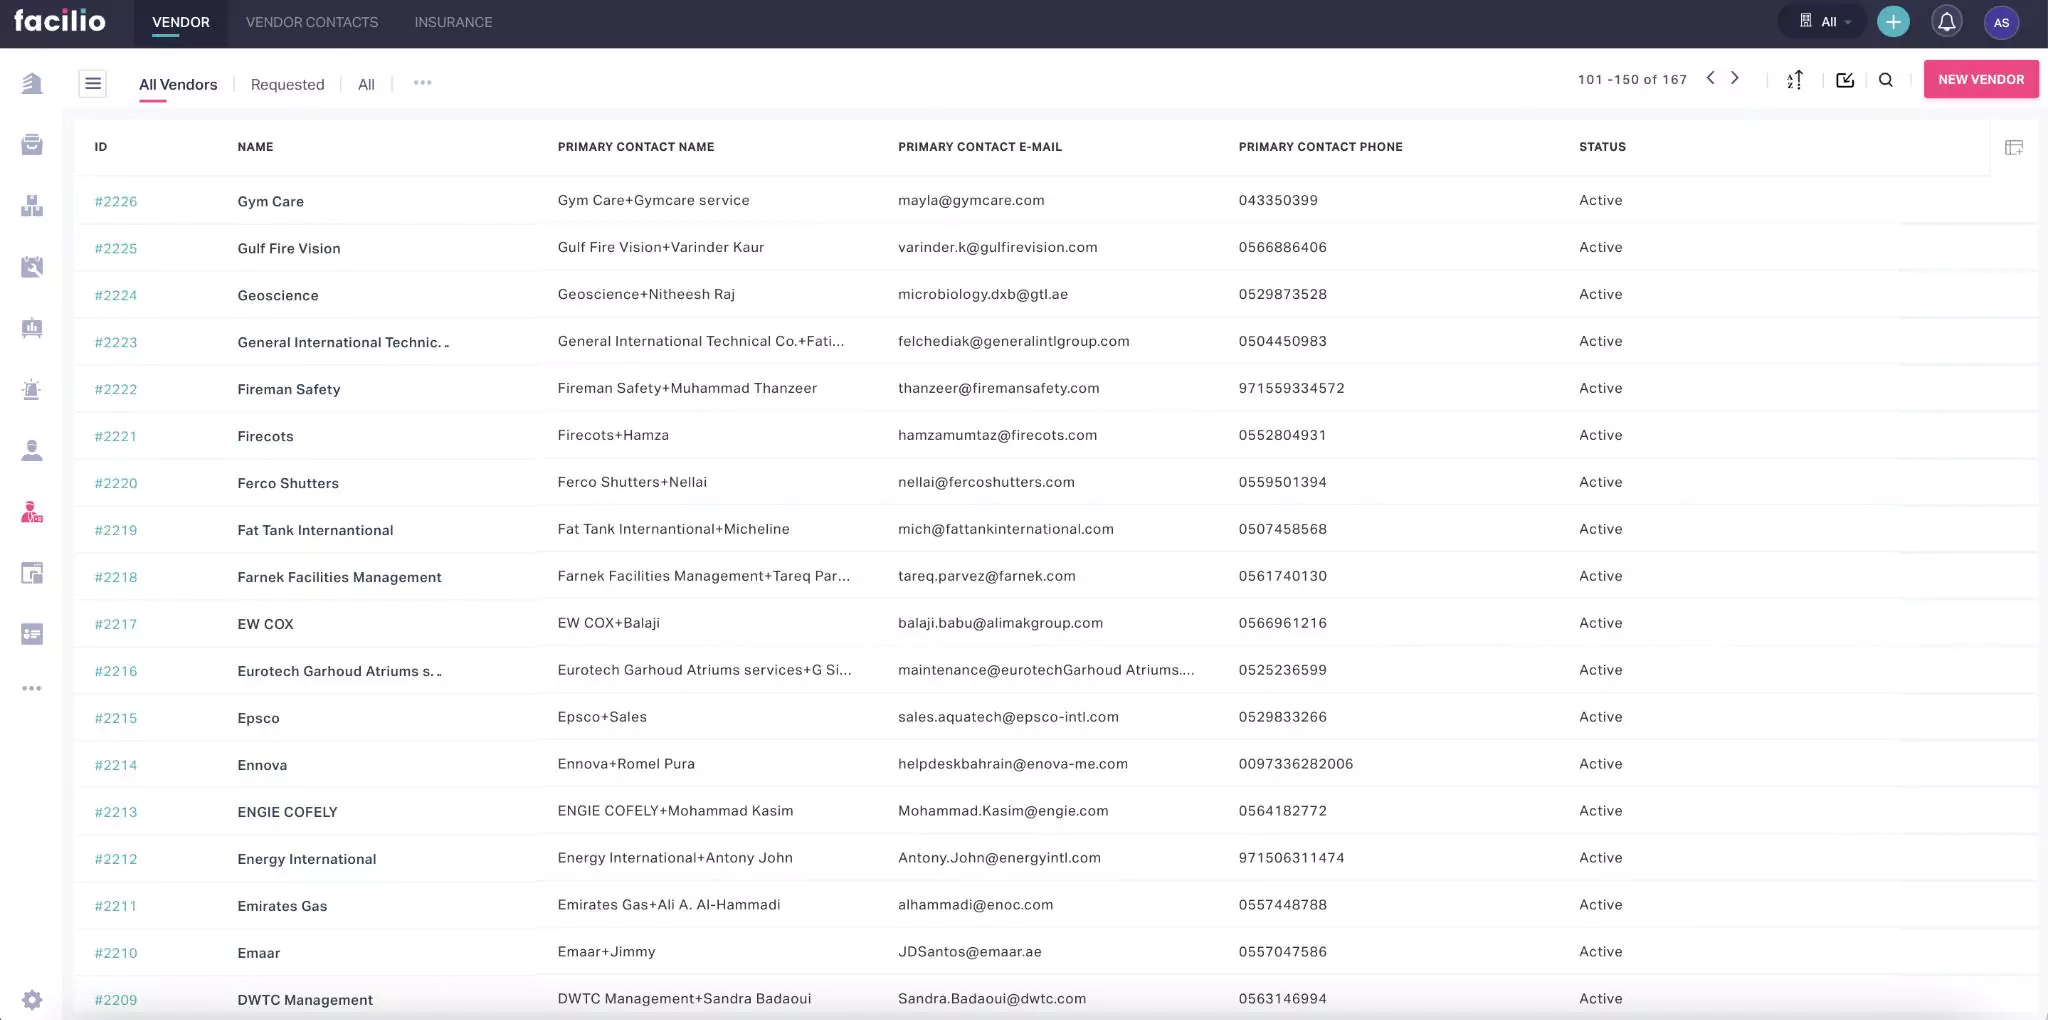
Click NEW VENDOR at the top right. The Create Vendor screen appears as shown below.
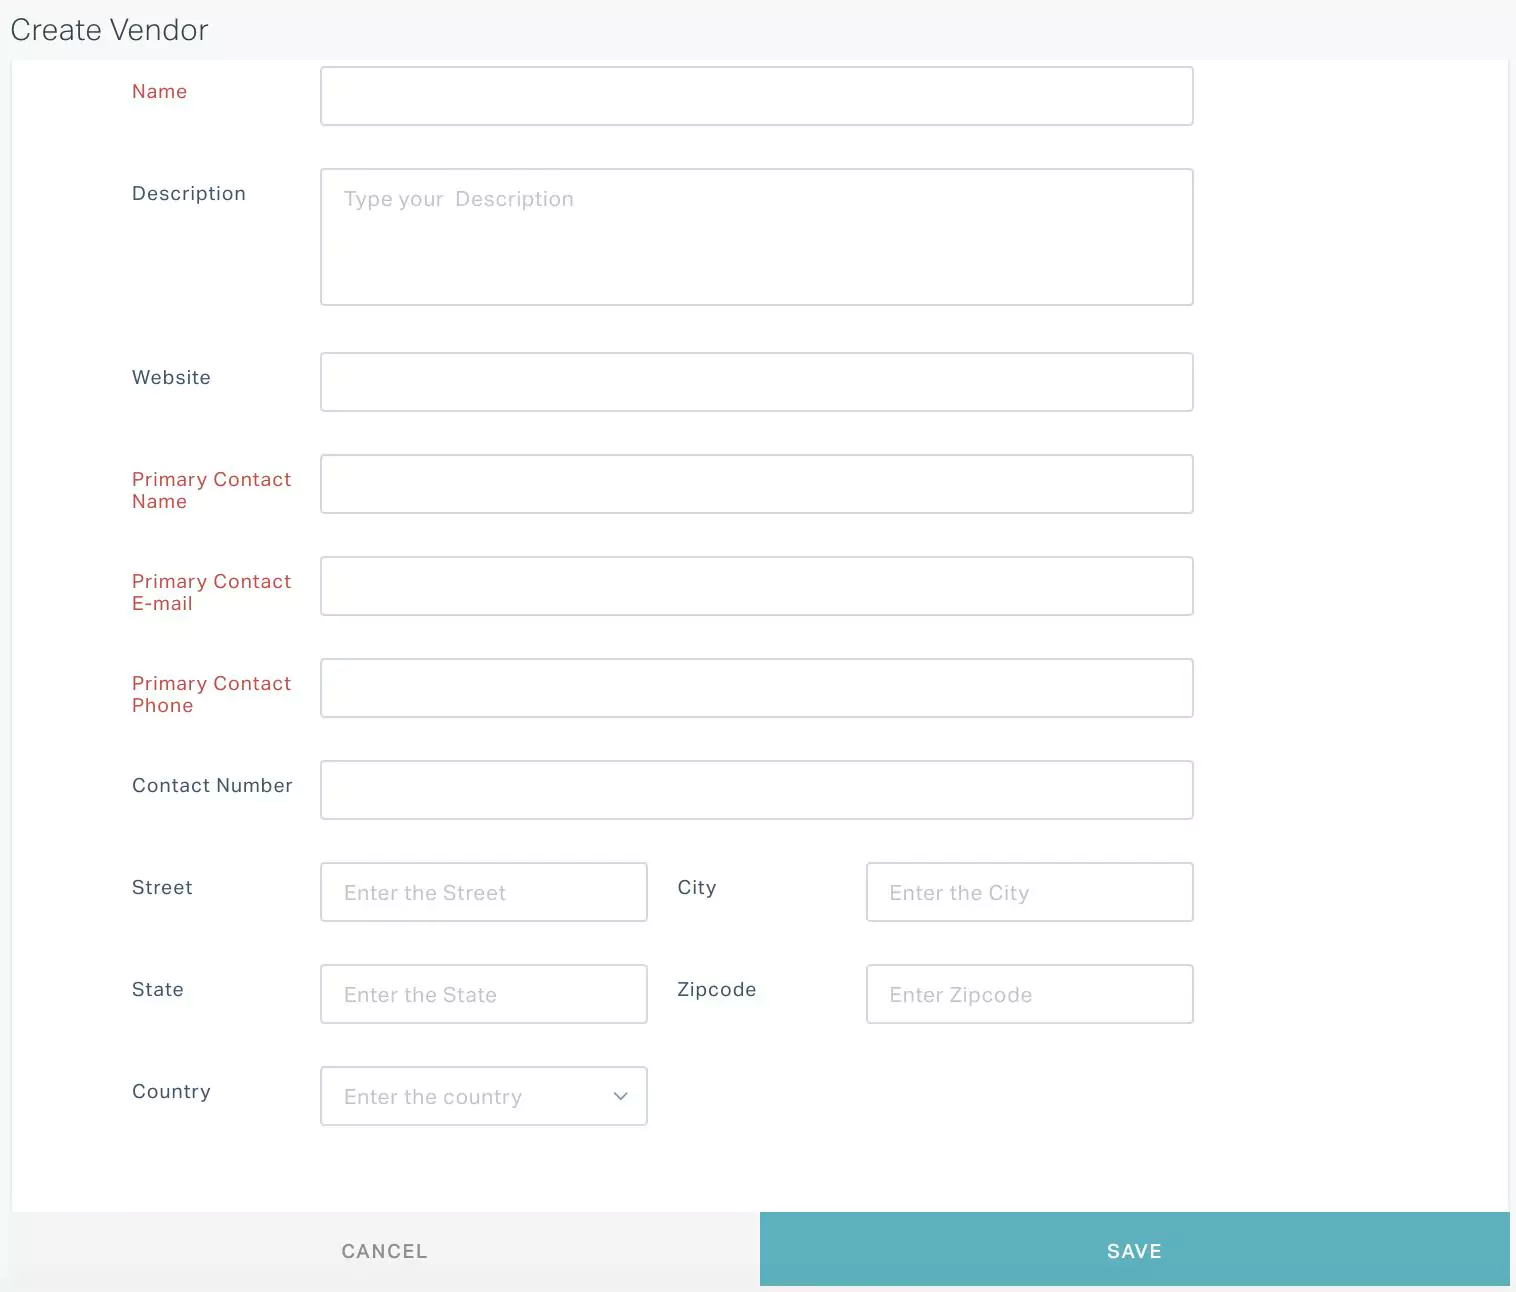
Update the required fields in this screen.
Note: The primary contact indicates the first point of contact in the organization for any notification or clarification.Tip: For identification purposes, you can name the vendor after the vendor organisation.Click SAVE
Adding a Vendor Contact
To associate a vendor contact to a vendor,
Click the
(Vendor) icon in the sidebar menu. The VENDOR section is displayed by default.Navigate to the VENDOR CONTACTS section. All vendor contacts are displayed as shown below.
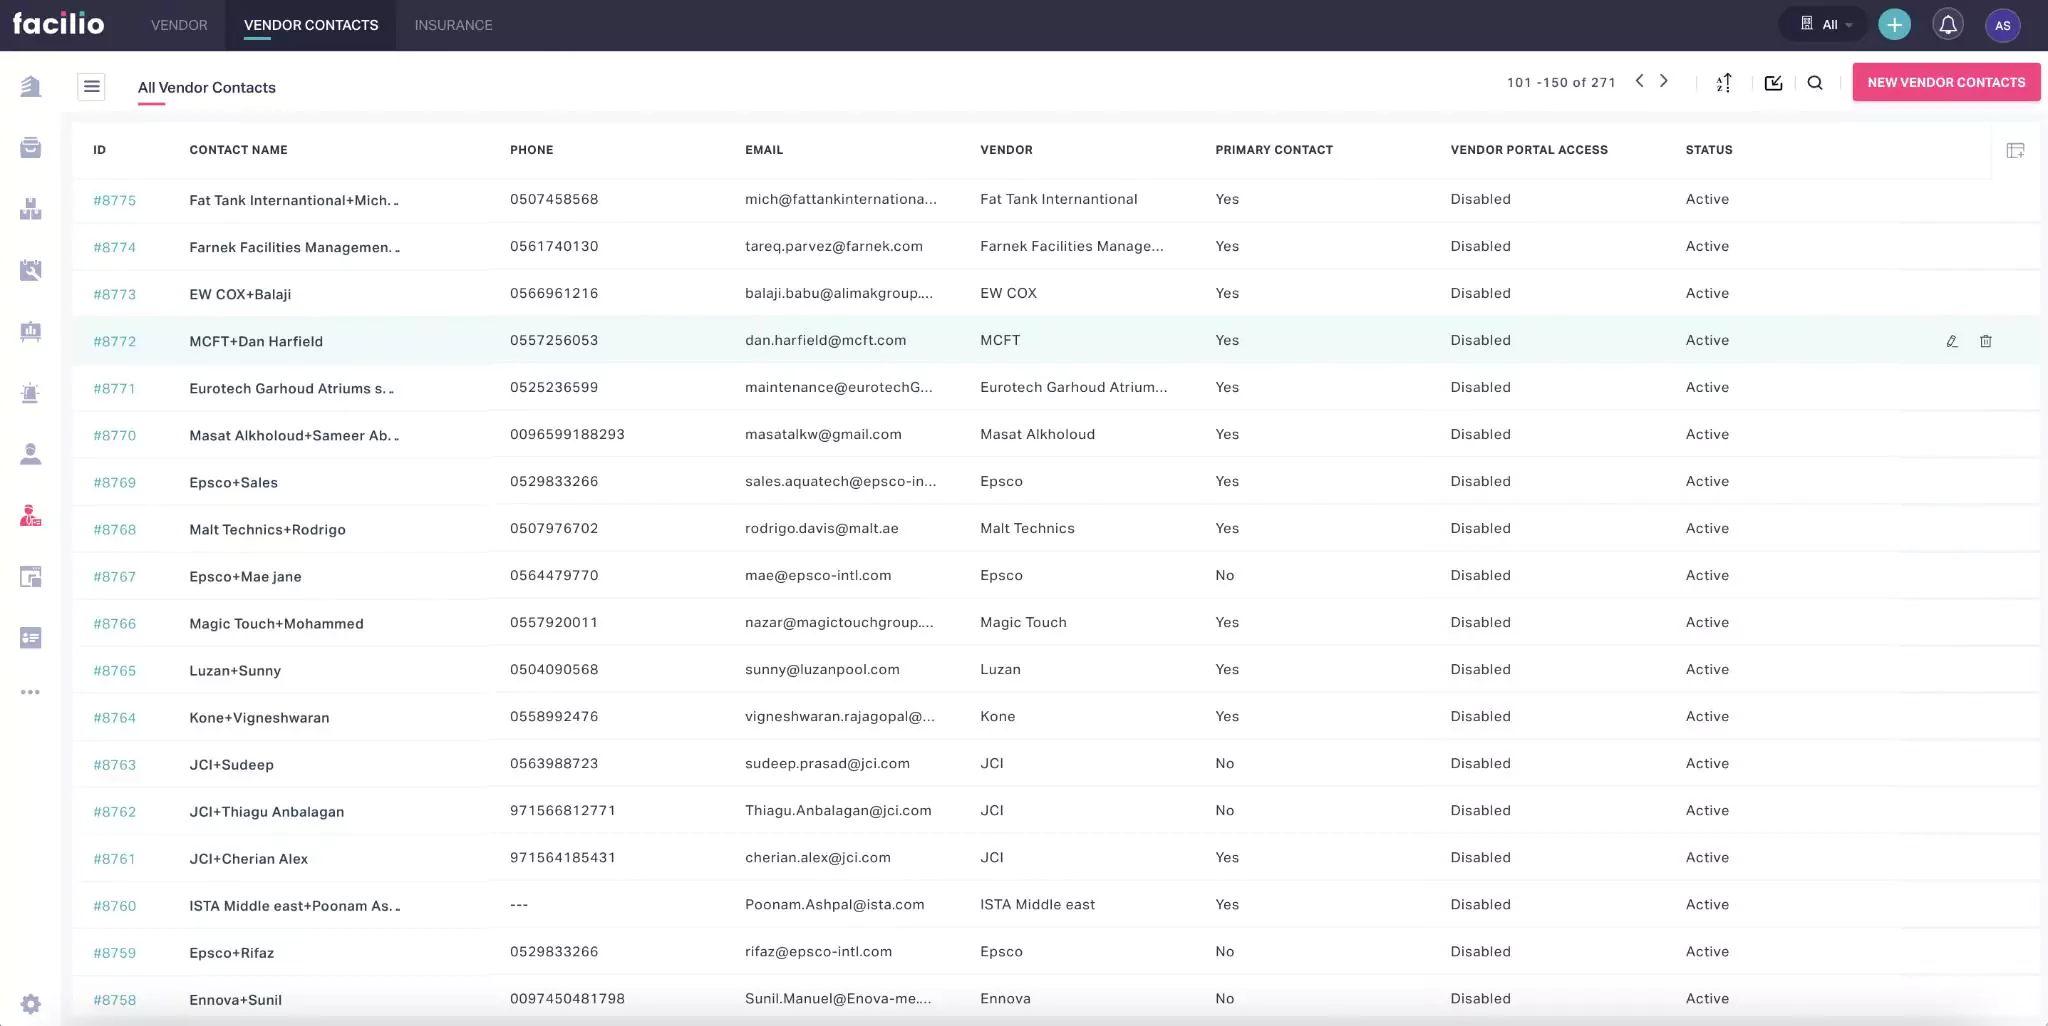
Click NEW VENDOR CONTACT. The Create Vendor Contact screen appears as shown below.

Update the required fields in this screen.
Note: Check the Primary Contact field to make the contact as the first point of contact in the organization.Click SAVE. The new contact is now associated with the selected Vendor.
Note: You can navigate to the RELATED LIST section of the respective vendor details screen to view the associated vendor contacts.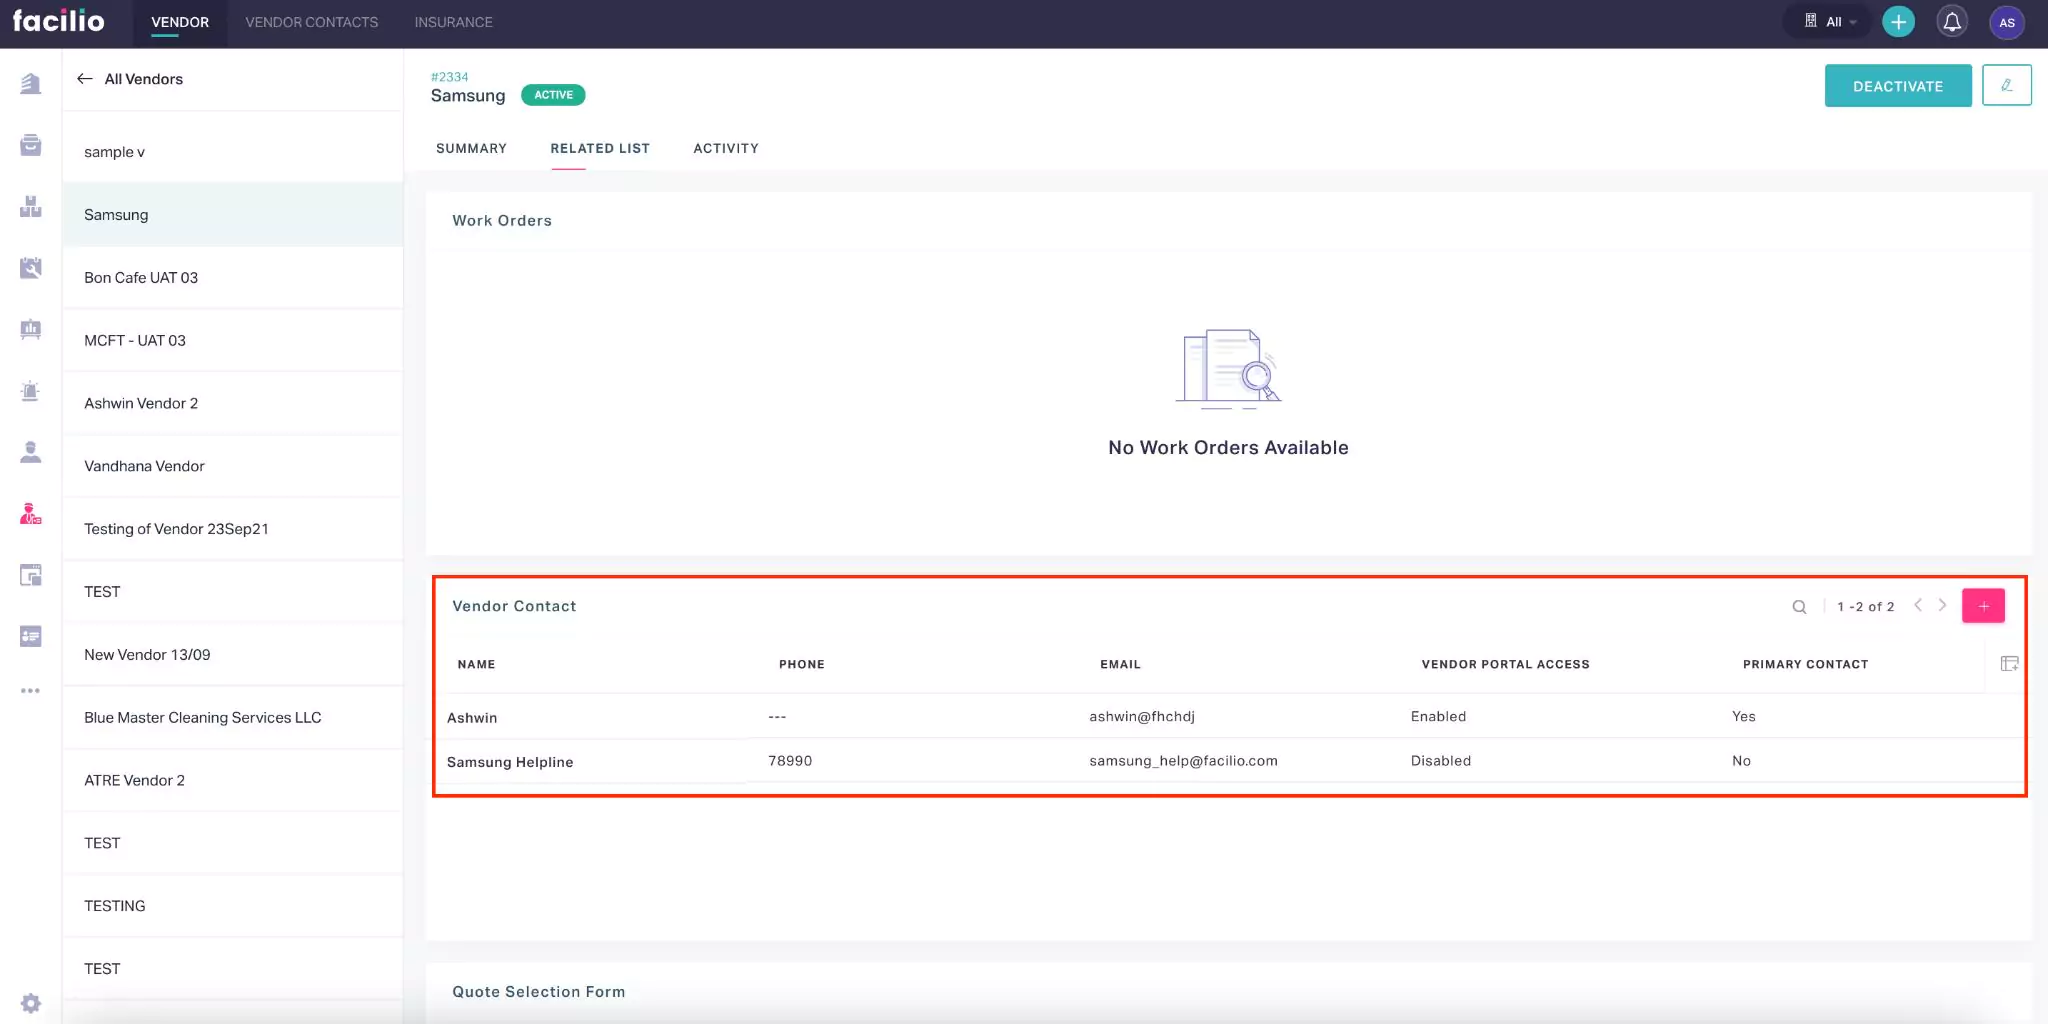
Also, you can use the
 icon in the Vendor Contact section shown above, to directly associate contacts to the vendor.
Modifying Details
To make changes to the attributes of an existing vendor or vendor contact,
Click the
(Vendor) icon in the sidebar menu. The VENDOR section is displayed by default.Select the vendor from the dashboard. The details are displayed as shown below.

Click the
 (edit) icon at the top right of the screen.
Update the required fields in the Edit Vendor screen that appears.
Click SAVE. The changes are saved against the vendor in the dashboard.
Note: Alternatively, you can use icon in the vendor details screen to modify the details.
The same procedure applies for modifying the vendor contact details. You must navigate to the VENDOR CONTACT section to select the vendor contact that has to be modified.
Changing Status
To change the status of a vendor,
Click the
(Vendor) icon in the sidebar menu. The VENDOR section is displayed by default.Select the vendor from the dashboard. The details are displayed as shown below.
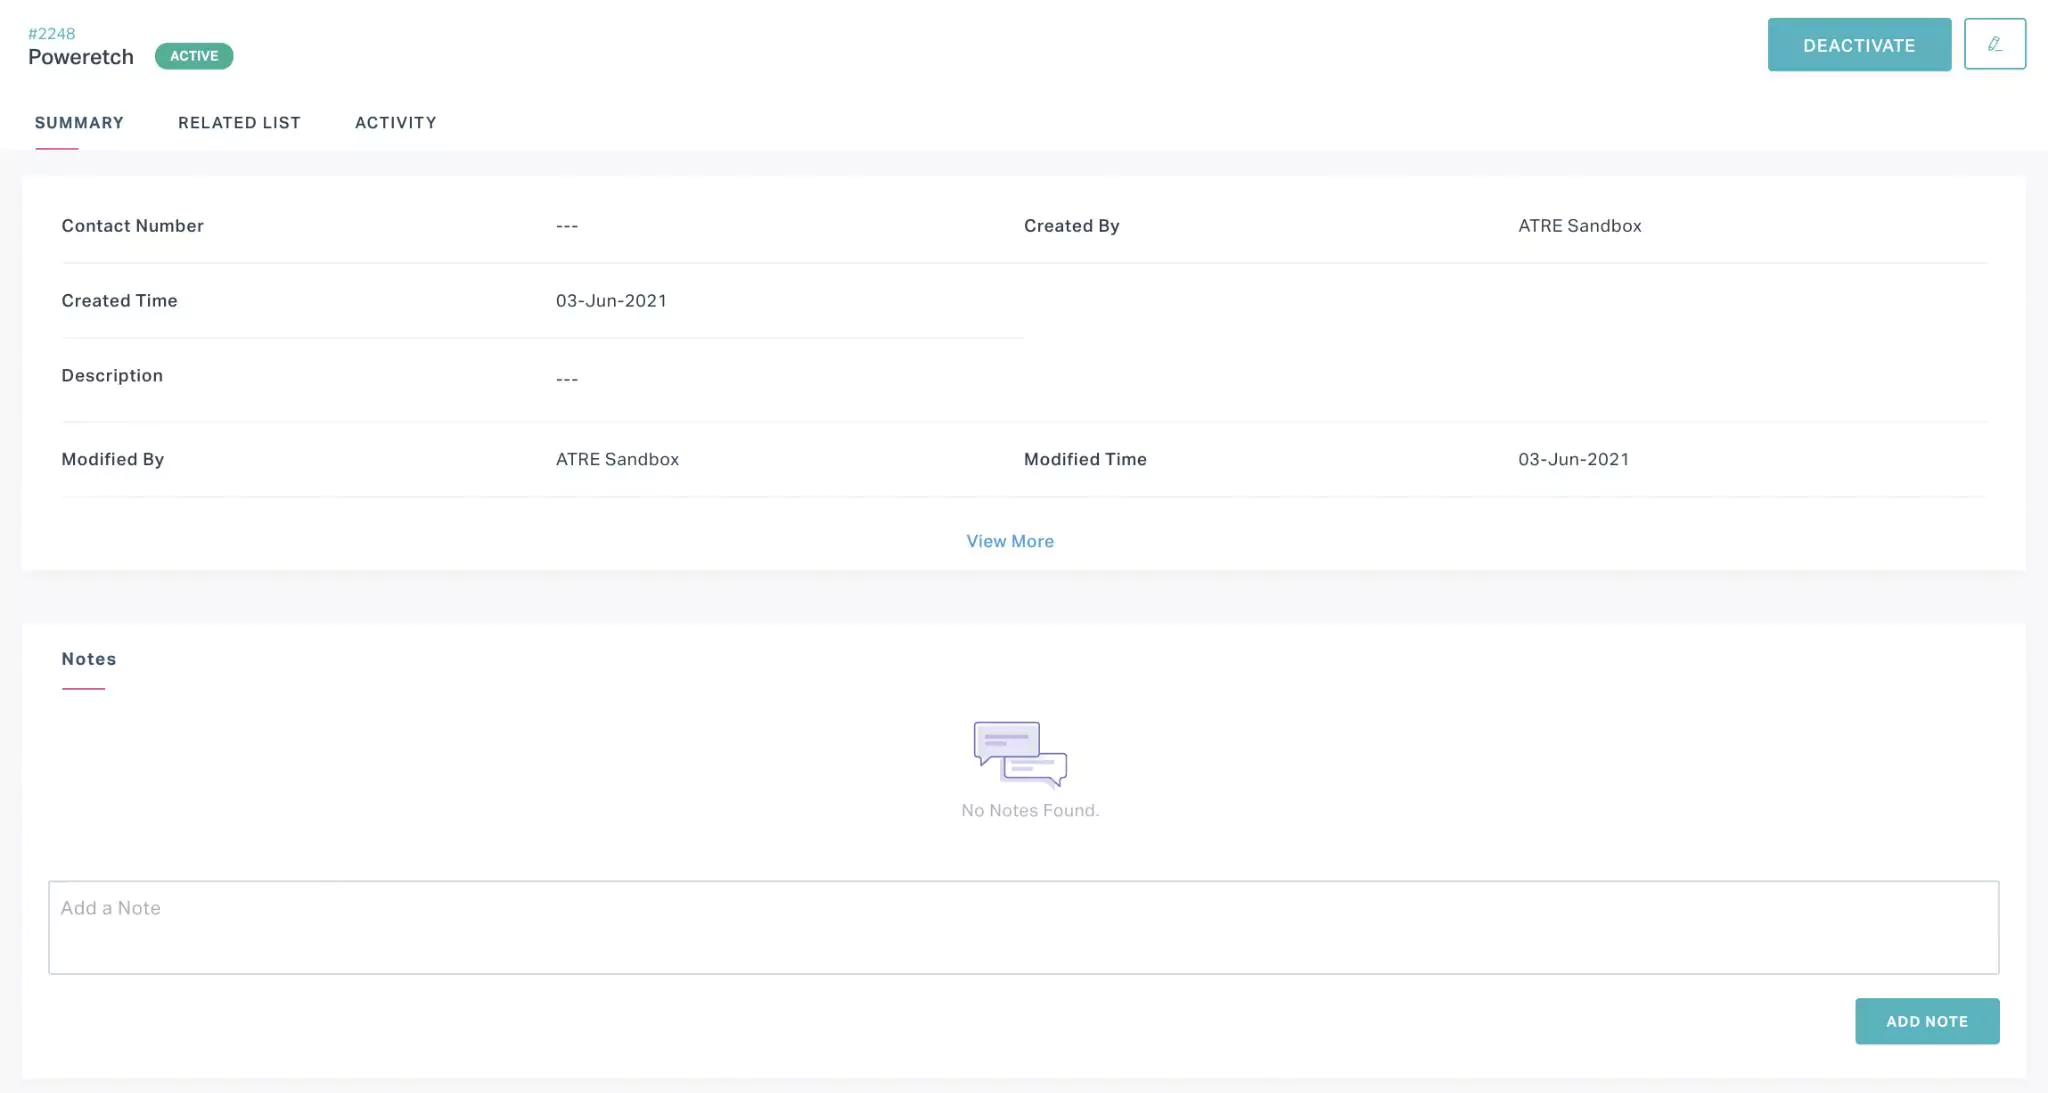
Click DEACTIVATE or ACTIVATE to inactivate or activate the vendor, respectively. The status of the vendor is updated to INACTIVE or ACTIVE accordingly.
Note: The option displayed varies with respect to the current status of the vendor. Also, the status of the vendor is automatically updated with respect to the insurance validity.
The same procedure applies for changing the status of a vendor contact. You must navigate to the VENDOR CONTACT section to select the vendor contact, whose status has to be changed.
Deleting a Record
To delete a vendor from the dashboard,
Click the
(Vendor) icon in the sidebar menu. The VENDOR section is displayed by default.Click the
 (Delete) icon respective to the vendor in the dashboard to delete it. A confirmation window appears to confirm the deletion.
Click DELETE. The selected vendor is removed from the dashboard.
The same procedure applies for deleting a vendor contact. You must navigate to the VENDOR CONTACT section to select the vendor contact that has to be deleted.