Managing Company Profile Settings
The profile setup is the process of defining who the company is, where the company is, how it can be reached, when it works and other essential details that better describe the company. The Company Profile module enables setting up the profile details that emphasize on the basic understanding of the company among the audience.
In order to navigate to this module click the  (Settings) icon and select Company Profile under the GENERAL section. The Company Profile Details screen appears as shown below, where the profile settings can be configured.
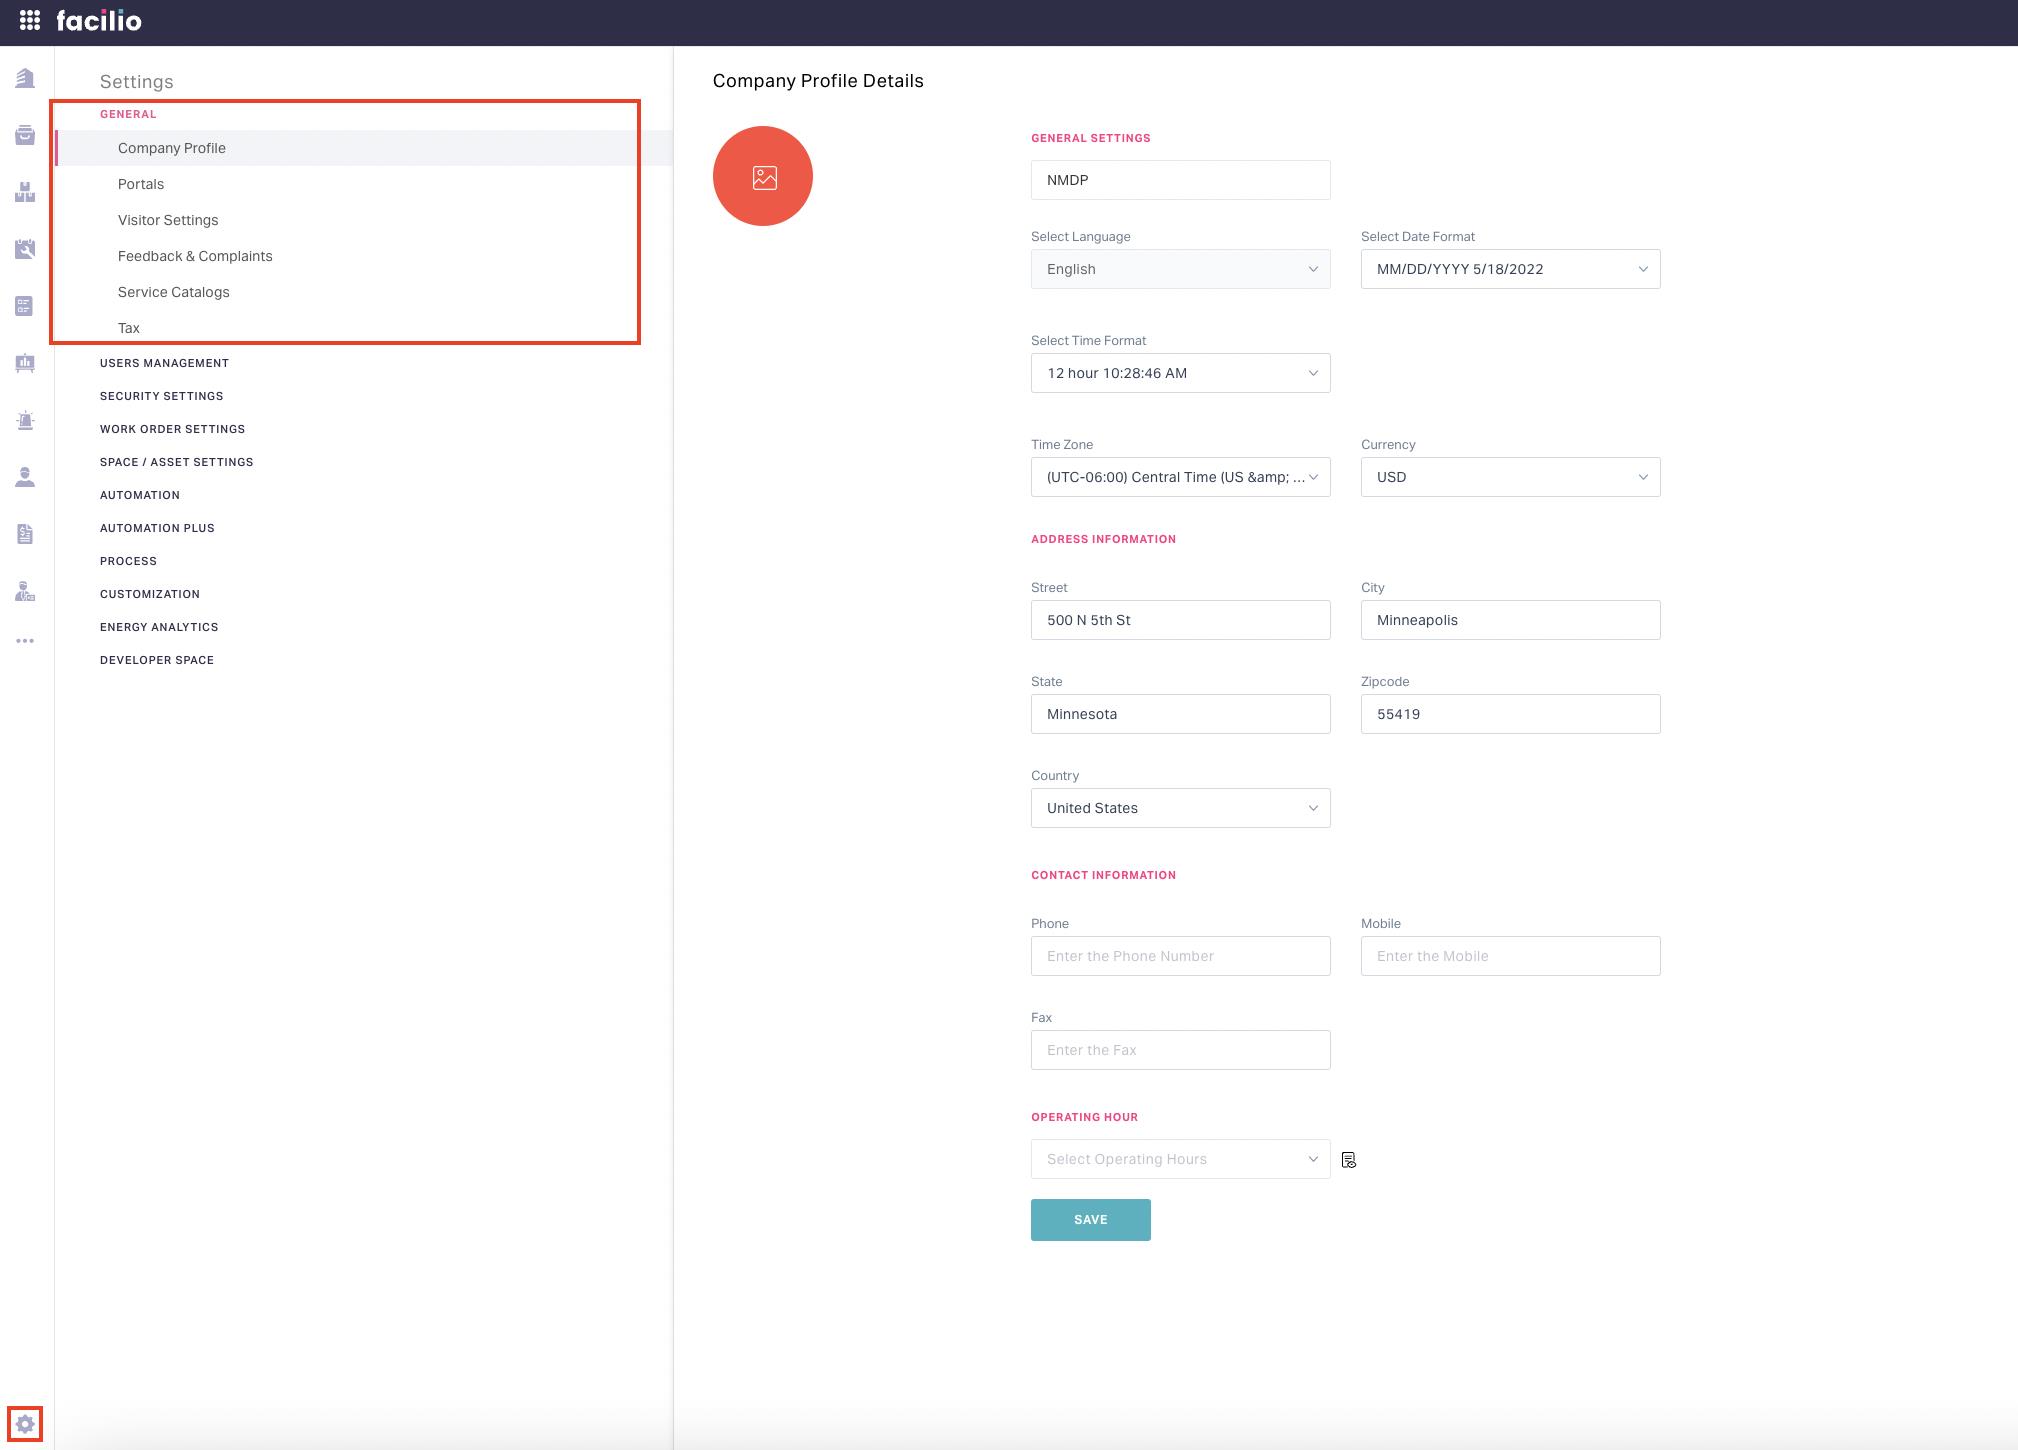
The upcoming topics illustrate the details to be configured across various sections in the Company profile Details screen.
General Settings
This section includes the settings defining the organization’s identity and the format to represent specific data (for example, date and time) displayed in the application.
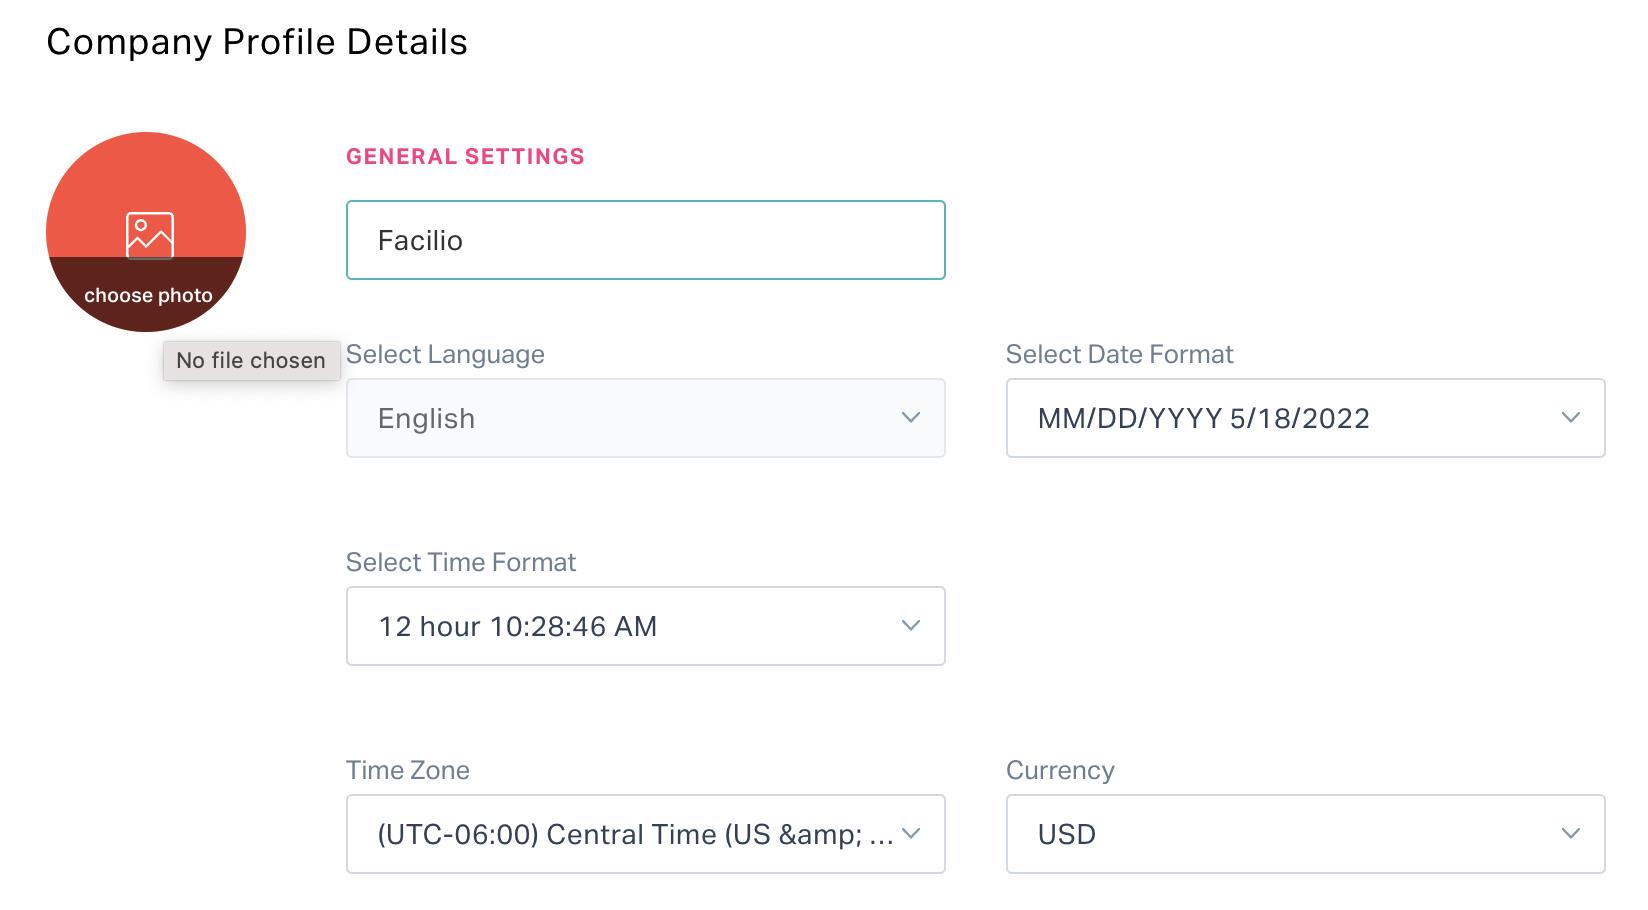
Company Name - The registered name of the company
Photo - The official company logo or company profile photo

To upload an image, click the Choose Photo link shown in the screenshot above. The photo uploaded in this section will appear in,
The login screen of the application
Any PDF downloaded from the application
All portals corresponding to the organization
Default emails triggered from the application (like password reset and user invitation)
The Summary screen of specific modules (like Quotes, Purchase Orders, and Purchase Requests)
Select Language - The language in which the application content must display
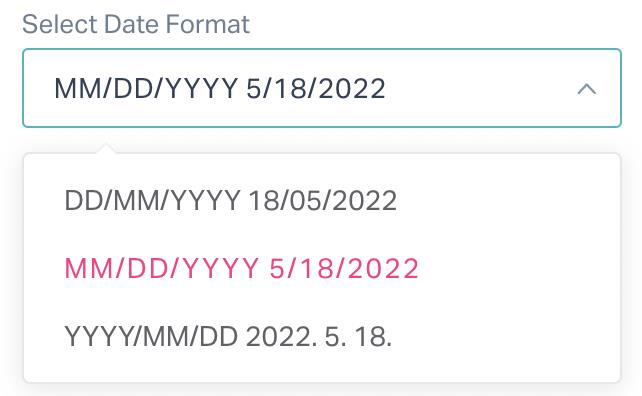
Note: This field is set to English by default.Select Date Format - The preferred date format for the date fields in the application. You can choose any one of the options shown in the screenshot below.
Select Time Format - The preferred format for the time fields in the application. You can choose any one of the options shown in the screenshot below.

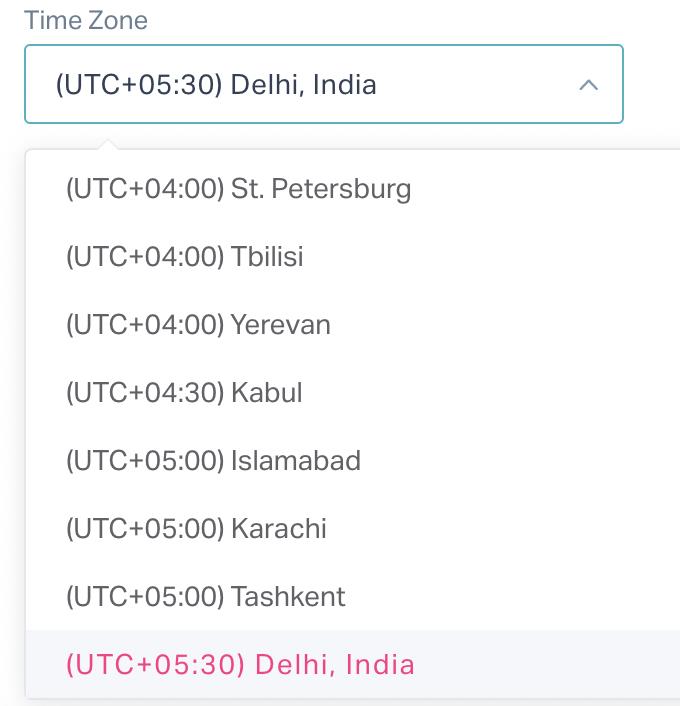
Time Zone - The time zone at which the company operates.
For example, if the company is situated in India, you can set the time time zone as shown below.
The date and time field data in the application are captured or updated based on the time zone set (for example, the record created date and time info). Also, the execution of any schedules configured in modules across the application depends on it (for example, an inspection activity scheduled to trigger on a specific date and time).
Currency - The monetary unit based on which the application transactions transpire. For example, if the company is located in India, you can set the currency as INR as shown below.

The application denominates any recorded amount or cost in the currency specified.
Address Information
This section records the details of the company's geographical location.

The following company details must be updated as a part of address information:
- Street - Name of the street in which your company is located
- City - The city in which your company is located
- State - The state where your company is located
- Zipcode - The exact zip code of your company's location
Contact Information
This section includes the contact details of the company.
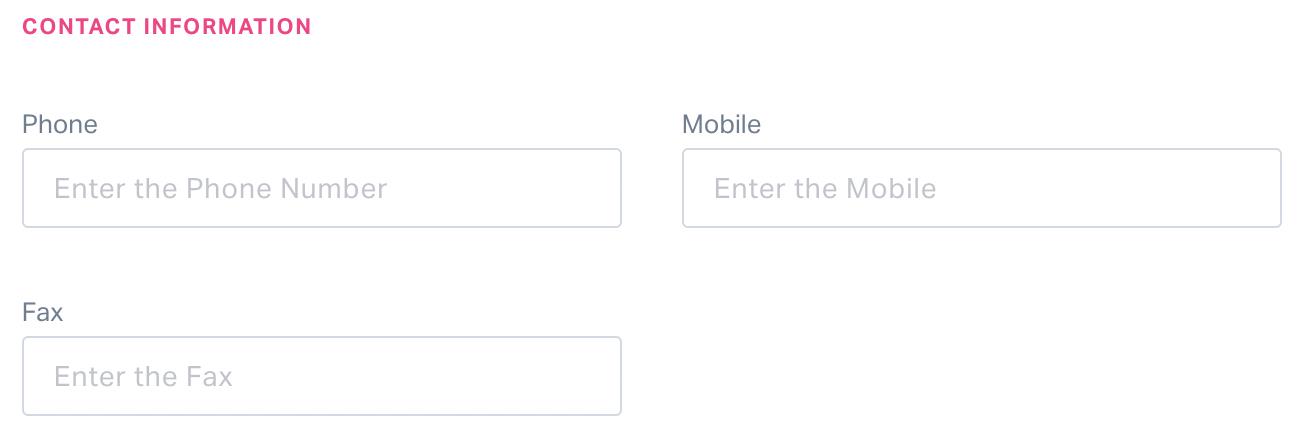
The following details must be updated as a part of contact information:
- Phone - The registered landline number of the company
- Mobile - The company's official mobile phone number
- Fax - The fax number of the company
Operating Hours
This section is used to configure the working hours of the company.
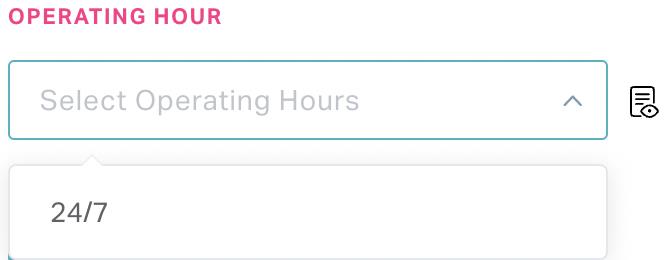
You can directly choose an option from the dropdown list or click the ![]() icon to view all the options available for selection.
icon to view all the options available for selection.
Read the Managing Operating Hours feature to understand how the operating hours are configured for an organization.
After the necessary details are updated, click SAVE. The profile details are now successfully saved.
You can click the user account at the top right and select My Profile (as shown below) to view and update the profile settings configured.
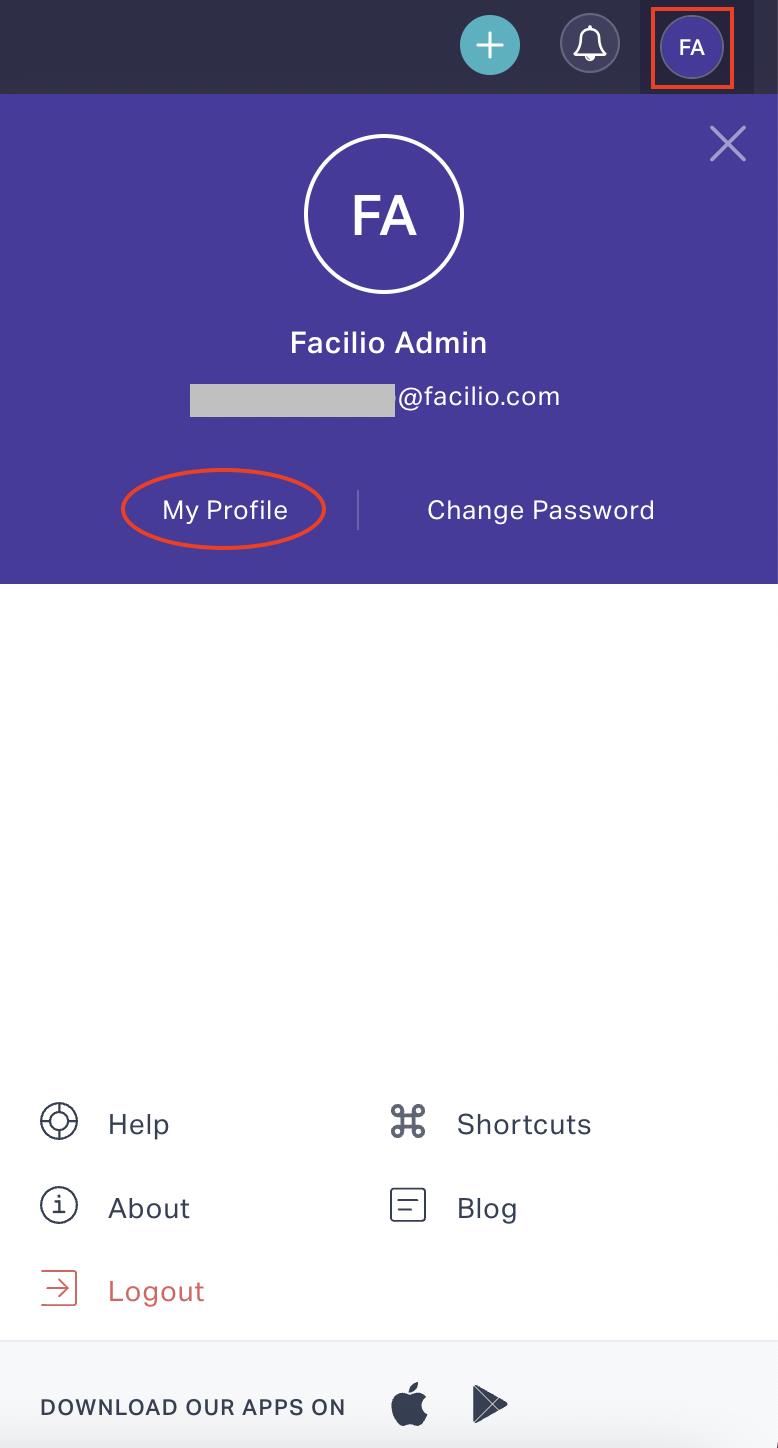
Read the Managing My User Account section for more information.