Updating Attendance
The Attendance section in the Workforce module is crucial for managing the presence and absence of workforce and ensures compliance of work with standard regulations.
This section allows administrators to execute certain actions on behalf of their field agents when the field agents are unable to perform those actions on their own due to some reason. These actions involve checking in at the beginning of their shift, taking breaks as needed, resuming work after breaks, and checking out once their assigned work is completed. Hence, it helps the administrators to manage and track the working hours, their absence, and the overall working progress of their field agents.
To access attendance, navigate to the Attendance section in the Workforce module. The People screen appears as shown below.
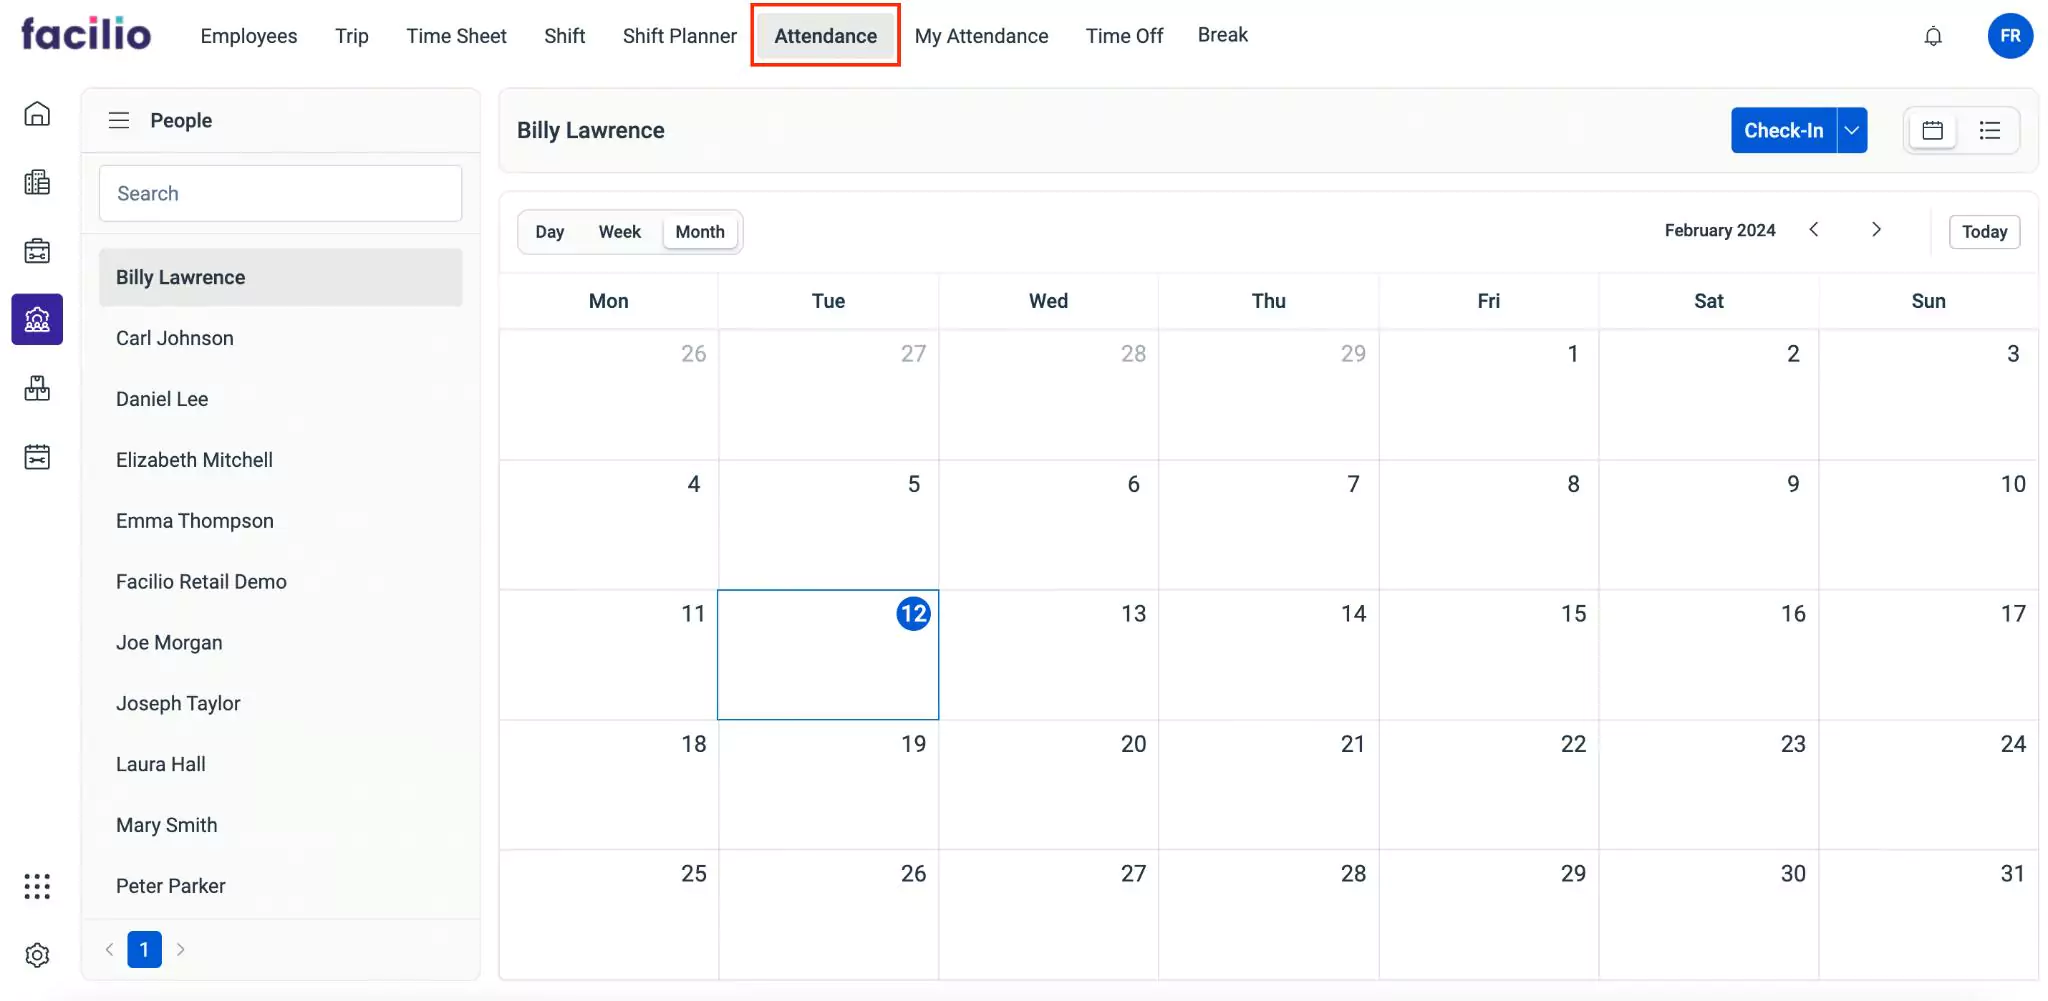
The attendance initially displays a monthly view in a calendar by default. You can switch between different formats, such as day and week using the Day and Week options respectively.
The upcoming sections illustrate how to check-in and check-out the employee, set break timing, and resume their work timing.
Check-In
The Check-In button marks the beginning of the workday or scheduled shift of field agents. It is to record their arrival at the designated work location or start of their shift.
To check-in the field agent,
Select the required field agent from the left pane.
Click the Check-In button. The Check-In screen appears as shown below.

Update the following fields in this screen.
- Date - The date and time when the field agent is checked in
- Description - The short information about the work
Click Update. The field agent is checked in for a service for the selected date.
Break
The Break button indicates that the field agent is taking a break from their work duties. It signifies that the field agent is temporarily pausing their work activities. It helps in monitoring break times and ensuring that field agents adhere to break policies.
To configure break for a field agents,
Select the required field agent from the left pane.
Navigate to the top right and click the
 (Chevron) icon.
Click Break. The Break screen appears as shown below.

Update the following fields in this screen:
- Date - The date and time when the break is taken
- Break - The type of break. For example, Lunch break.
- Description - A short description explaining the purpose of the break
Click Update. The break timing is updated for the field agent.
Resume Work
The Resume Work button signals that the employee has finished their break and is ready to resume their assigned tasks. It helps supervisors to keep track of the field agent’s availability and ensures that work activities are resumed promptly after breaks.
To resume work,
Select the required field agent from the left pane.
Navigate to the top right and click the
(Chevron) icon.Click Resume Work. The Resume Work screen appears as shown below.

Update the following fields in this screen:
- Date - The date and time when the field agent is back to work after taking break
- Description - The short description explaining the purpose of returning to work
Click Update. The resumed work timing is updated for the field agent.
Check-Out
The Check-Out button marks the completion of the field agent’s work for the day or scheduled time period. It is essential for tracking employee attendance, calculating work hours, and managing workforce scheduling effectively.
To check-out the field agent,
Select the required field agent from the left pane.
Navigate to the top right and click the
(Chevron) icon.Click Check-Out. The Check-Out screen appears as shown below.

Update the following fields in this screen:
- Date - The date and time when the field agent is checked out
- Description - The short information about the work
Click Update. The checked out date and time is updated for a field agent.
To view the attendance of a field agent, click the  icon on the top right corner of the screen. The list view screen appears as shown below.

This screen displays date wise (from the latest to the oldest) information such as the attendance, check-in and check-out timing, the hours worked, shift(s), and other details of field agents in a list view.