Configuring Shift
The Shift section serves as a designated area for creating and overseeing shifts of the field agents. Administrators can assign colors to each shift, facilitating easy distinction and readily comprehend which shifts are allocated to field agents. Additionally, you can change the status of a shift between active and inactive as needed, to streamline the shift management.
The following sections explain how to add a shift and change the status of it.
Adding a Shift
The creation of shifts enables organizations to effectively manage their workforce by defining specific working hours, scheduling the days, and assigning color codes for each shift.
To add a shift,
Navigate to the Shift section. The All Shift(s) screen appears with the list of available shifts as shown below.
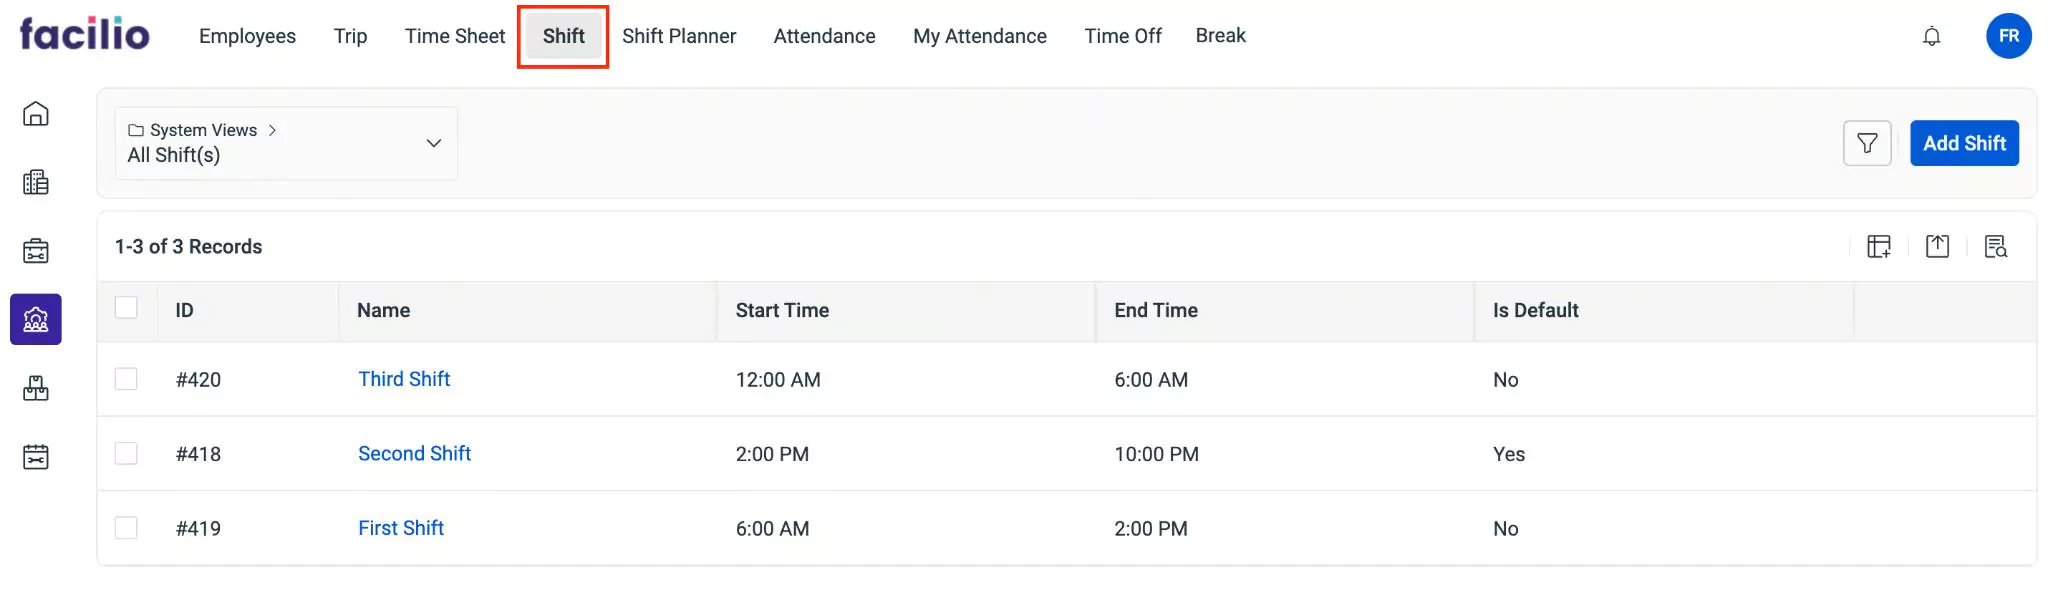
Click Add Shift. The Shift screen appears as shown below.
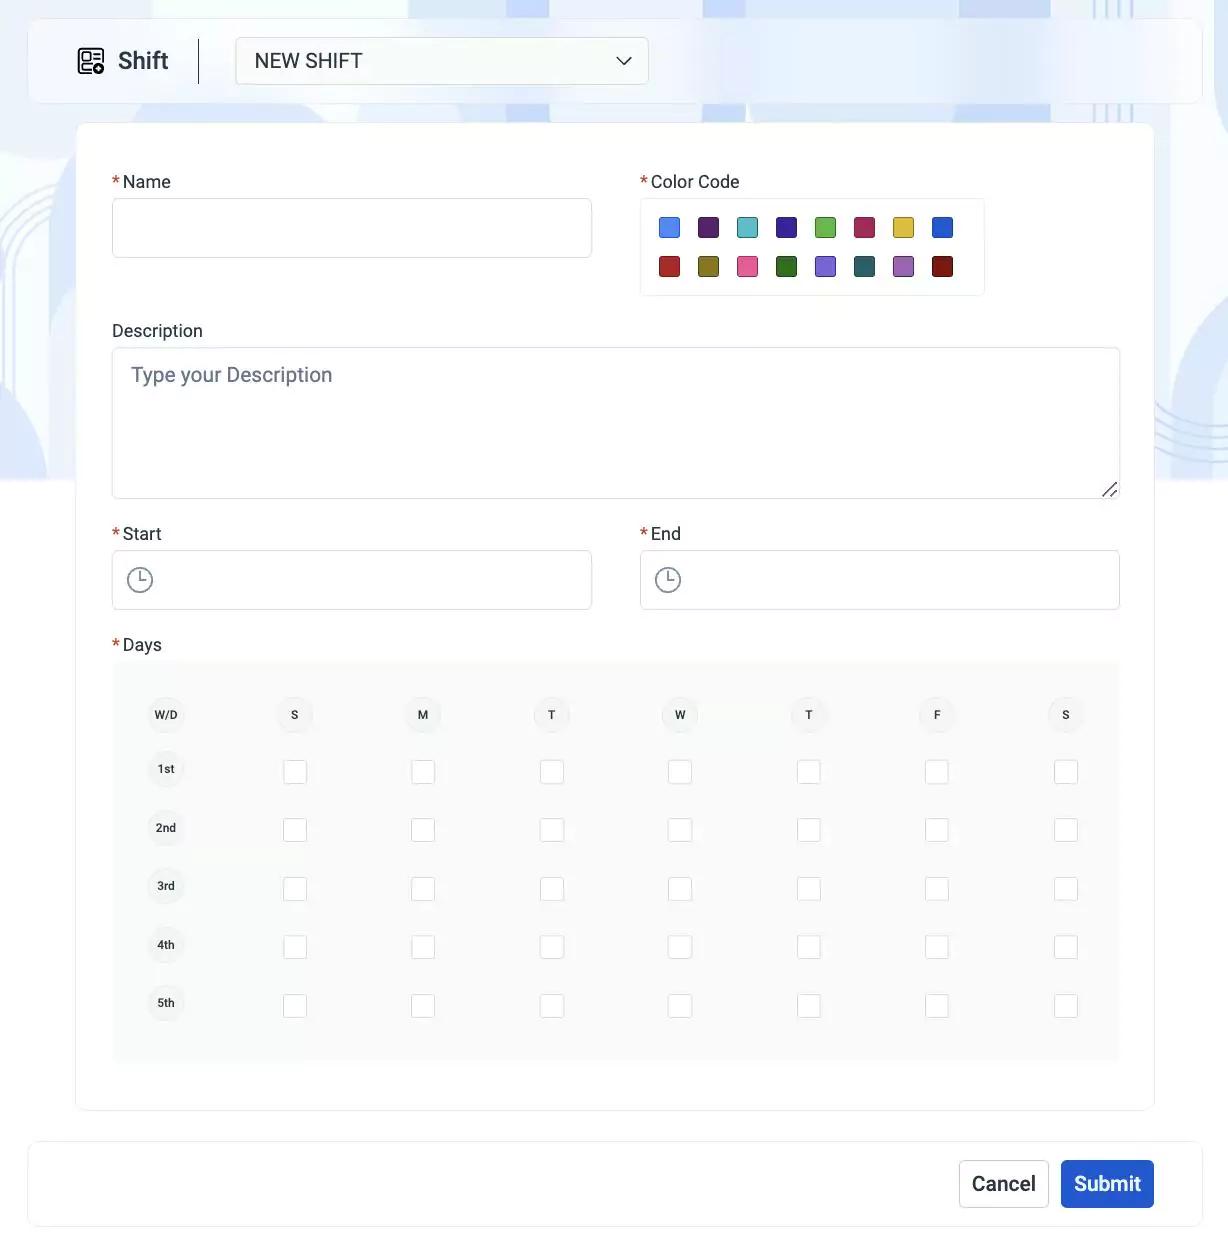
Update the following fields in this screen:
- Name - The name to identify the shift
- Color Code - The color code is a visual identifier assigned to each shift for easy recognition of shifts for employees
- Description - A short description explaining the purpose of the shift
- Start - The time when the shift begins
- End - The time when the shift ends
- Days - The specific days of the week for which shifts are scheduled
You can check the checkboxes of the required day(s) of a week(s) in a month (up to five weeks) to schedule shifts.
For example, To schedule shifts, check the checkboxes for Monday, Wednesday, and Friday for the first, second, and third weeks, respectively as shown below.
The checked days of the week are scheduled for shifts.
Click Submit. The shift is added to the All Shifts list.
Changing Shift Status
You can specify whether a shift is active or inactive with respect to its working hours. When you add a new shift, the status of the shift is marked ‘Active’ by default. The application allows you to inactivate the shift anytime when the status is active. Also, based on the requirement, you can activate any inactive shift later.
To change the status of a shift manually,
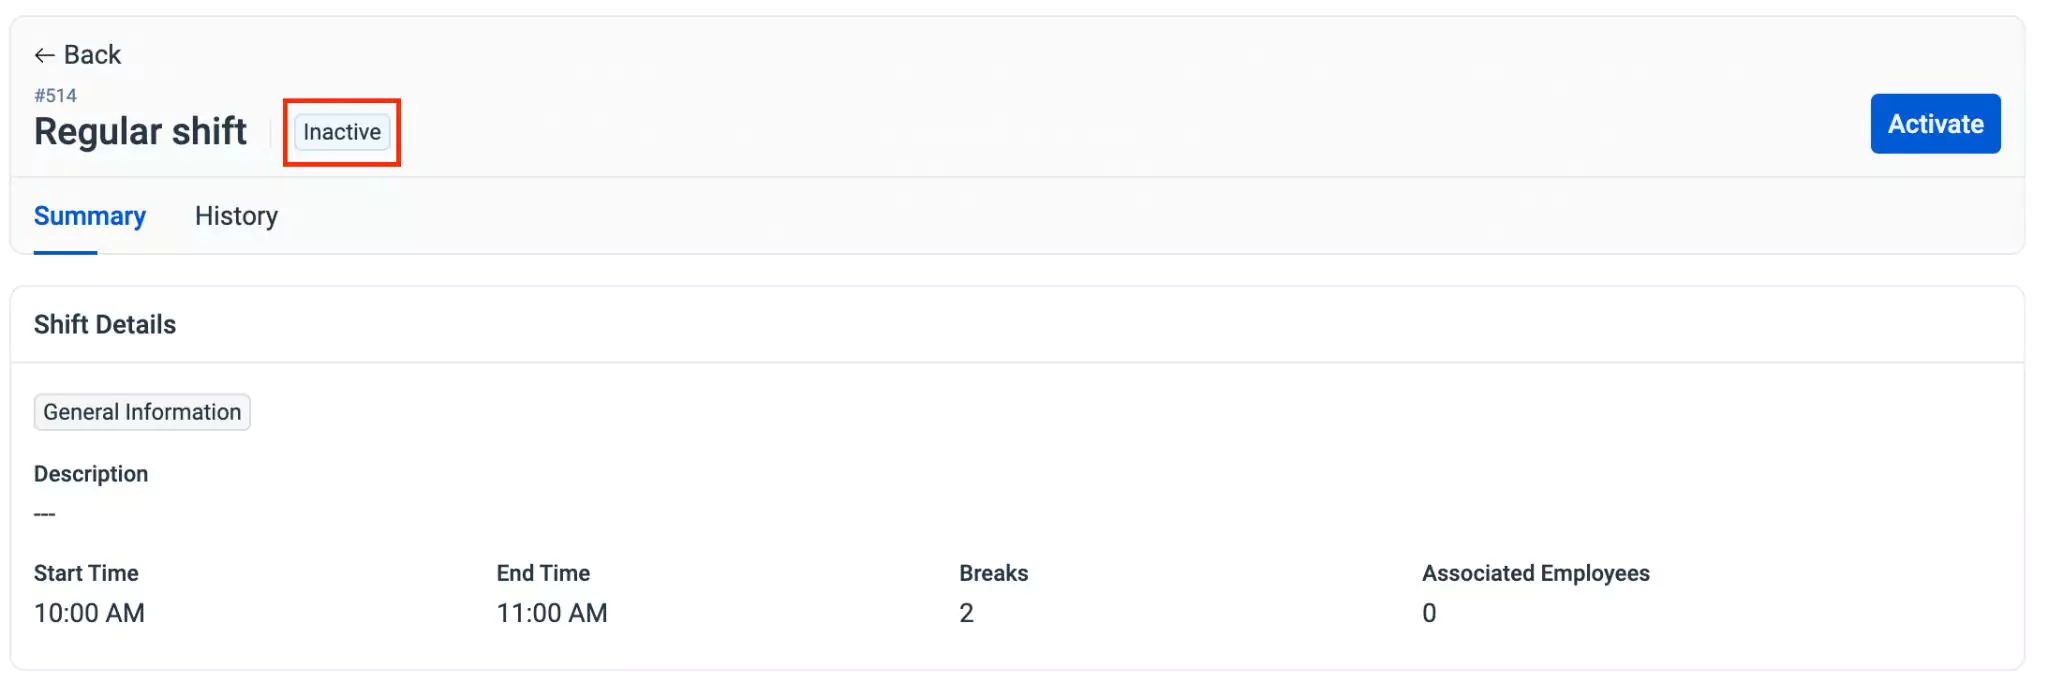
Select the required shift from the list view. The details page of the shift is displayed as shown below.
Note: The status of the shift shown above is Active.Click Deactivate to inactivate the shift. The status is changed to Inactive as shown below.
 Note: The button displayed may vary with respect to the current status of the shift.