Configuring Break
The Break section allows administrators to create break types such as paid and unpaid breaks. They can assign appropriate break types to the applicable shifts. It helps the administrators to ensure authentic break regulations regarding break times. This section is very efficient in configuring breaks for required shifts, ensuring compliance with the defined regulations, and thus, promotes a healthy work-life balance for field agents.
To add a break,
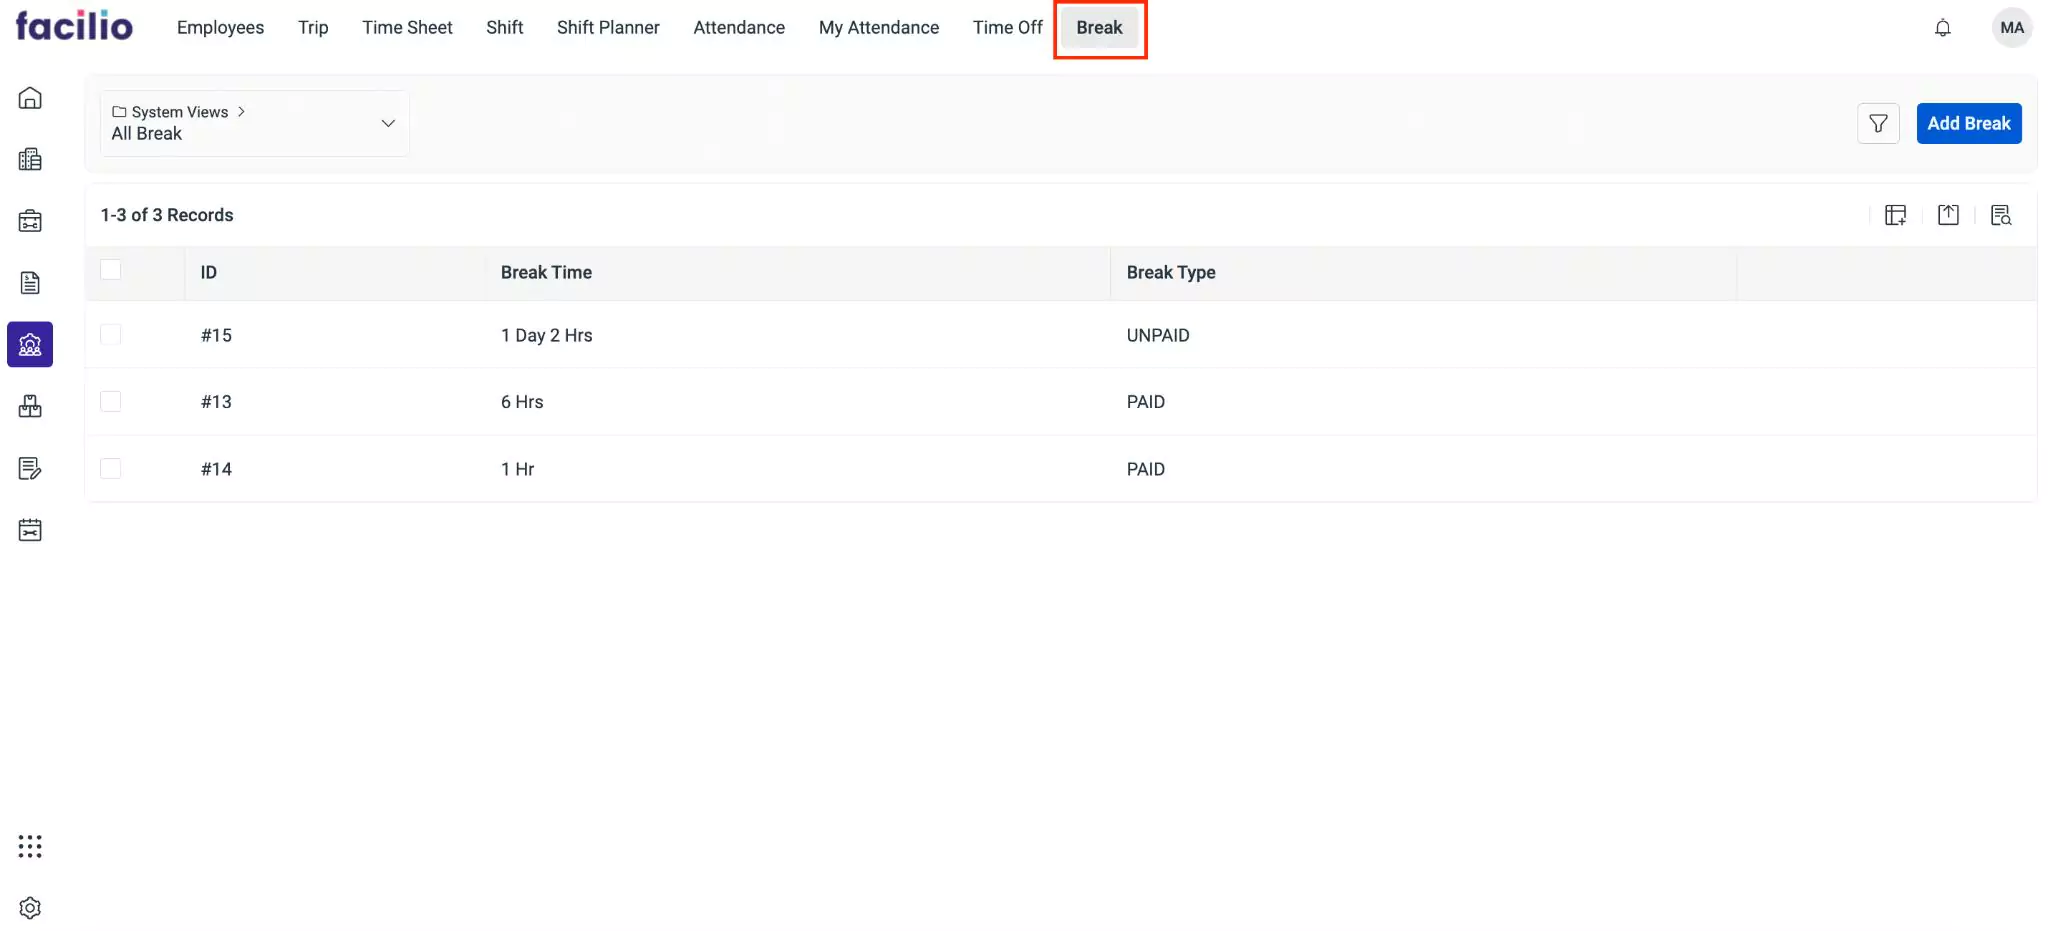
Navigate to the Break section. The All Break screen appears with the list of available breaks as shown below.
Click Add Break. The Break screen appears as shown below.
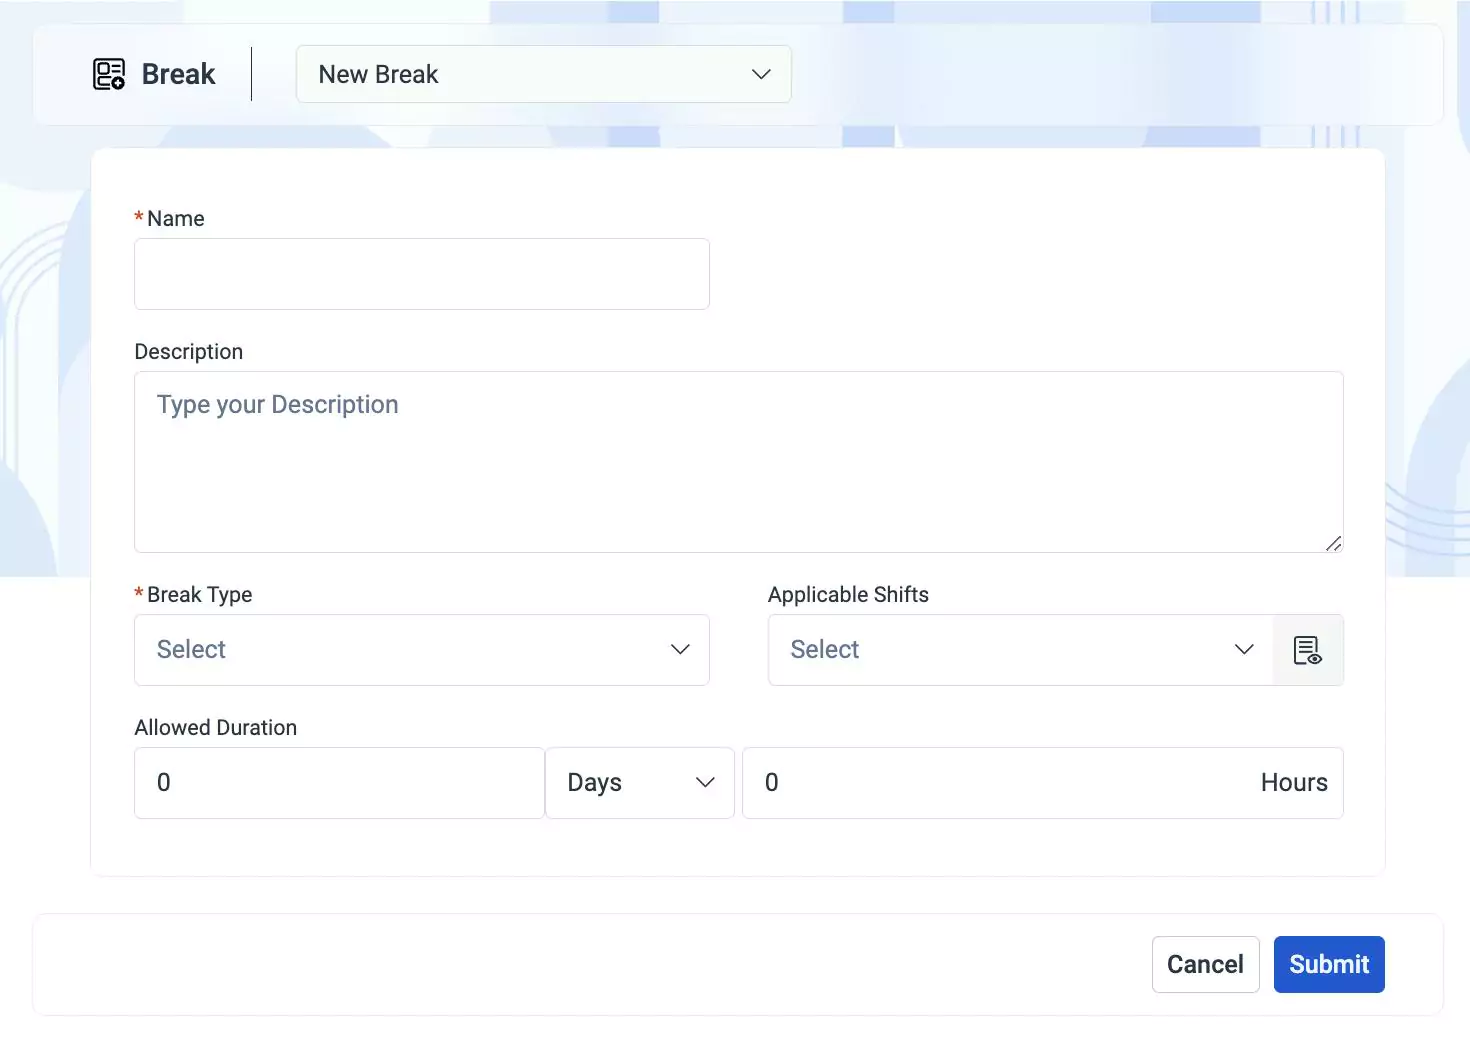
Update the following fields in this screen:
- Name - The name to identify the break
- Description - A short description explaining the purpose of the break
- Break Type - The classification of breaks. For example, paid or unpaid to determine whether an employee receives compensation during a break.
- Applicable Shifts - The shifts for which the selected break is applicable
- Allowed Duration - The maximum time duration specified for the break
Note: You can choose to define the break duration either in days or in hours from the drop-down. The corresponding field differs based on the attribute selected in the Allowed Duration field.Click Submit. The break is added to the list of the All Break list.