Illustrating Dispatch Console Gantt View
Gantt view provides a visual representation of service appointments over a timeline. It offers a clear and intuitive way to visualize the distribution of service appointments over time, aiding in efficient scheduling and resource management. To access the Gantt view, navigate to the Dispatch Console section and click the ![]() (Gantt) icon at the top right corner of the screen.
(Gantt) icon at the top right corner of the screen.
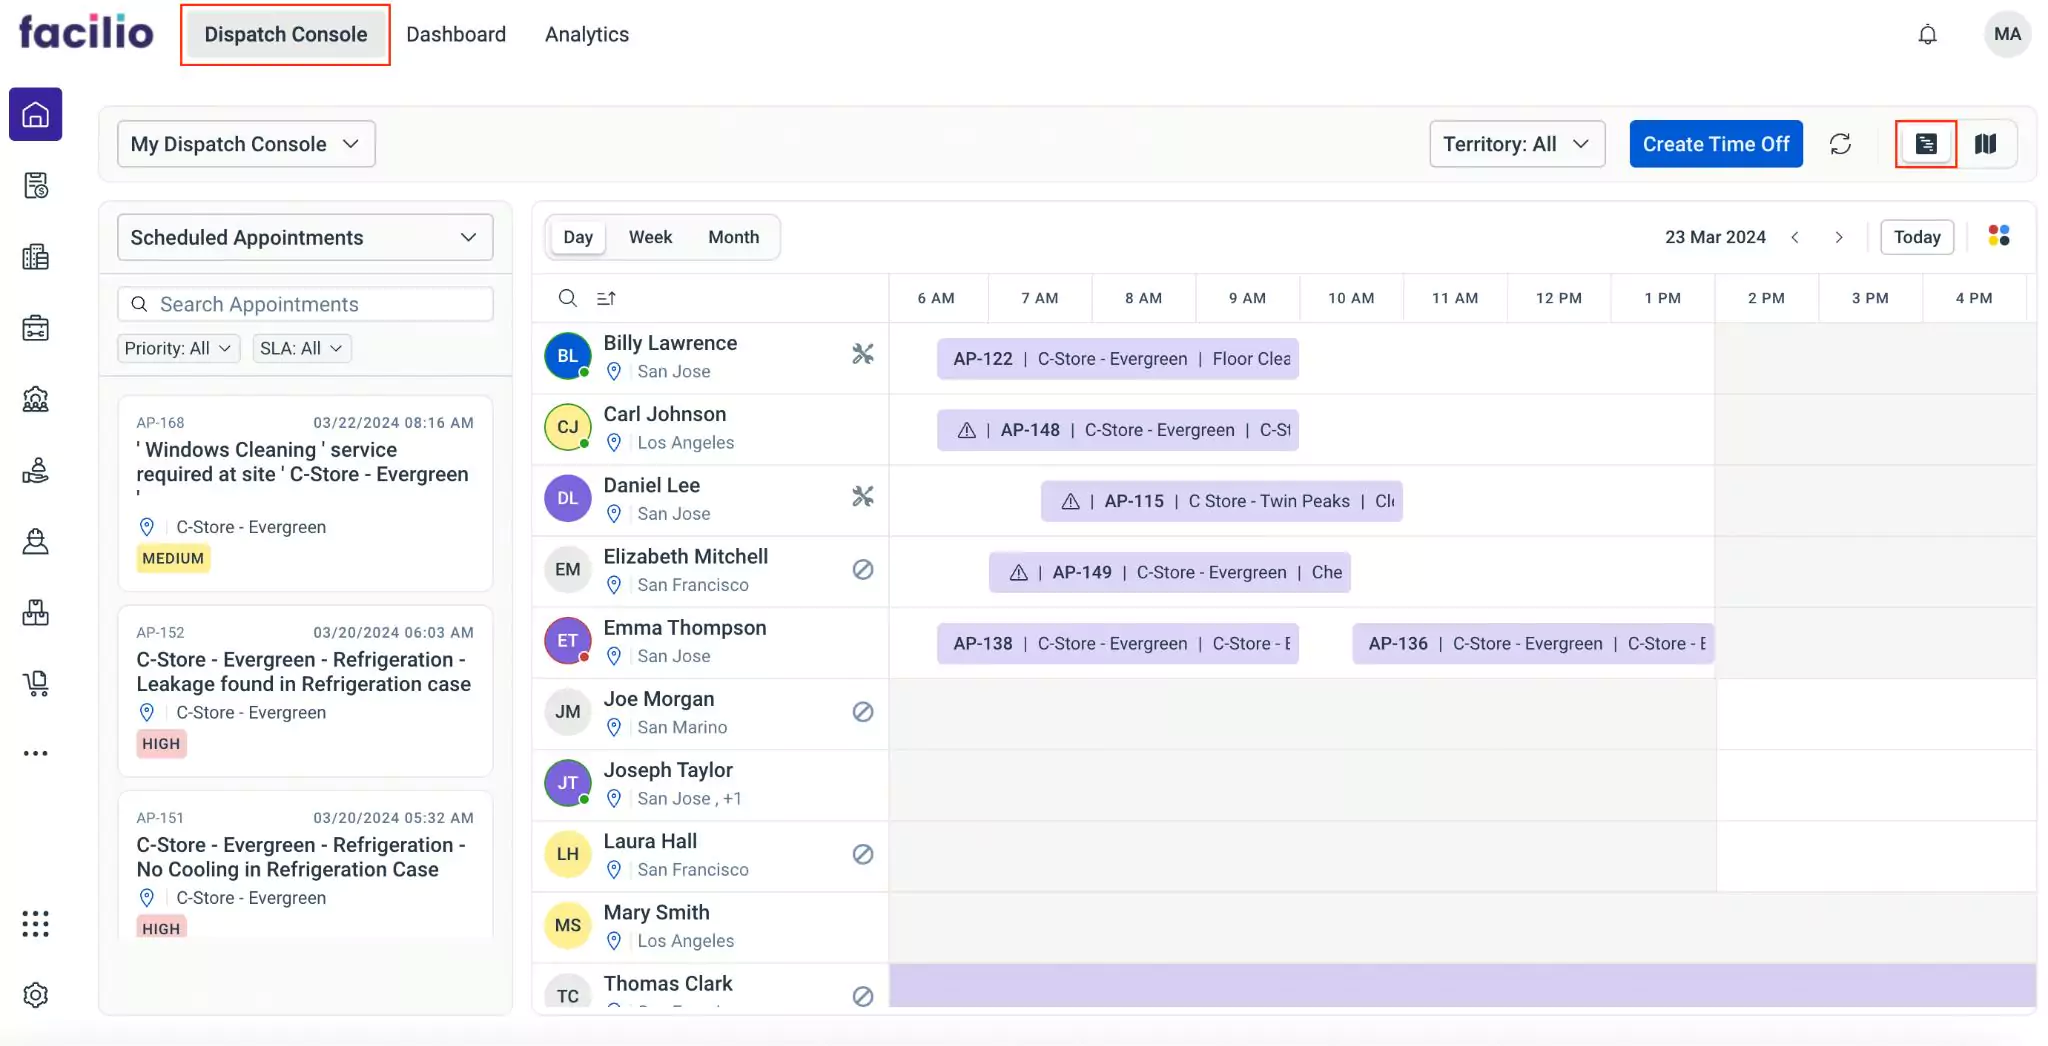
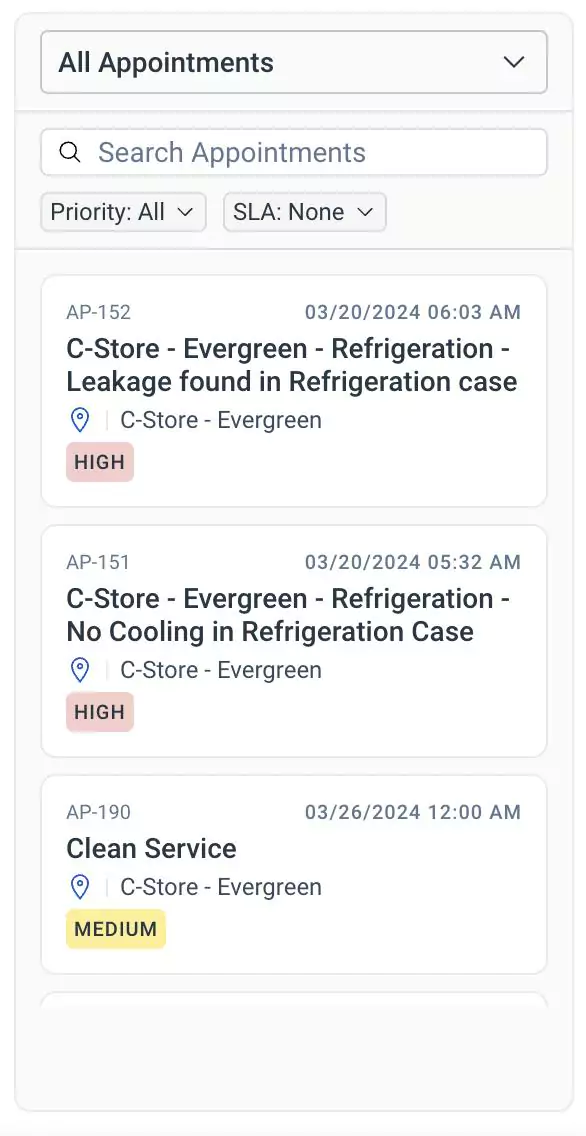
The Appointments section displays the created appointments. You can search for an appointment by typing the name of the appointment in the Search Appointments field. Moreover, the Priority and SLA buttons allow you to filter the appointments based on the set criteria.
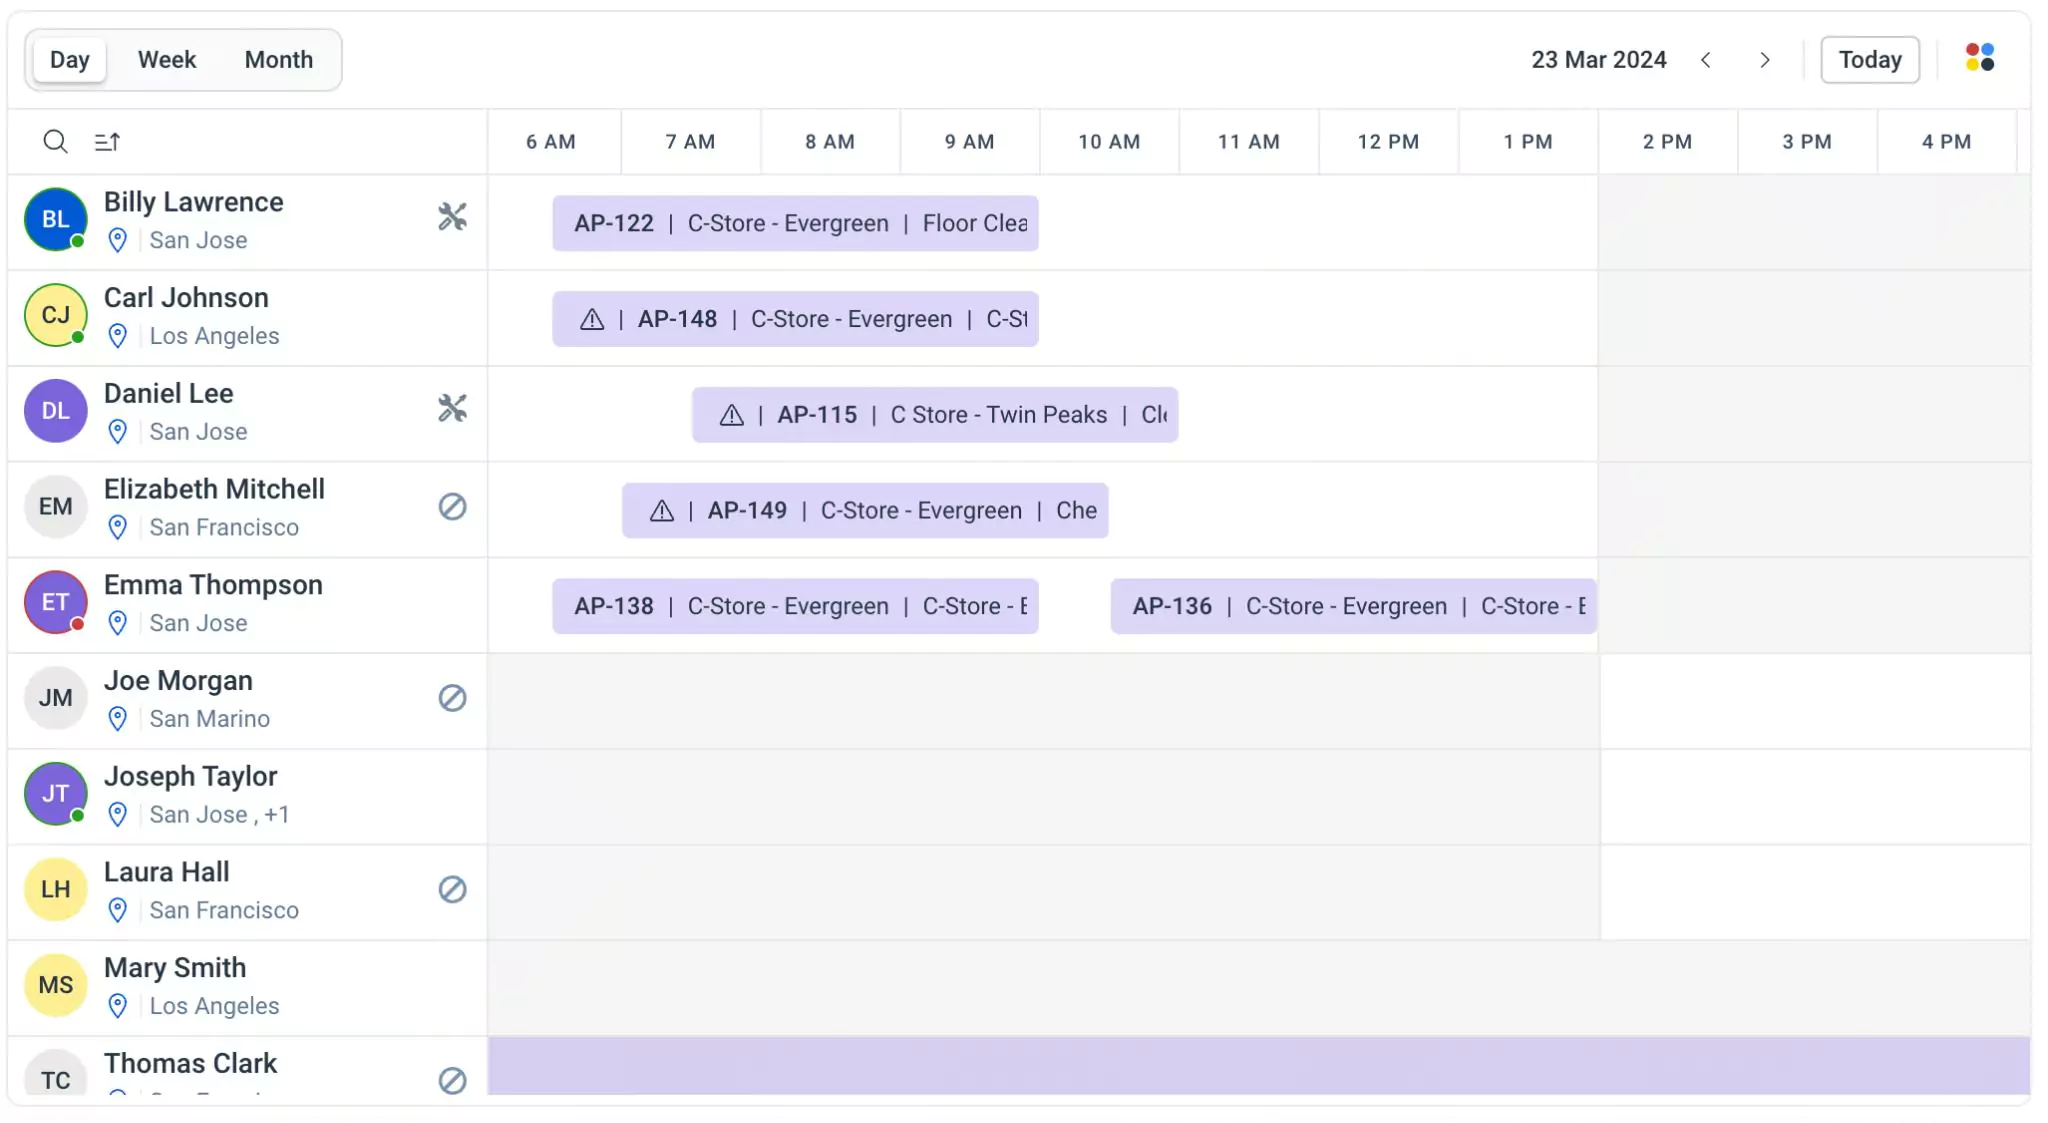
The dispatched appointments appear as bars or blocks along a timeline in the calendar of respective field agents, where each bar represents the duration of a specific appointment. Initially, the calendar appears in a day view. You can switch between different formats, such as week and month using the Week and Month options respectively.
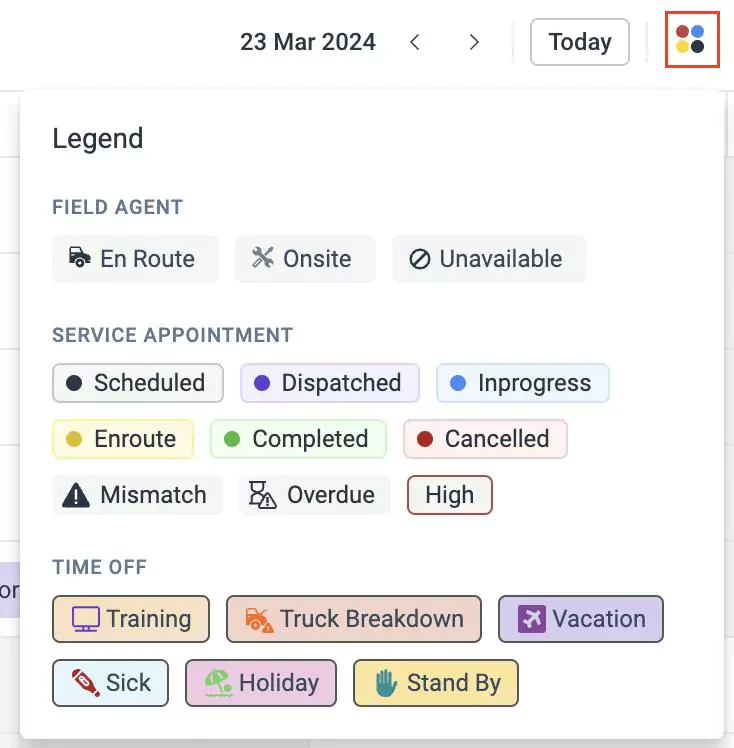
You can click on the ![]() (Legend) icon to understand the symbols, colors, or other graphical elements used in the dispatch console interface. The legend provides descriptions to provide clarity to the visual elements they encounter.
(Legend) icon to understand the symbols, colors, or other graphical elements used in the dispatch console interface. The legend provides descriptions to provide clarity to the visual elements they encounter.
Dispatching Service Appointments
The Gantt view provides an intuitive way to observe the distribution of service appointments over time. By leveraging the Gantt view, dispatchers can efficiently manage scheduling and resource allocation. They can easily identify overlapping appointments, scheduling gaps, or potential conflicts in the timeline. This helps in optimizing scheduling processes and ensures effective resource allocation to meet appointment demands.
To dispatch an appointment,
Click on the scheduled appointment in the Appointments section. The corresponding Appointment window appears as shown below.
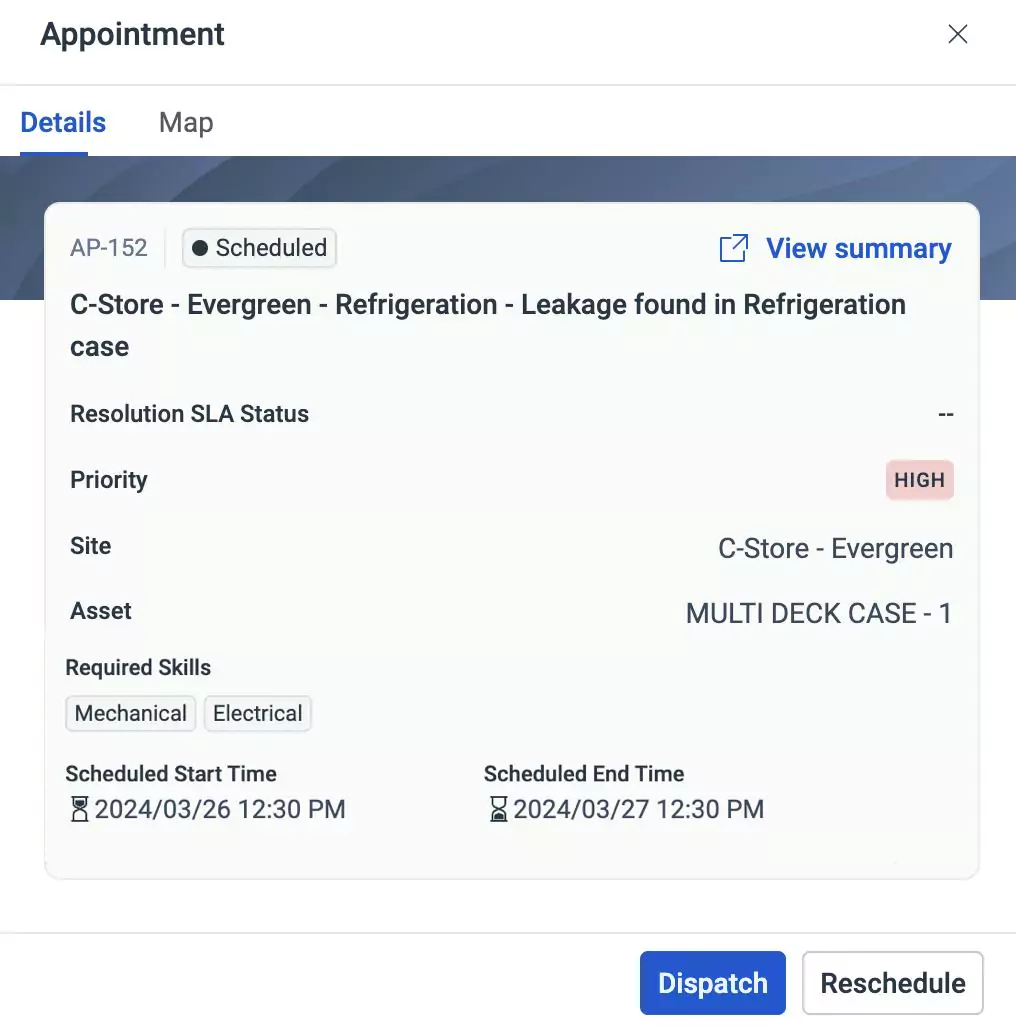
You can click on the View Summary link to view the complete details of the appointment.
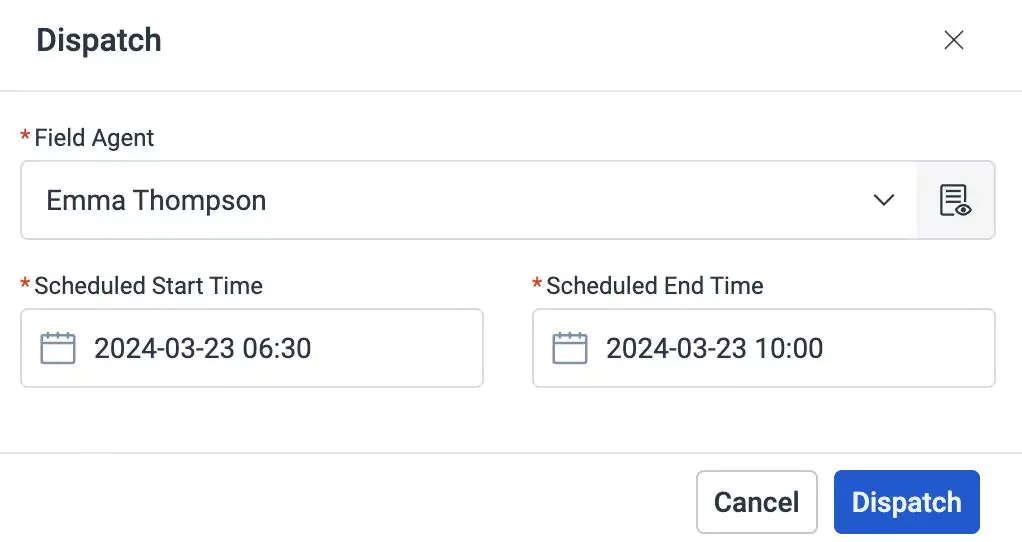
Note: You can reschedule the scheduled appointment by clicking on the Reschedule button if required. Read the Rescheduling/Redispatching Service Appointments section for more information.Click Dispatch. The Dispatch window appears.
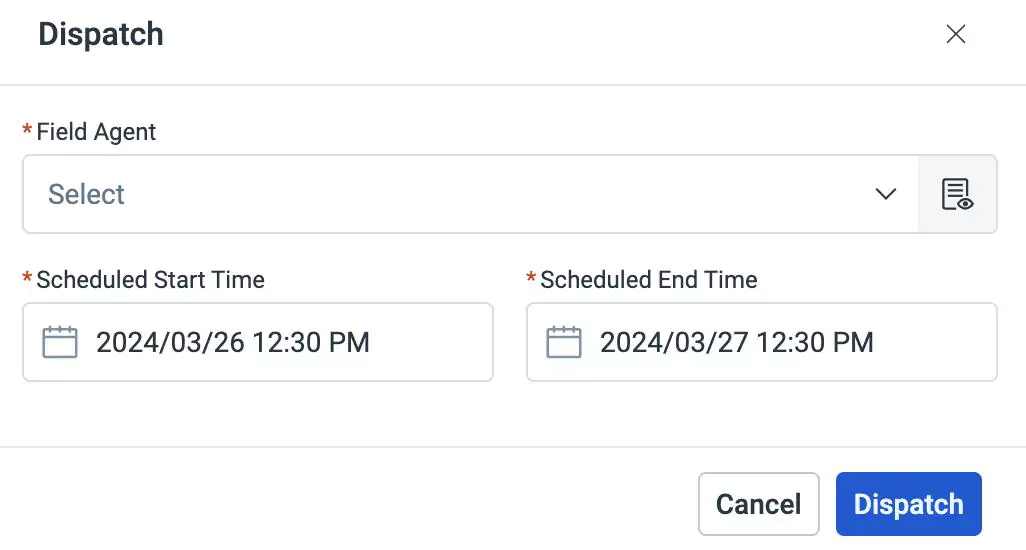
Select the field agent and update the scheduled start time and scheduled end time. The appointment is dispatched if the field agent's availability, associated territory, and skills match the service appointment criteria. However, if there is a mismatch, the Dispatch Alert window appears stating the reason for the mismatch as shown below.
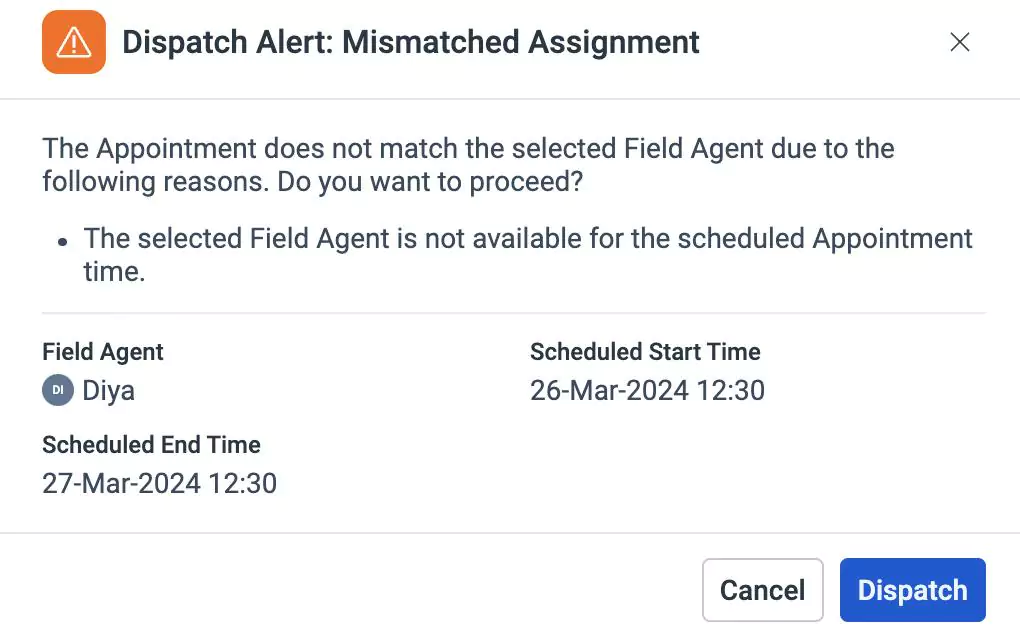 Note: You can still continue to dispatch the service appointment and the
 (Alert) icon appears beside the appointment.
 Click Dispatch. The appointment is dispatched successfully.
Rescheduling/Redispatching Service Appointments
Rescheduling or redispatching service appointments involves changing the scheduled date, time, or assigned field agent for an appointment. This may be necessary due to various reasons such as changes in customer availability, unexpected events, or conflicts in scheduling. Once an appointment is dispatched, you can reschedule or redispatch it as needed.
To reschedule an appointment,
Click on the dispatched appointment in the calendar. The Appointment window appears as shown below.
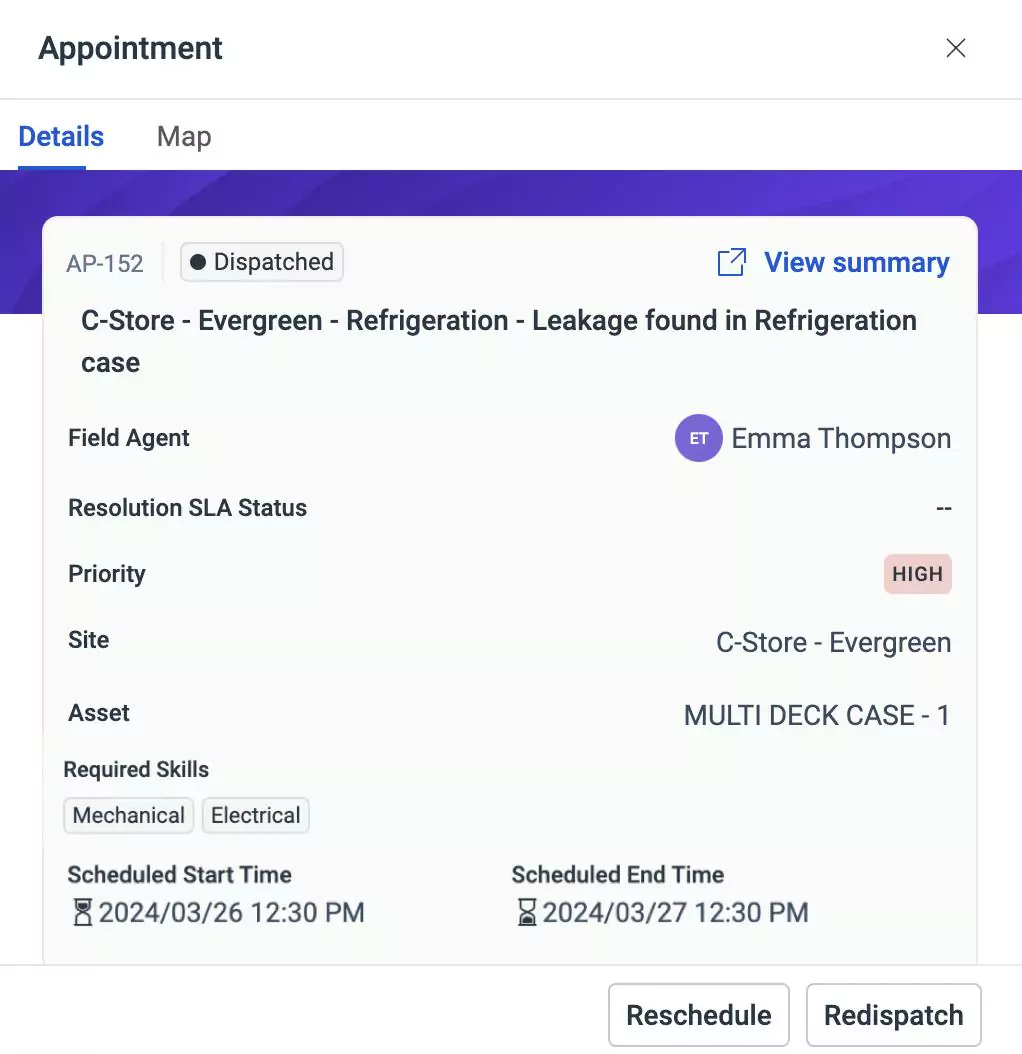
Click Reschedule. The reschedule window appears.
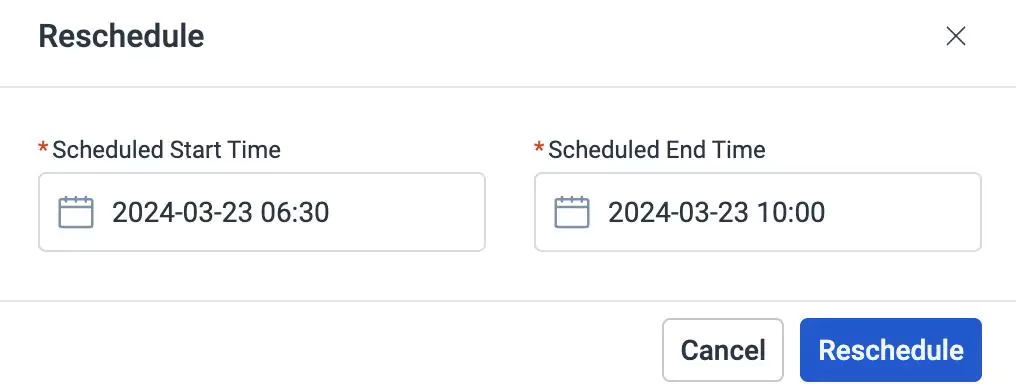
Update the schedule start time and schedule end time.
Click Reschedule. The appointment is rescheduled successfully.
The application also allows you to reschedule the appointment by dragging and dropping the dispatched appointments in the calendar between field agents across the required timeframe.
To redispatch an appointment,
Click on the dispatched appointment in the calendar. The Appointment window appears as shown below.

Click Redispatch. The Dispatch window appears.
Update the scheduled date, time, or assigned field agent and click Dispatch. The dispatch information is updated successfully.
Viewing Field Agents Details
Dispatchers are responsible for managing and coordinating the scheduling and assignment of service tasks to field agents. To effectively assign and schedule appointments, dispatchers need to have a clear understanding of the availability of field agents, proximity to the appointment location, and skills required for the task. The dispatch console provides an interface to view the details of the field agents.

The field agents list appears in ascending order, you can rearrange it by clicking on the ![]() and
and ![]() icons to arrange it in ascending and descending order respectively.
icons to arrange it in ascending and descending order respectively.
To view the field agent details, click on the field agent name on the left side of the calendar or click the ![]() (Search) icon and type the name of the field agent. The details window appears as shown below.
(Search) icon and type the name of the field agent. The details window appears as shown below.
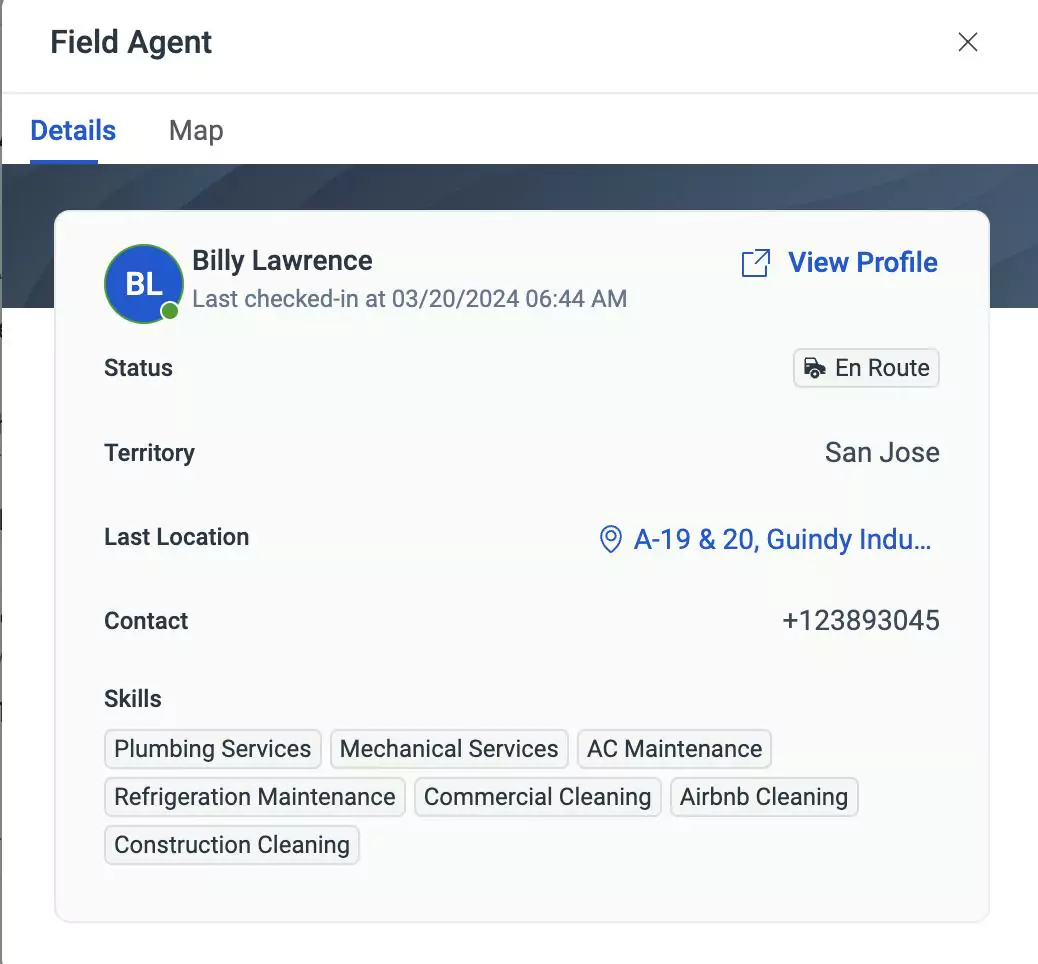
The details window displays the field agent’s last checked in time, status, territory, last location, contact number, and skills. You can click on the View Profile link at the right corner of the details window to view the complete details of the field agent. You can also click on the Map section to view the geographical locations of field agents on a map.