Importing Telemetry Readings
Importing readings is a process to create and update new meter readings in bulk using file-based data import. This includes both asset readings and virtual meter readings. This feature allows you to update the readings of various meters at once. You can import readings for asset(s) and meters (s).
To navigate to this feature, click Import Readings in the Facilio Data Loader application. The Telemetry Data Import screen appears as shown below.
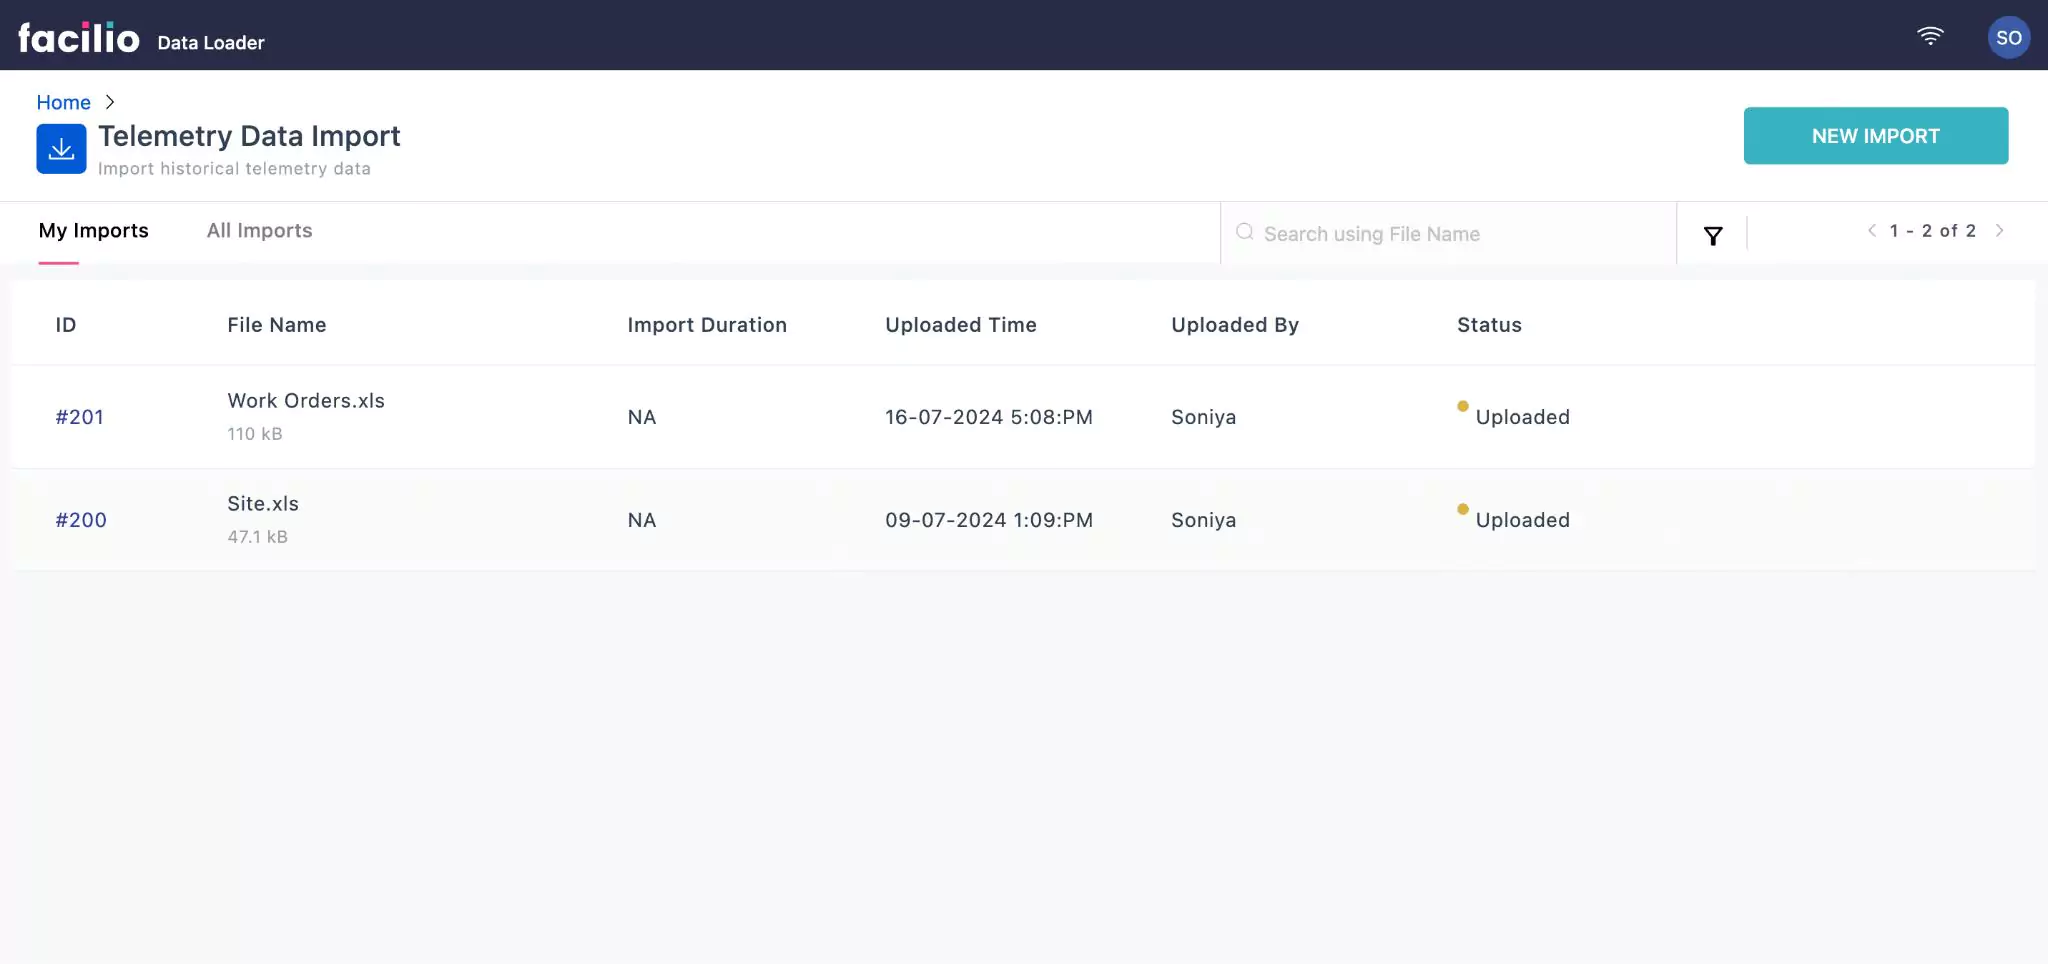
This page displays the list of successfully imported telemetry data records. The imported data record appears with their status as per the actions performed. The statuses that appear are uploaded, field mapped, resources selected, and import completed.
Importing Telemetry Data of an Asset
Importing telemetry data of a single data file allows for precise and targeted import of data, ensuring specific information is accurately uploaded into the system.
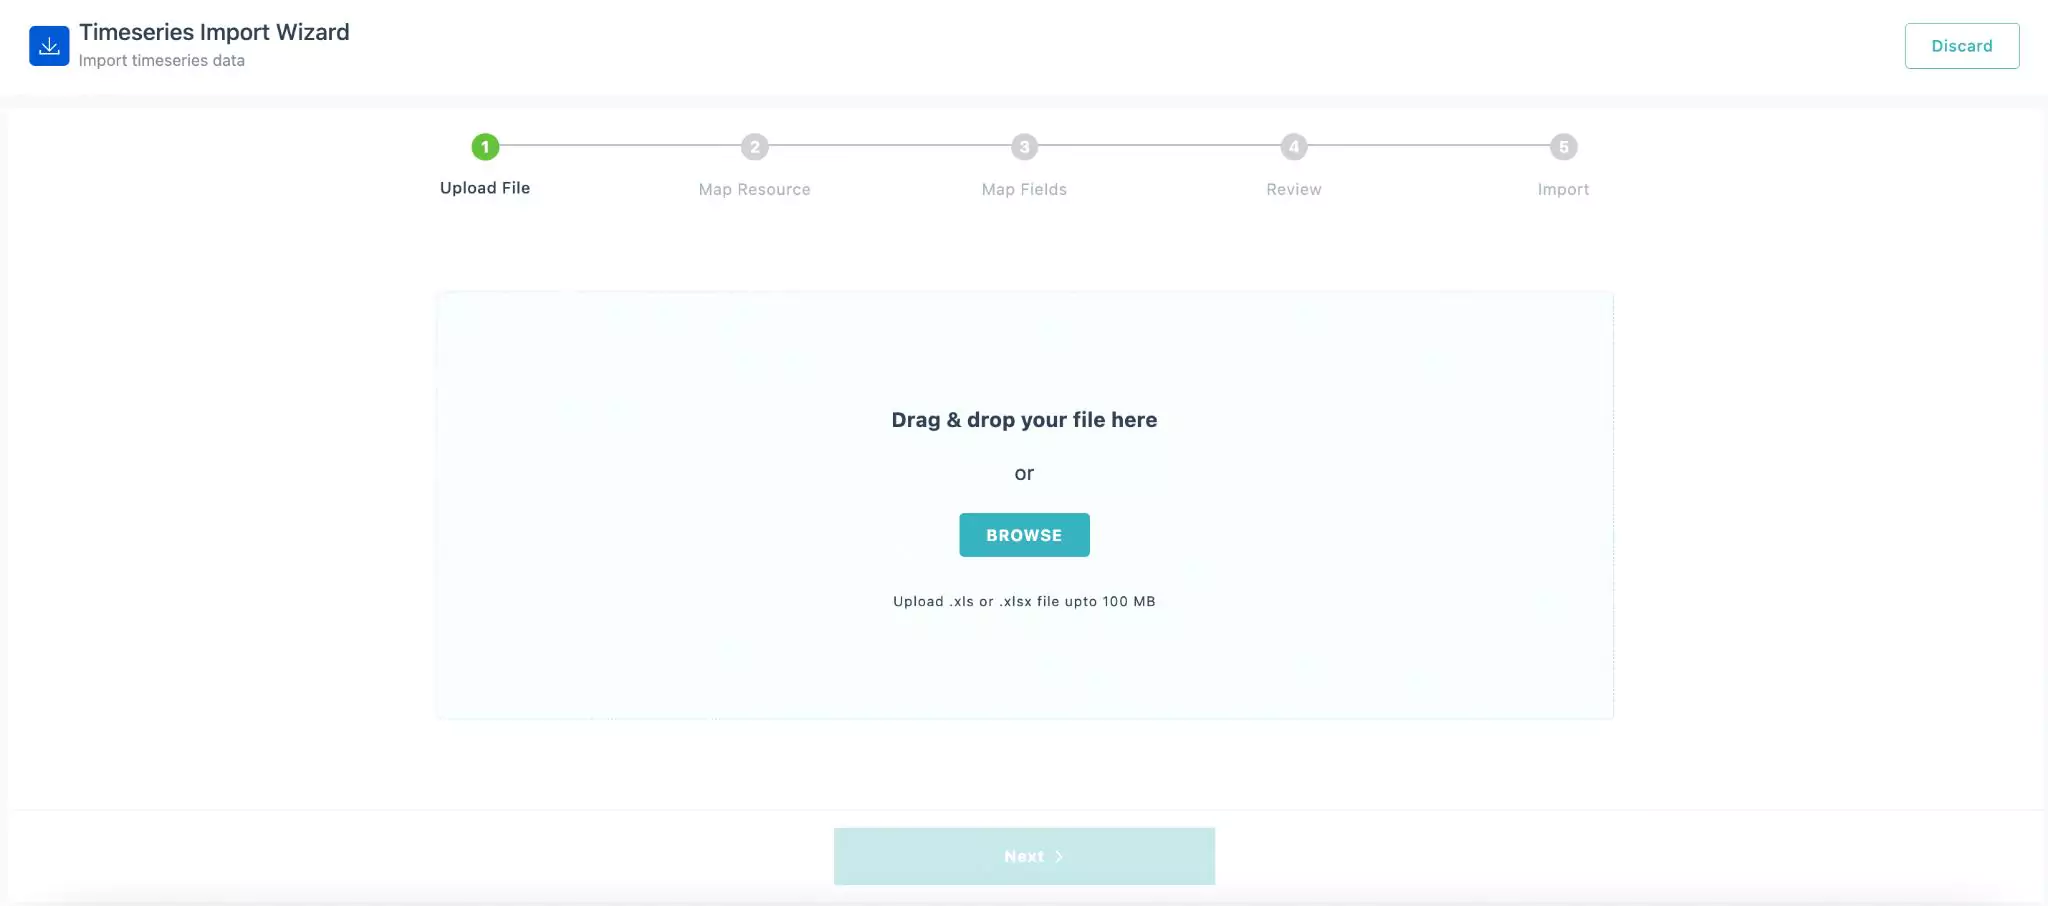
To import telemetry data, click NEW IMPORT on the top right of the screen. The Timeseries Import Wizard appears as shown below.
A sample illustration of importing the telemetry data for a single asset is explained below.
To import telemetry data for a single asset,
Click BROWSE to add a file or drag and drop the file. Only the files in .xls and .xlsx are supported.
Note: You can add only one file and the file must have data in one sheet only.Click NEXT. The Map Resource section appears as shown below.
Specify your action with respect to the uploaded file. You can choose to import readings from the file by selecting any of the following options:
- Asset - The physical units used in creating ideal conditions in the facility, such as the lighting, HVAC, and plumbing systems
- Meter - A meter is a device used to measure and record specific quantities, such as electrical usage, water flow, gas consumption, or other measurable data points
You can select the preferred entity for which the readings to be imported. You can select either an Asset or Meter.
A sample illustration of import readings of an asset is explained below.
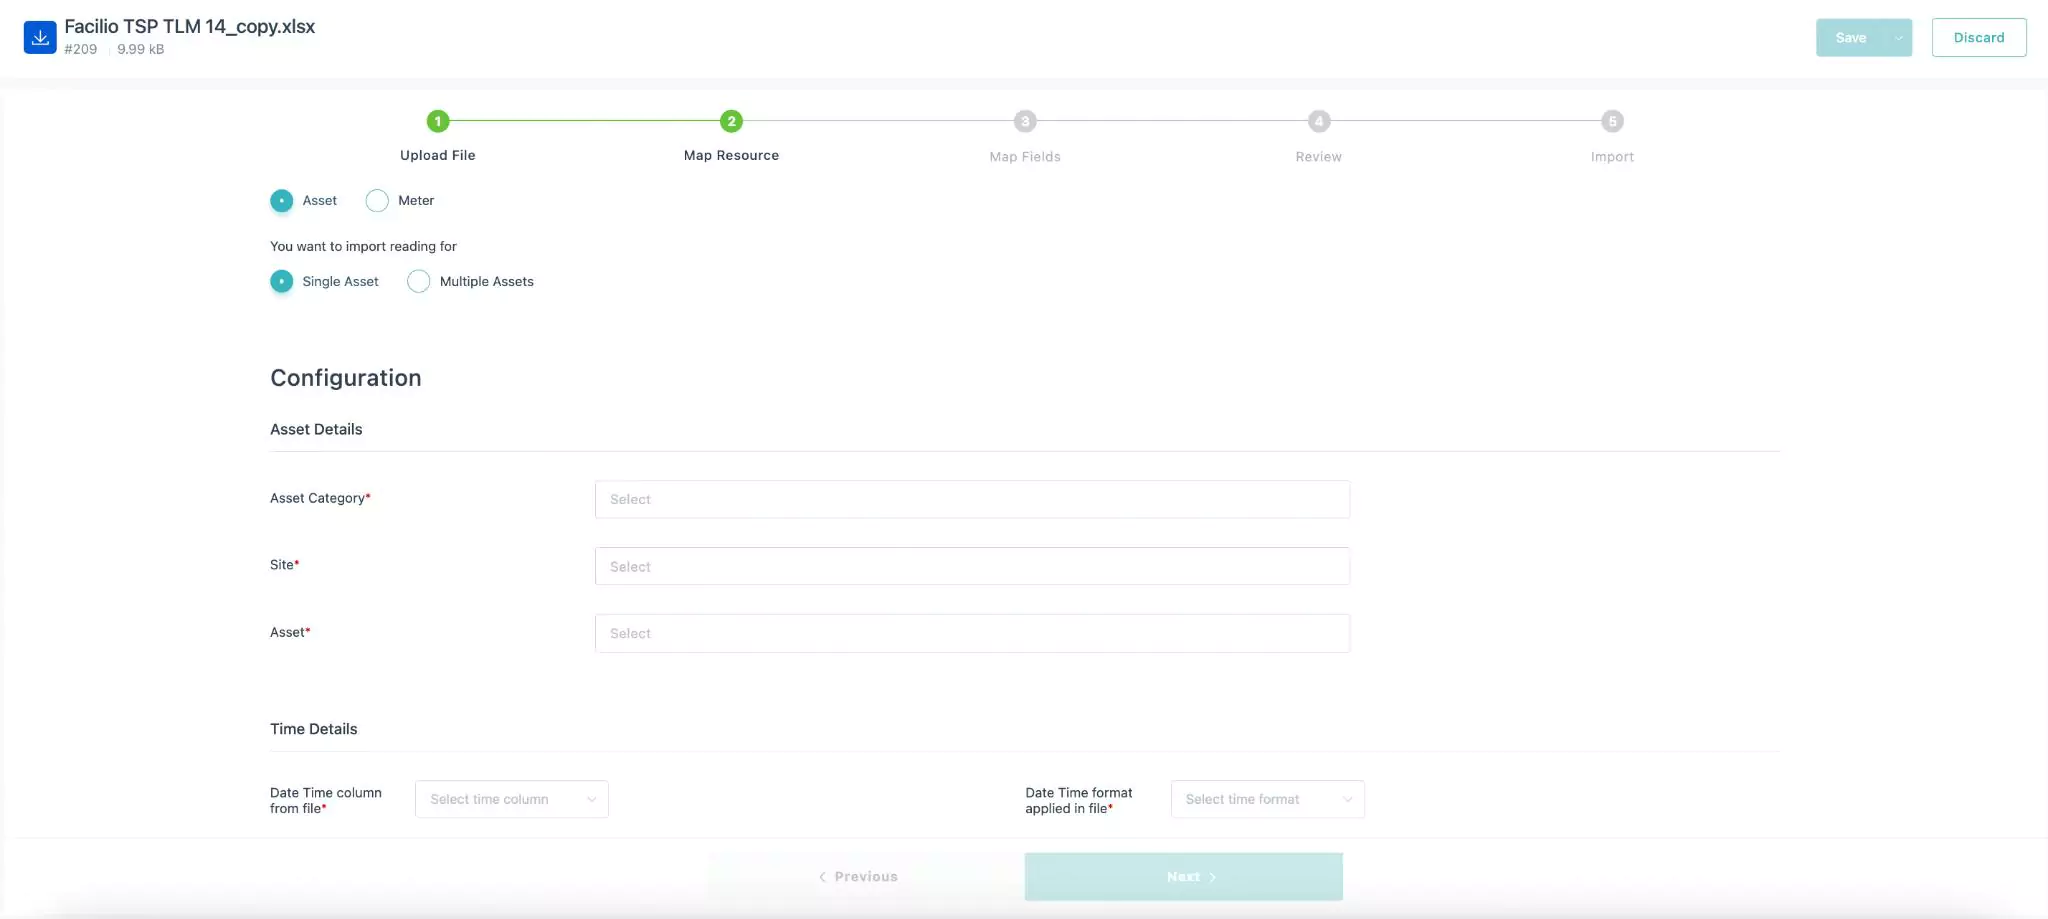
Select Asset. The options Single Asset and Multiple Assets appear. You can select whether to import reading for a single asset or multiple assets.
Navigate to the Configuration section. Update the following asset details:
- Asset Category - Select the asset category from the drop-down list.
- Site - Select the location of the selected asset category
- Asset Name Column in File - Select an appropriate asset column from the uploaded file
Navigate to the Time details section. Update the following time details:
- Date Time column from file - Select the column in the file that has date
- Date Time format applied in file - Select the format in which the date is available in the file
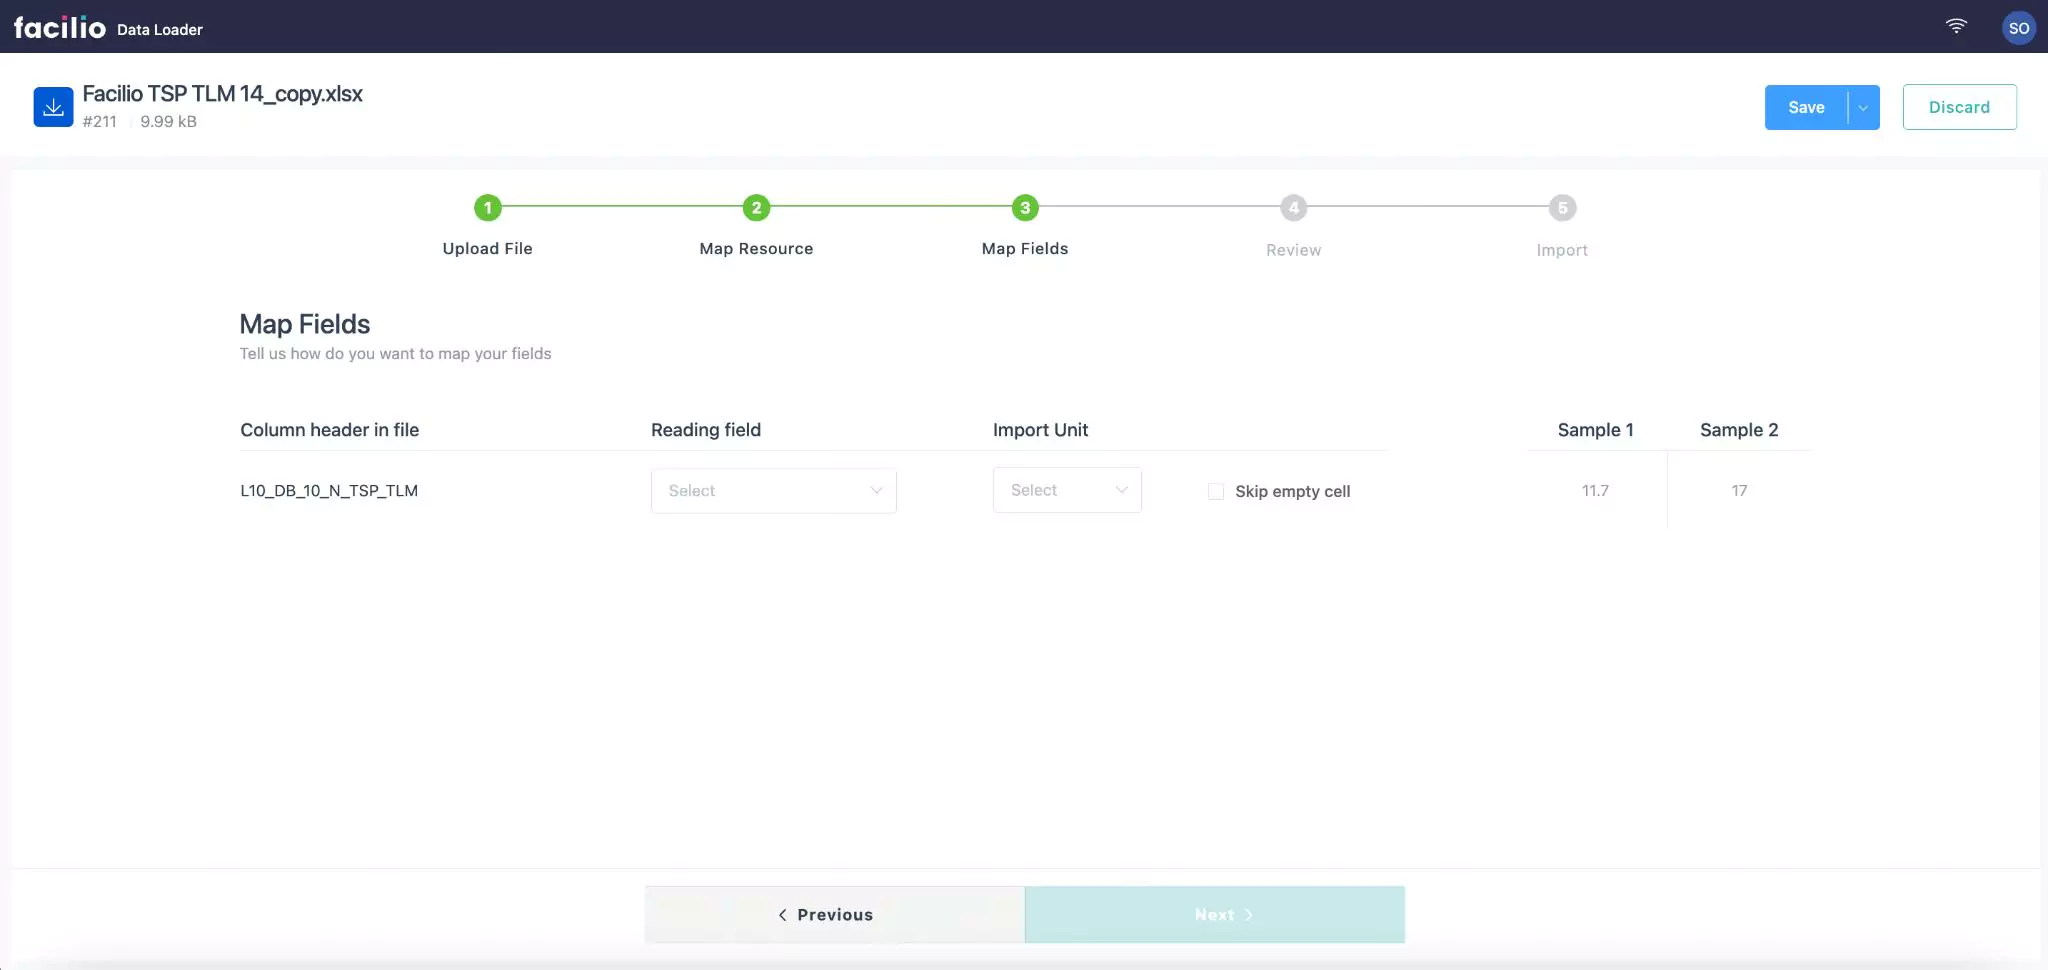
Click Next. The Map Fields section appears as shown below.
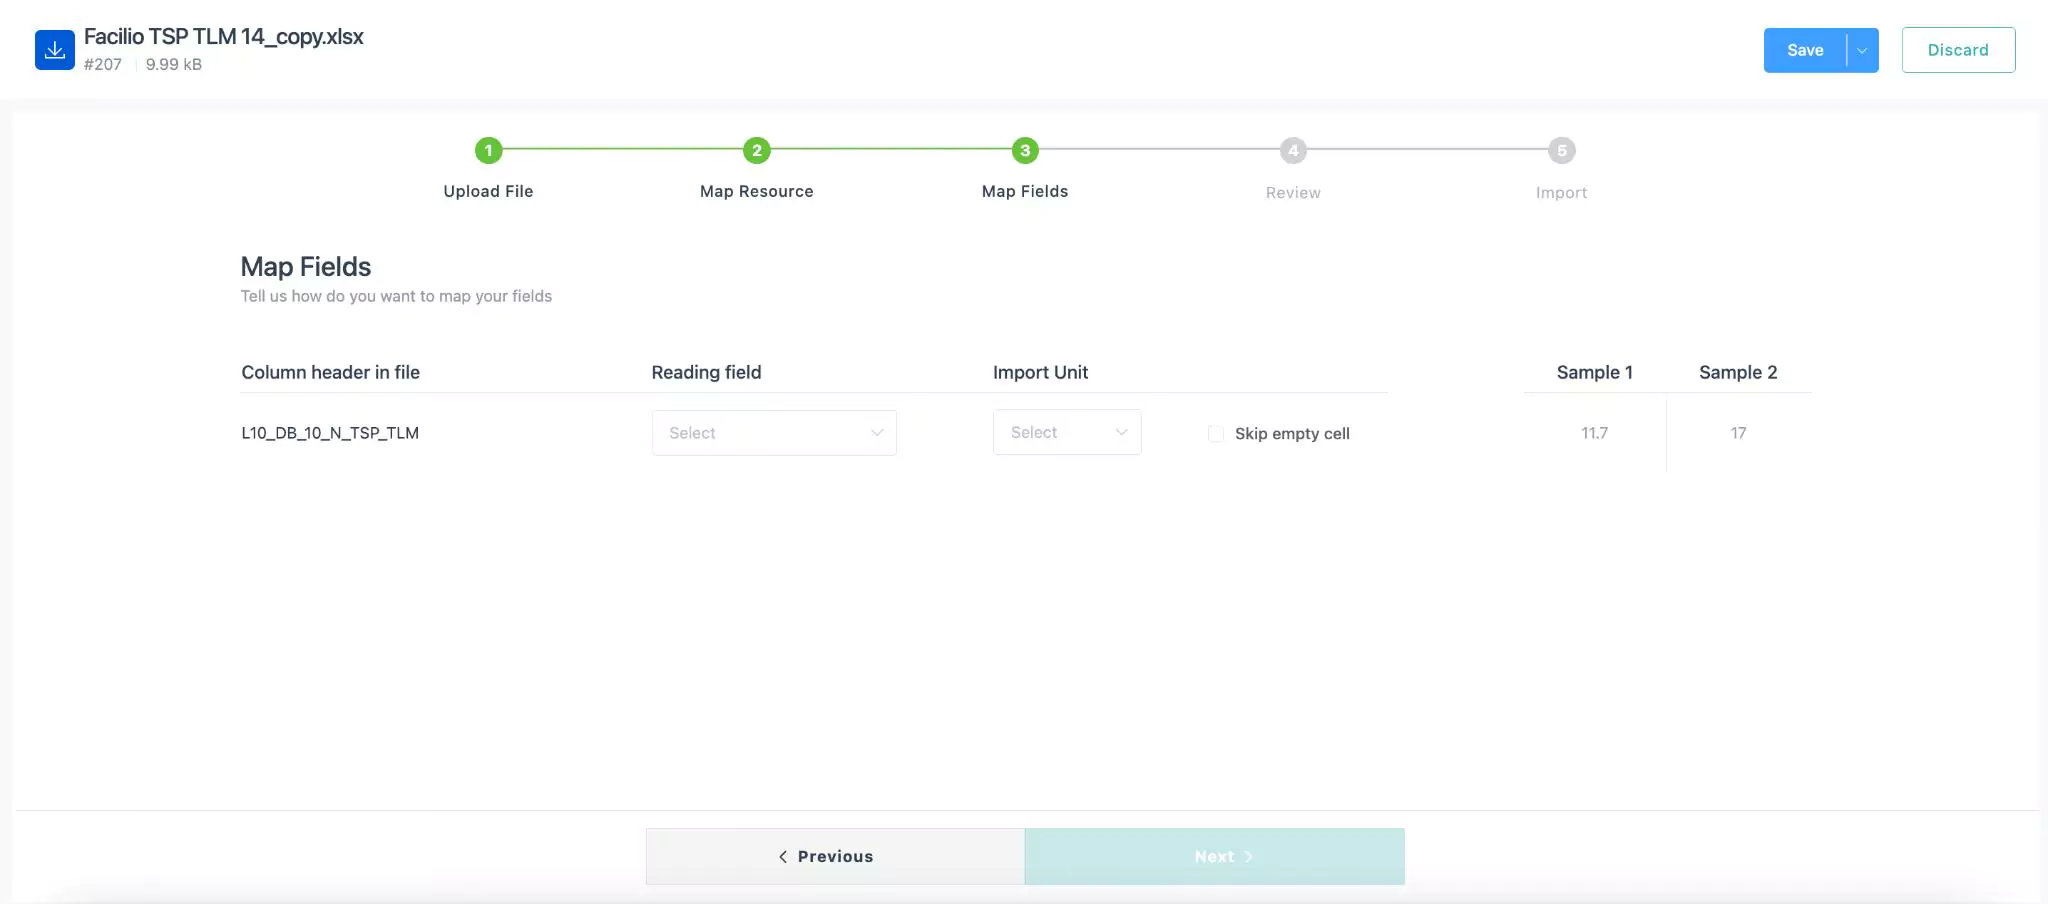
Update the following fields:
- Reading field - Select the appropriate field from the drop-down list to be extracted from the file.
- Import Unit - Select the unit with which the field to be extracted.
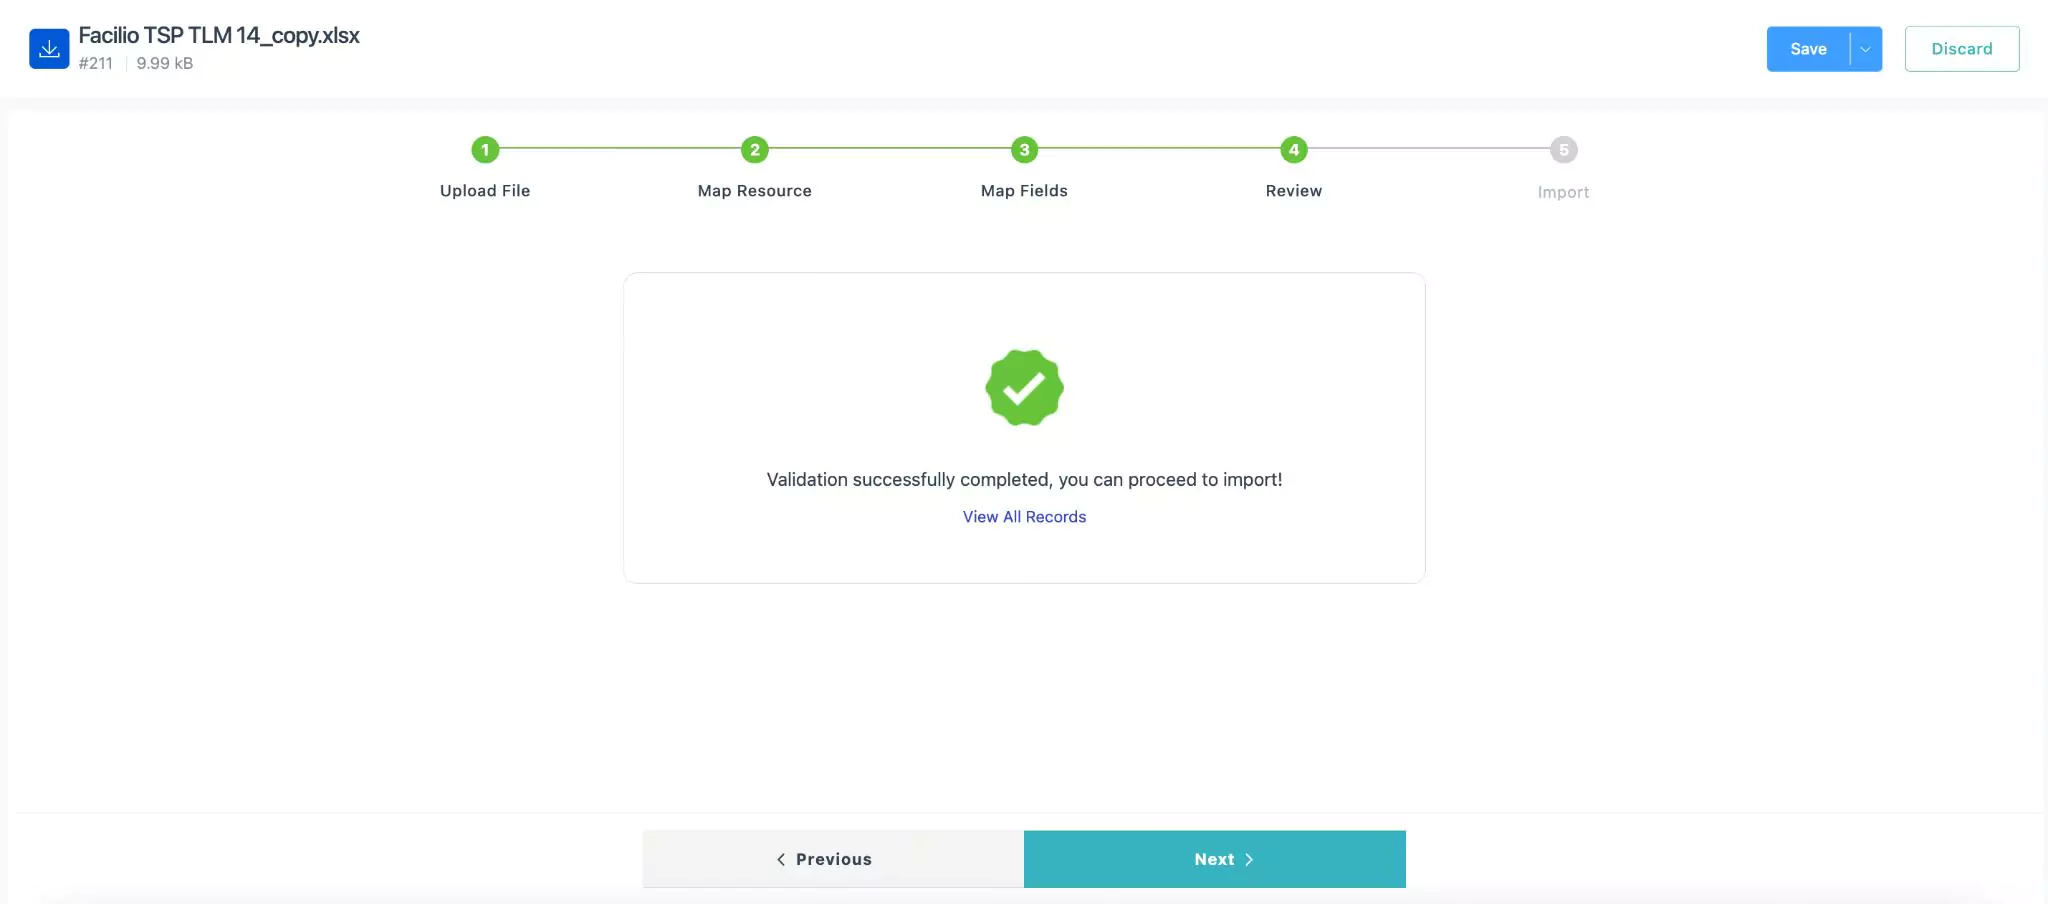
Note: The Skip empty cell checkbox when enabled, skips the mapping of empty cells from the file.Click Next. The Review section appears as shown below. This section validates the entered details.
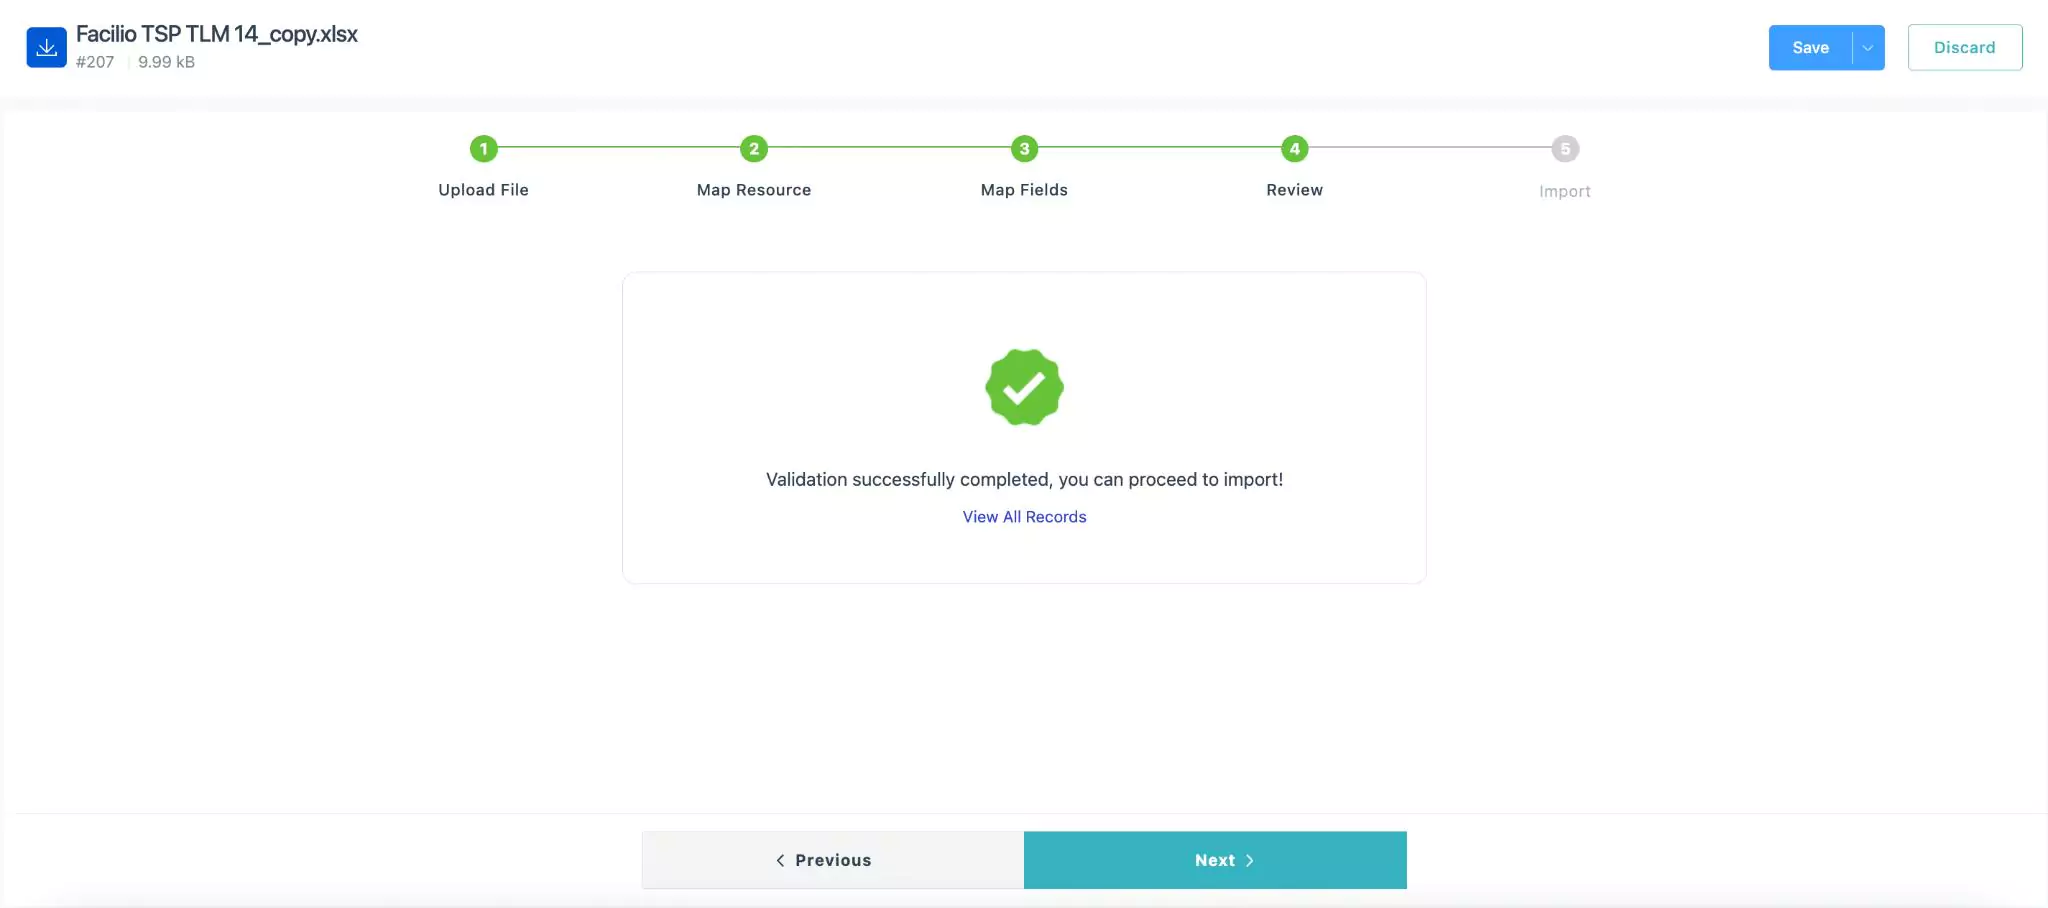
This screen appears when the validation is successfully complete.
Note: When the uploaded file has an error, a validation error appears as shown below.
To view the error records, click on the View Skipped Records link. Update the errors with the appropriate details and re-upload the file for import.
If you prefer to make any changes in the previous sections of the telemetry import, you can click Previous at the bottom of the screen, at any point until the Import section.
Click Next. The Import section appears as shown below.
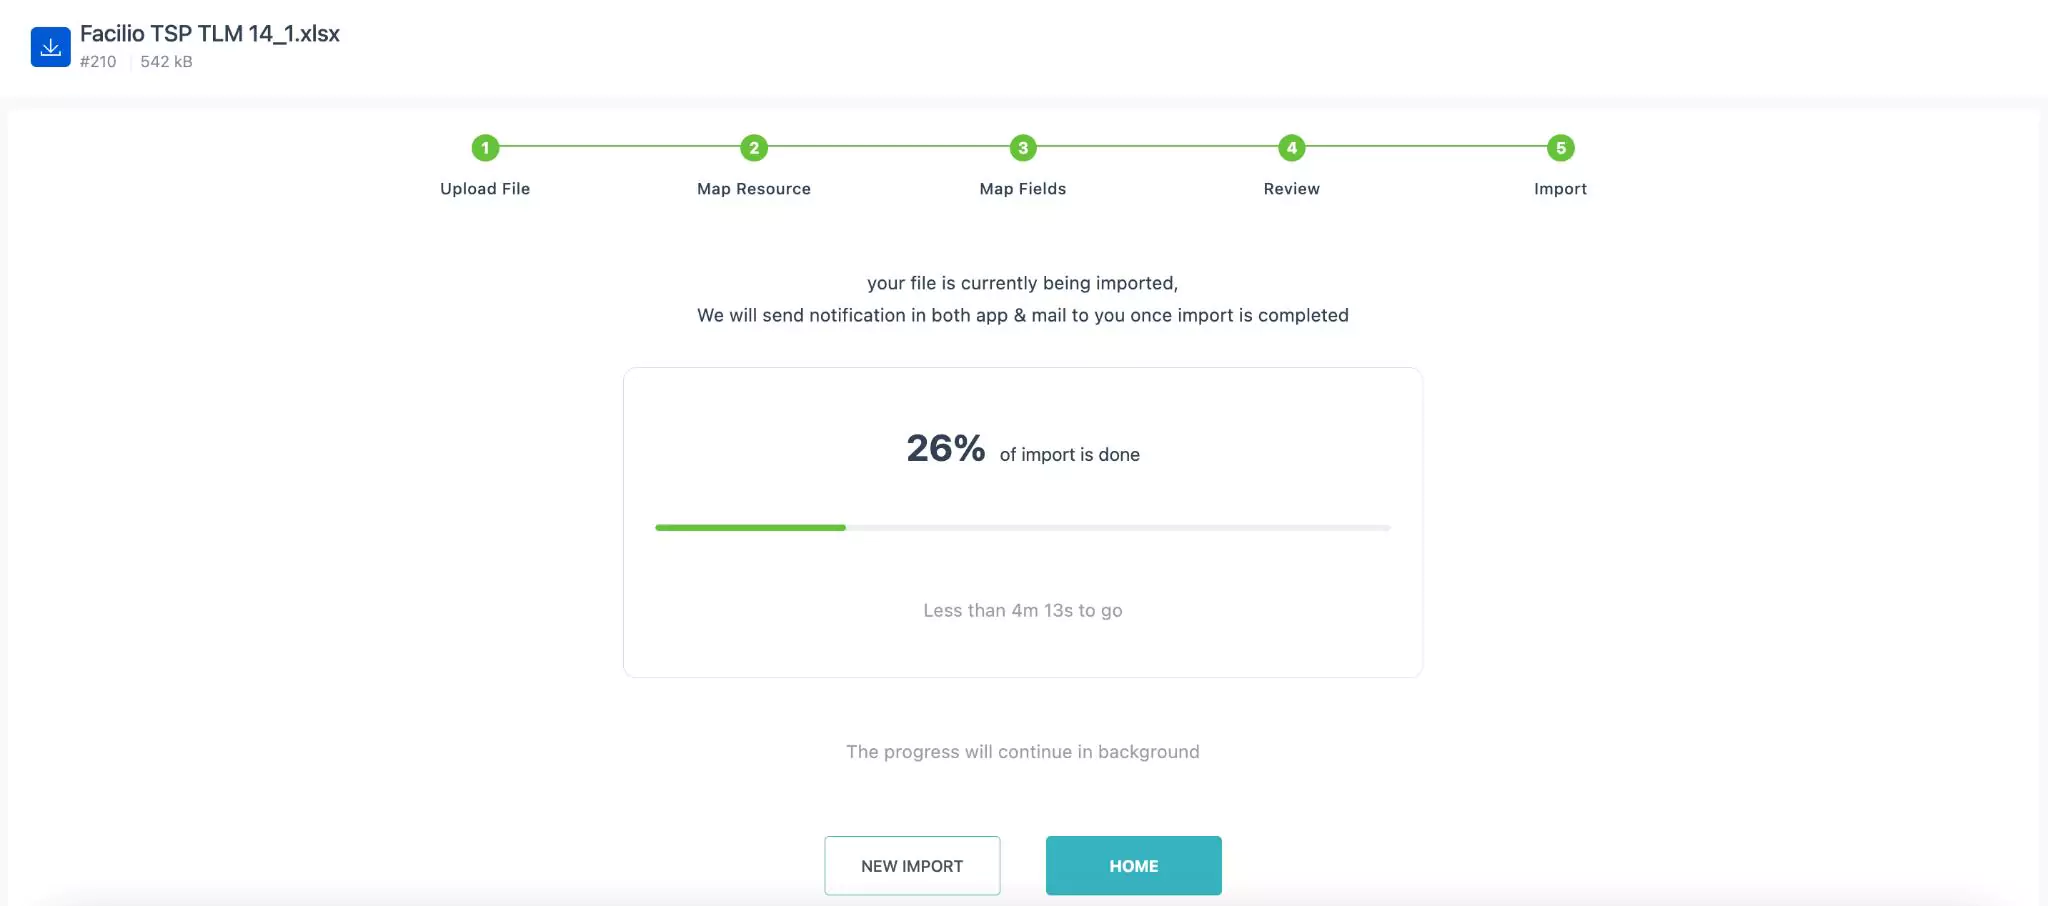
While the import is in progress, you can still initiate a new import or go to the home page by clicking on NEW IMPORT and HOME buttons respectively.
Once the telemetry import is completed, a message appears on the screen as shown below.
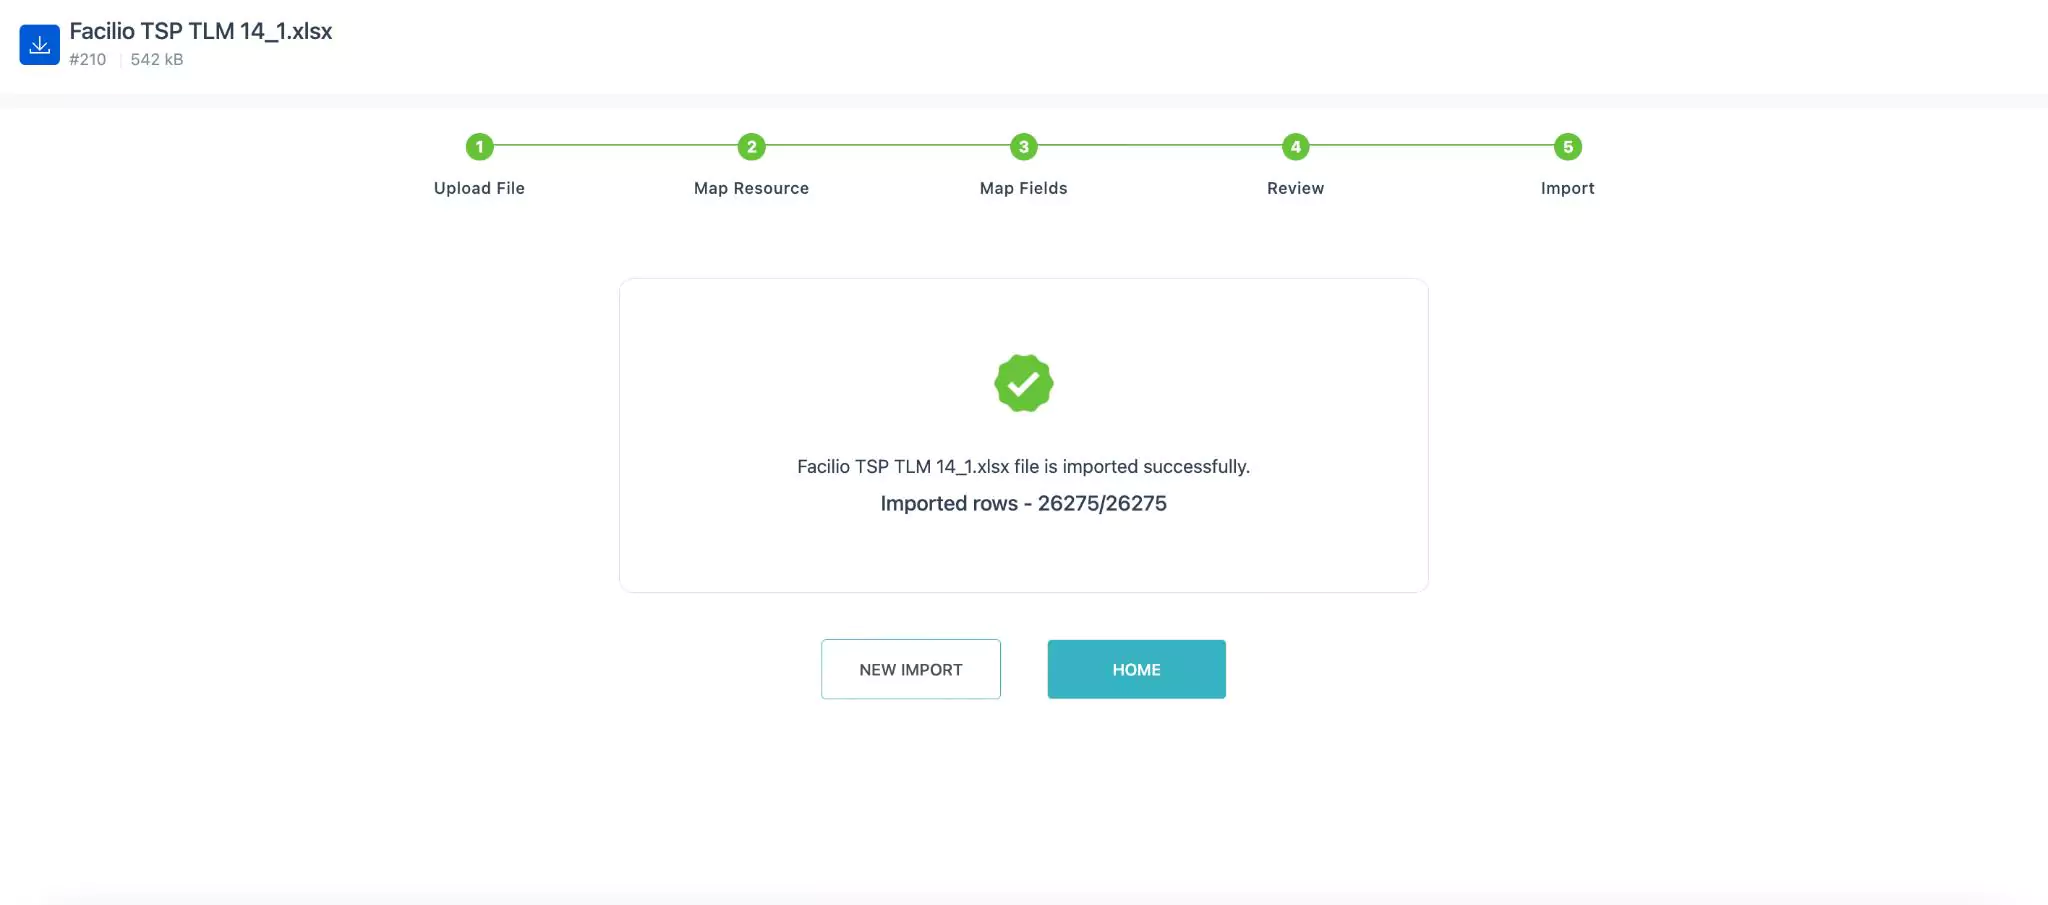
Once the import is complete, all the telemetry data is successfully imported in the system.
Similarly you can import telemetry data of multiple assets into the system. For better understanding a sample video illustrating the import of telemetry data of multiple assets is shown below.
Importing Telemetry Data of Meter
A sample illustration of importing the telemetry data for a single meter is explained below.
To import telemetry data of a single meter,
Click BROWSE to add a file or drag and drop the file. Only the files in .xls and .xlsx are supported.
Note: You can add only one file and the file must have data in only one sheet.Click NEXT. The Map Resource section appears as shown below.
Specify your action with respect to the uploaded file. You can choose to import readings from the file by selecting any of the following options:
- Asset - The physical units used in creating ideal conditions in the facility, such as the lighting, HVAC, and plumbing systems
- Meter - A meter is a device used to measure and record specific quantities, such as electrical usage, water flow, gas consumption, or other measurable data points
You can select the preferred entity for which the readings to be imported. You can select either an Asset or Meter.
A sample illustration of import readings of a meter is explained below.
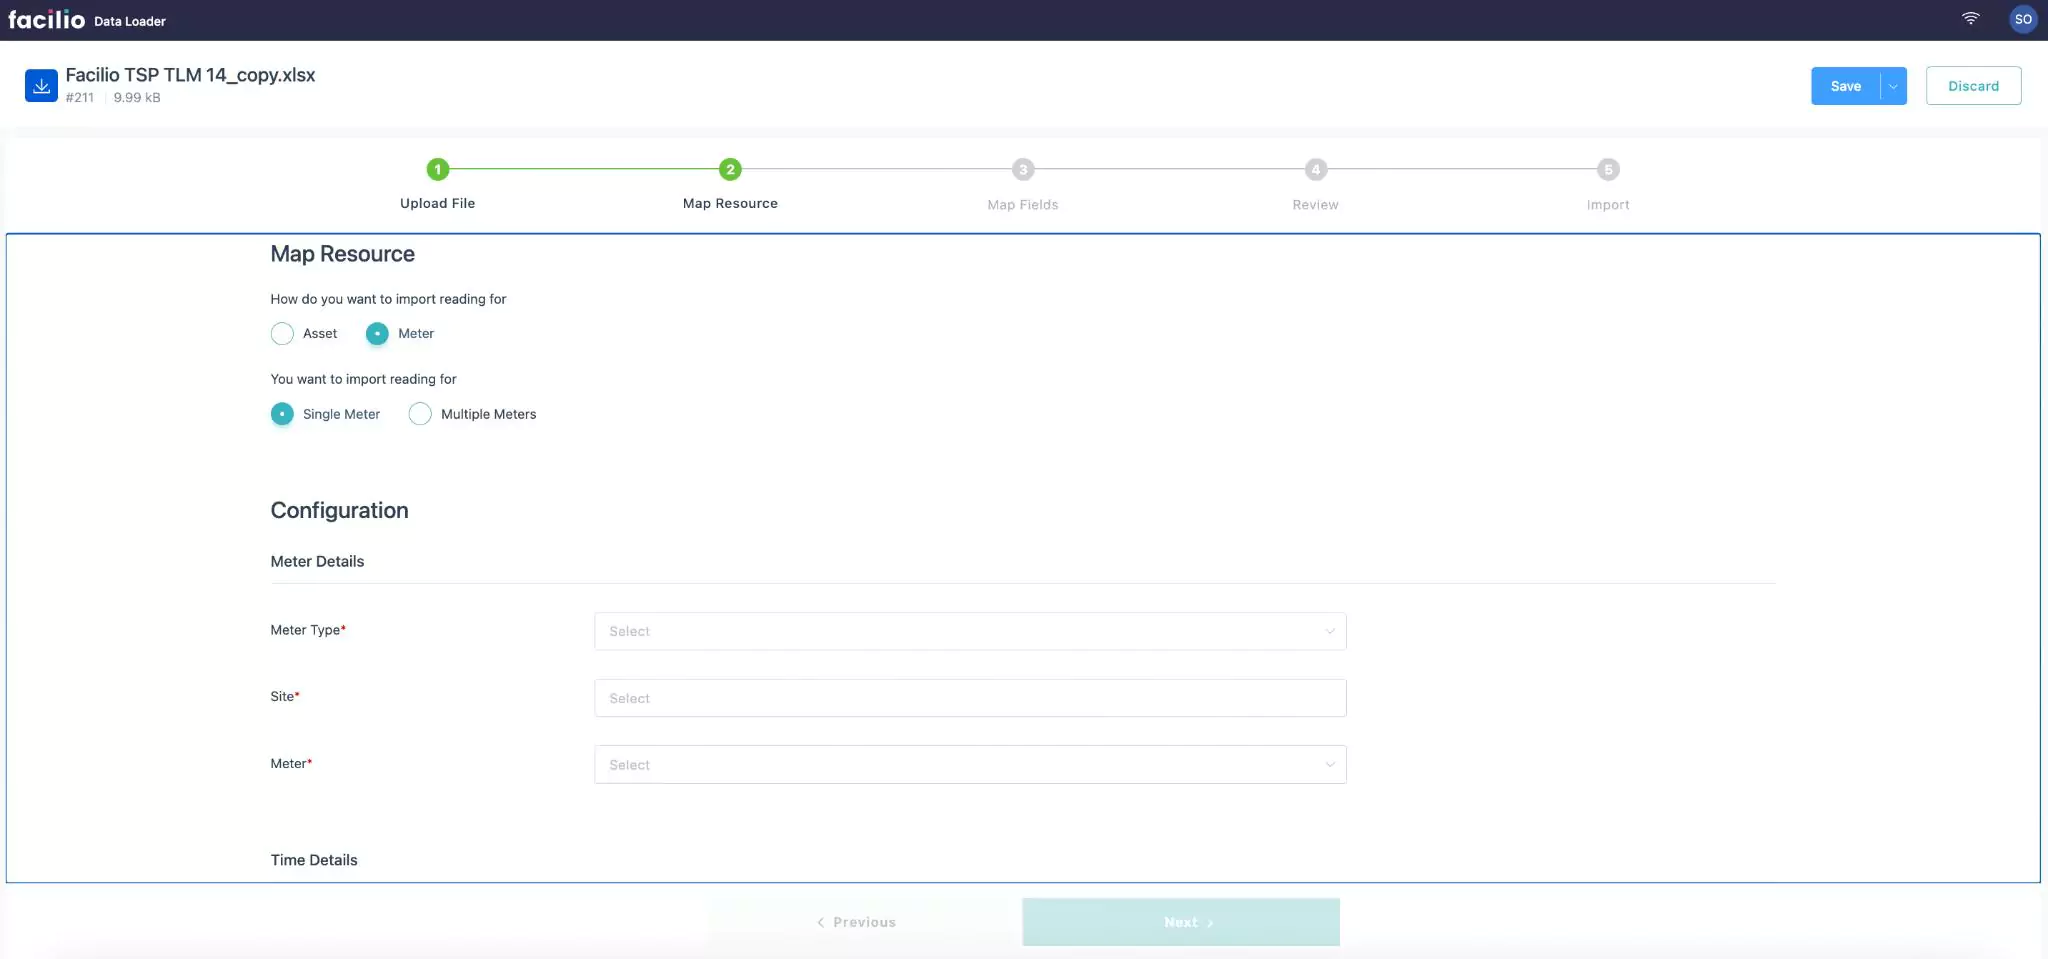
Select Meter. The options Single Meter and Multiple Meters appear. You can select whether to import reading for a single meter or multiple meters.
Navigate to the Configuration section. Update the following meter details:
- Meter Type - Select the classification of the meters from the drop-down list.
- Site - Select the location of the selected asset category
- Meter - A meter measures the quantity, rate, or intensity of a physical property which is used for monitoring, control, billing, and analysis purposes
Navigate to the Time details section. Update the following time details:
- Date Time column from file - Select the column in the file that has date
- Date Time format applied in file - Select the format in which the date is available in the file
Click Next. The Map Fields section appears as shown below.
Update the following fields:
- Reading field - Select the appropriate field from the drop-down list to be extracted from the file.
- Import Unit - Select the unit with which the field to be extracted.
Note: The Skip empty cell checkbox when enabled, allows you to skip the mapping of empty cells.Click Next. The Review section appears as shown below. This section validates the entered details.
This screen appears when the validation is successfully complete.
Note: When the uploaded file has an error, a validation error appears as shown below.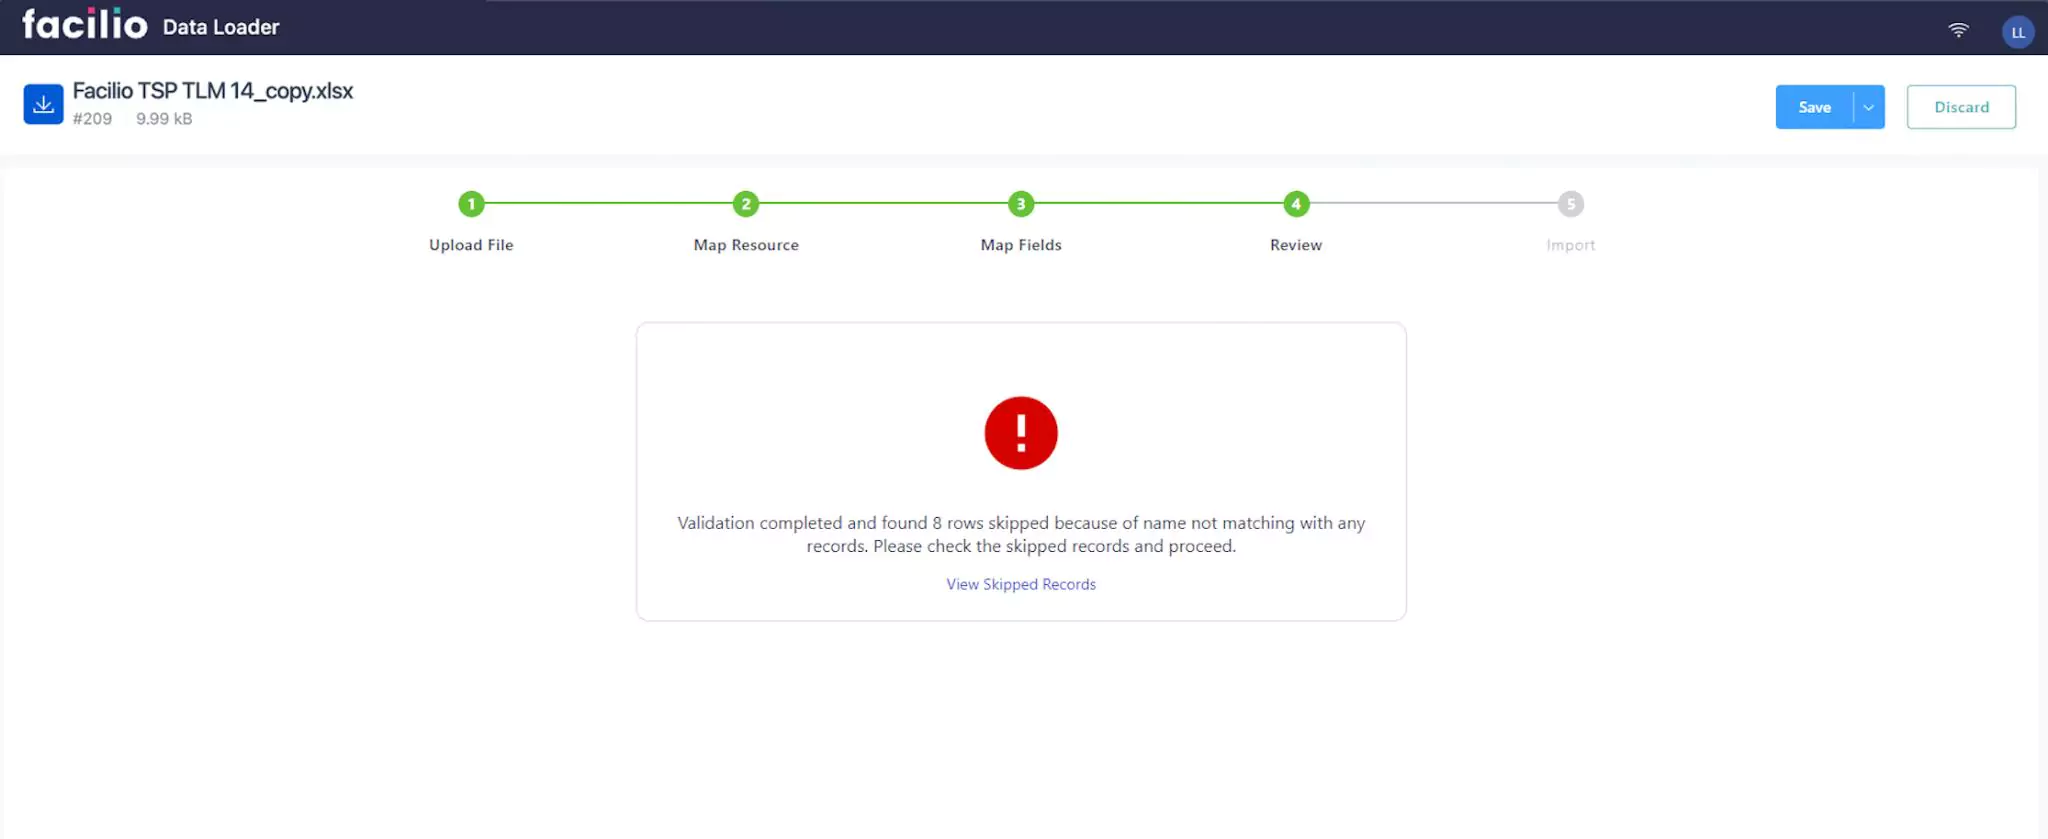
To view the error records, click on the View Skipped Records link. Update the errors with the appropriate details and re-upload the file for import.
If you prefer to make any changes in the previous sections of the telemetry import, you can click Previous at the bottom of the screen, at any point until the Import section.
Click Next. The Import section appears as shown below.

Once the import is complete, all the telemetry data is successfully imported in the system.
Similarly you can import telemetry data of multiple meters into the system. For better understanding a sample video illustrating the import of telemetry data of multiple meters is shown below.
These status are common for both, Importing telemetry data of an asset and Importing telemetry data of meter(s).