Facilio Niagara Plugin Installation

Prerequisites for Installation#
- Niagara version 4.3 or above.
- An Internet connection in the Niagara Workbench to communicate with the Facilio Cloud.
- Download the FacilioDriver-rt available at this link. (sha256: 82a358d60119e6e6f4fd4aa0bbe58cacd6a5eb78dd665a1a862499559b8a6ea3)
- Facilio certificate and configuration files extracted from Facilio (refer to A. Step 3).
Steps to Establish the Link#
A. Create an agent in the Facilio Platform B. Add the Niagara Plugin in the Niagara Workbench and Initialize the connectionA. Create an Agent in the Facilio Platform#
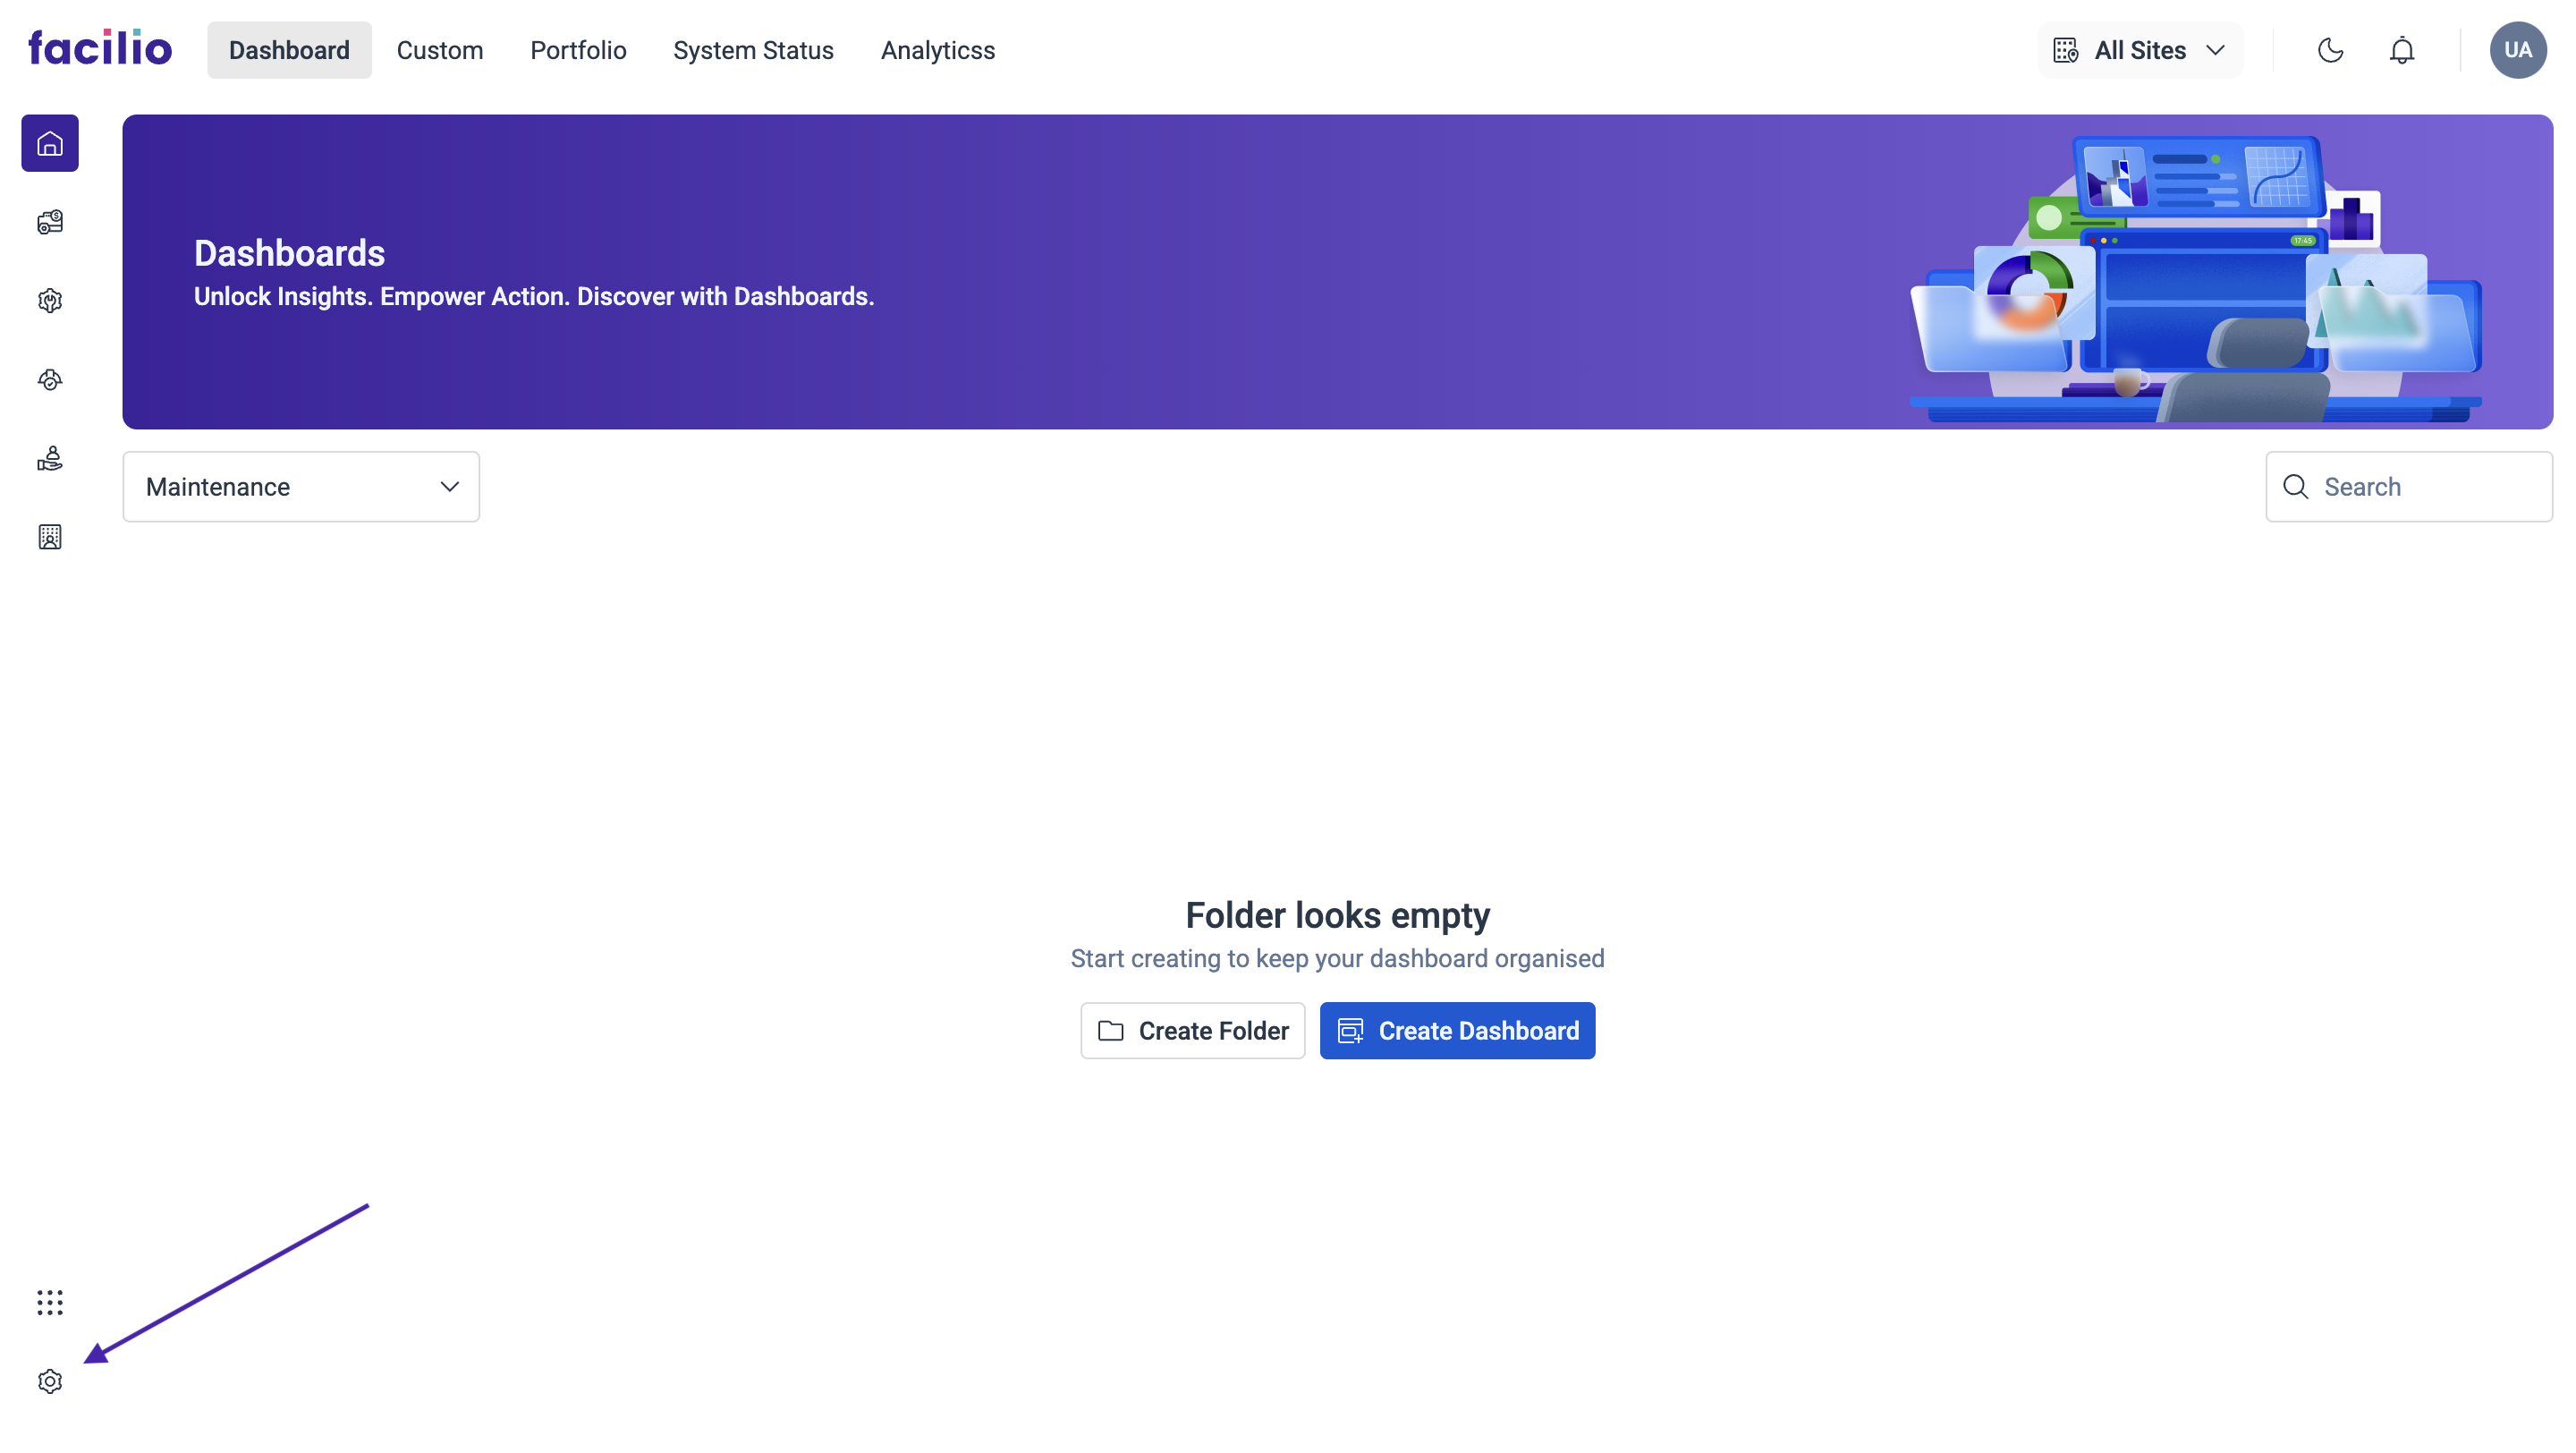
Step 1 - Navigate To Iot Page#
- Log in to the account using the credentials provided to you.
- From the Homepage, go to Settings >> Click on Portals >>> Click on Work Centers >>>> Click on Agent.
-0be818502051f378182ad317ac4581c6.png)
-2c308f3405fa524575396b39e6b9af50.png)
Step 2 - Add Agent#
Below is the Agent Portal interface. To create an agent, click on Agent in the left menu. Follow the steps below to create a new agent.
- Click on Add Agent.
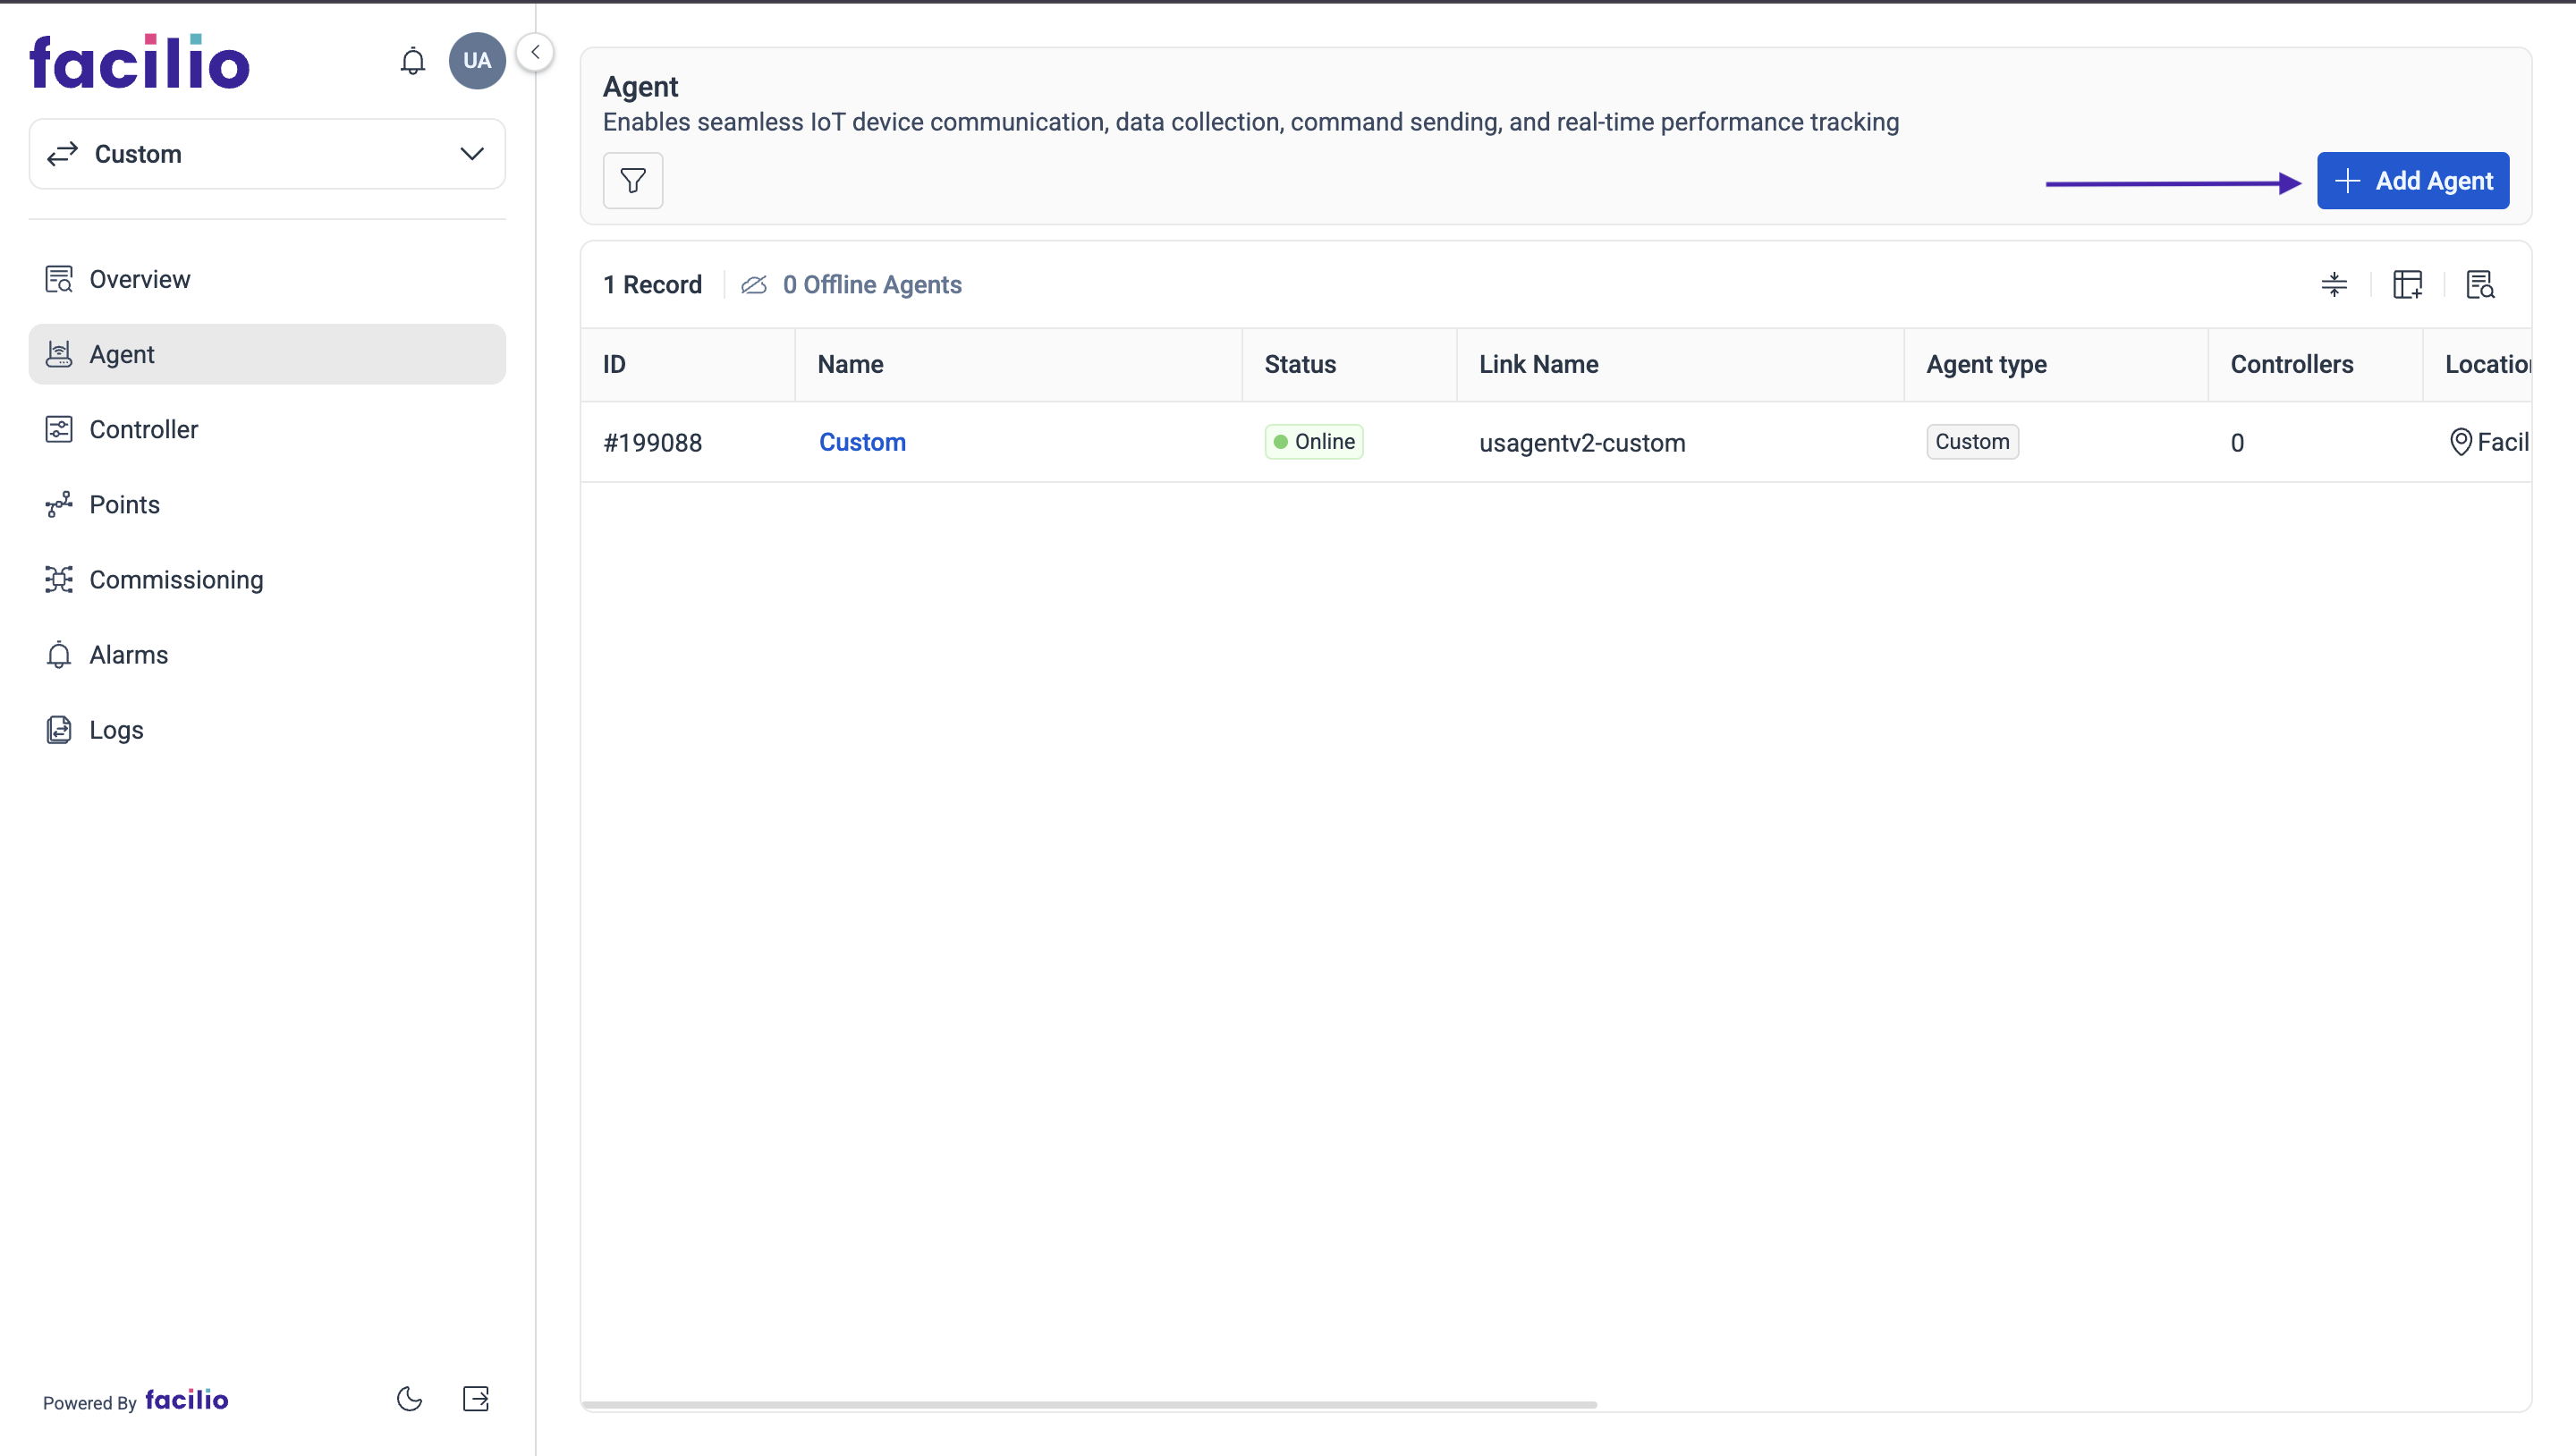
- Select the Agent Type as Niagara and type in the Niagara Host ID (Example: Win-118A-13DA-F1F9-814A) of the Niagara workbench and the Display Name of the Agent.
- Also select the Site name where the agent will be implemented. Then click Save.
-36b53f6226eb76490a4a69114c7e62b0.png)
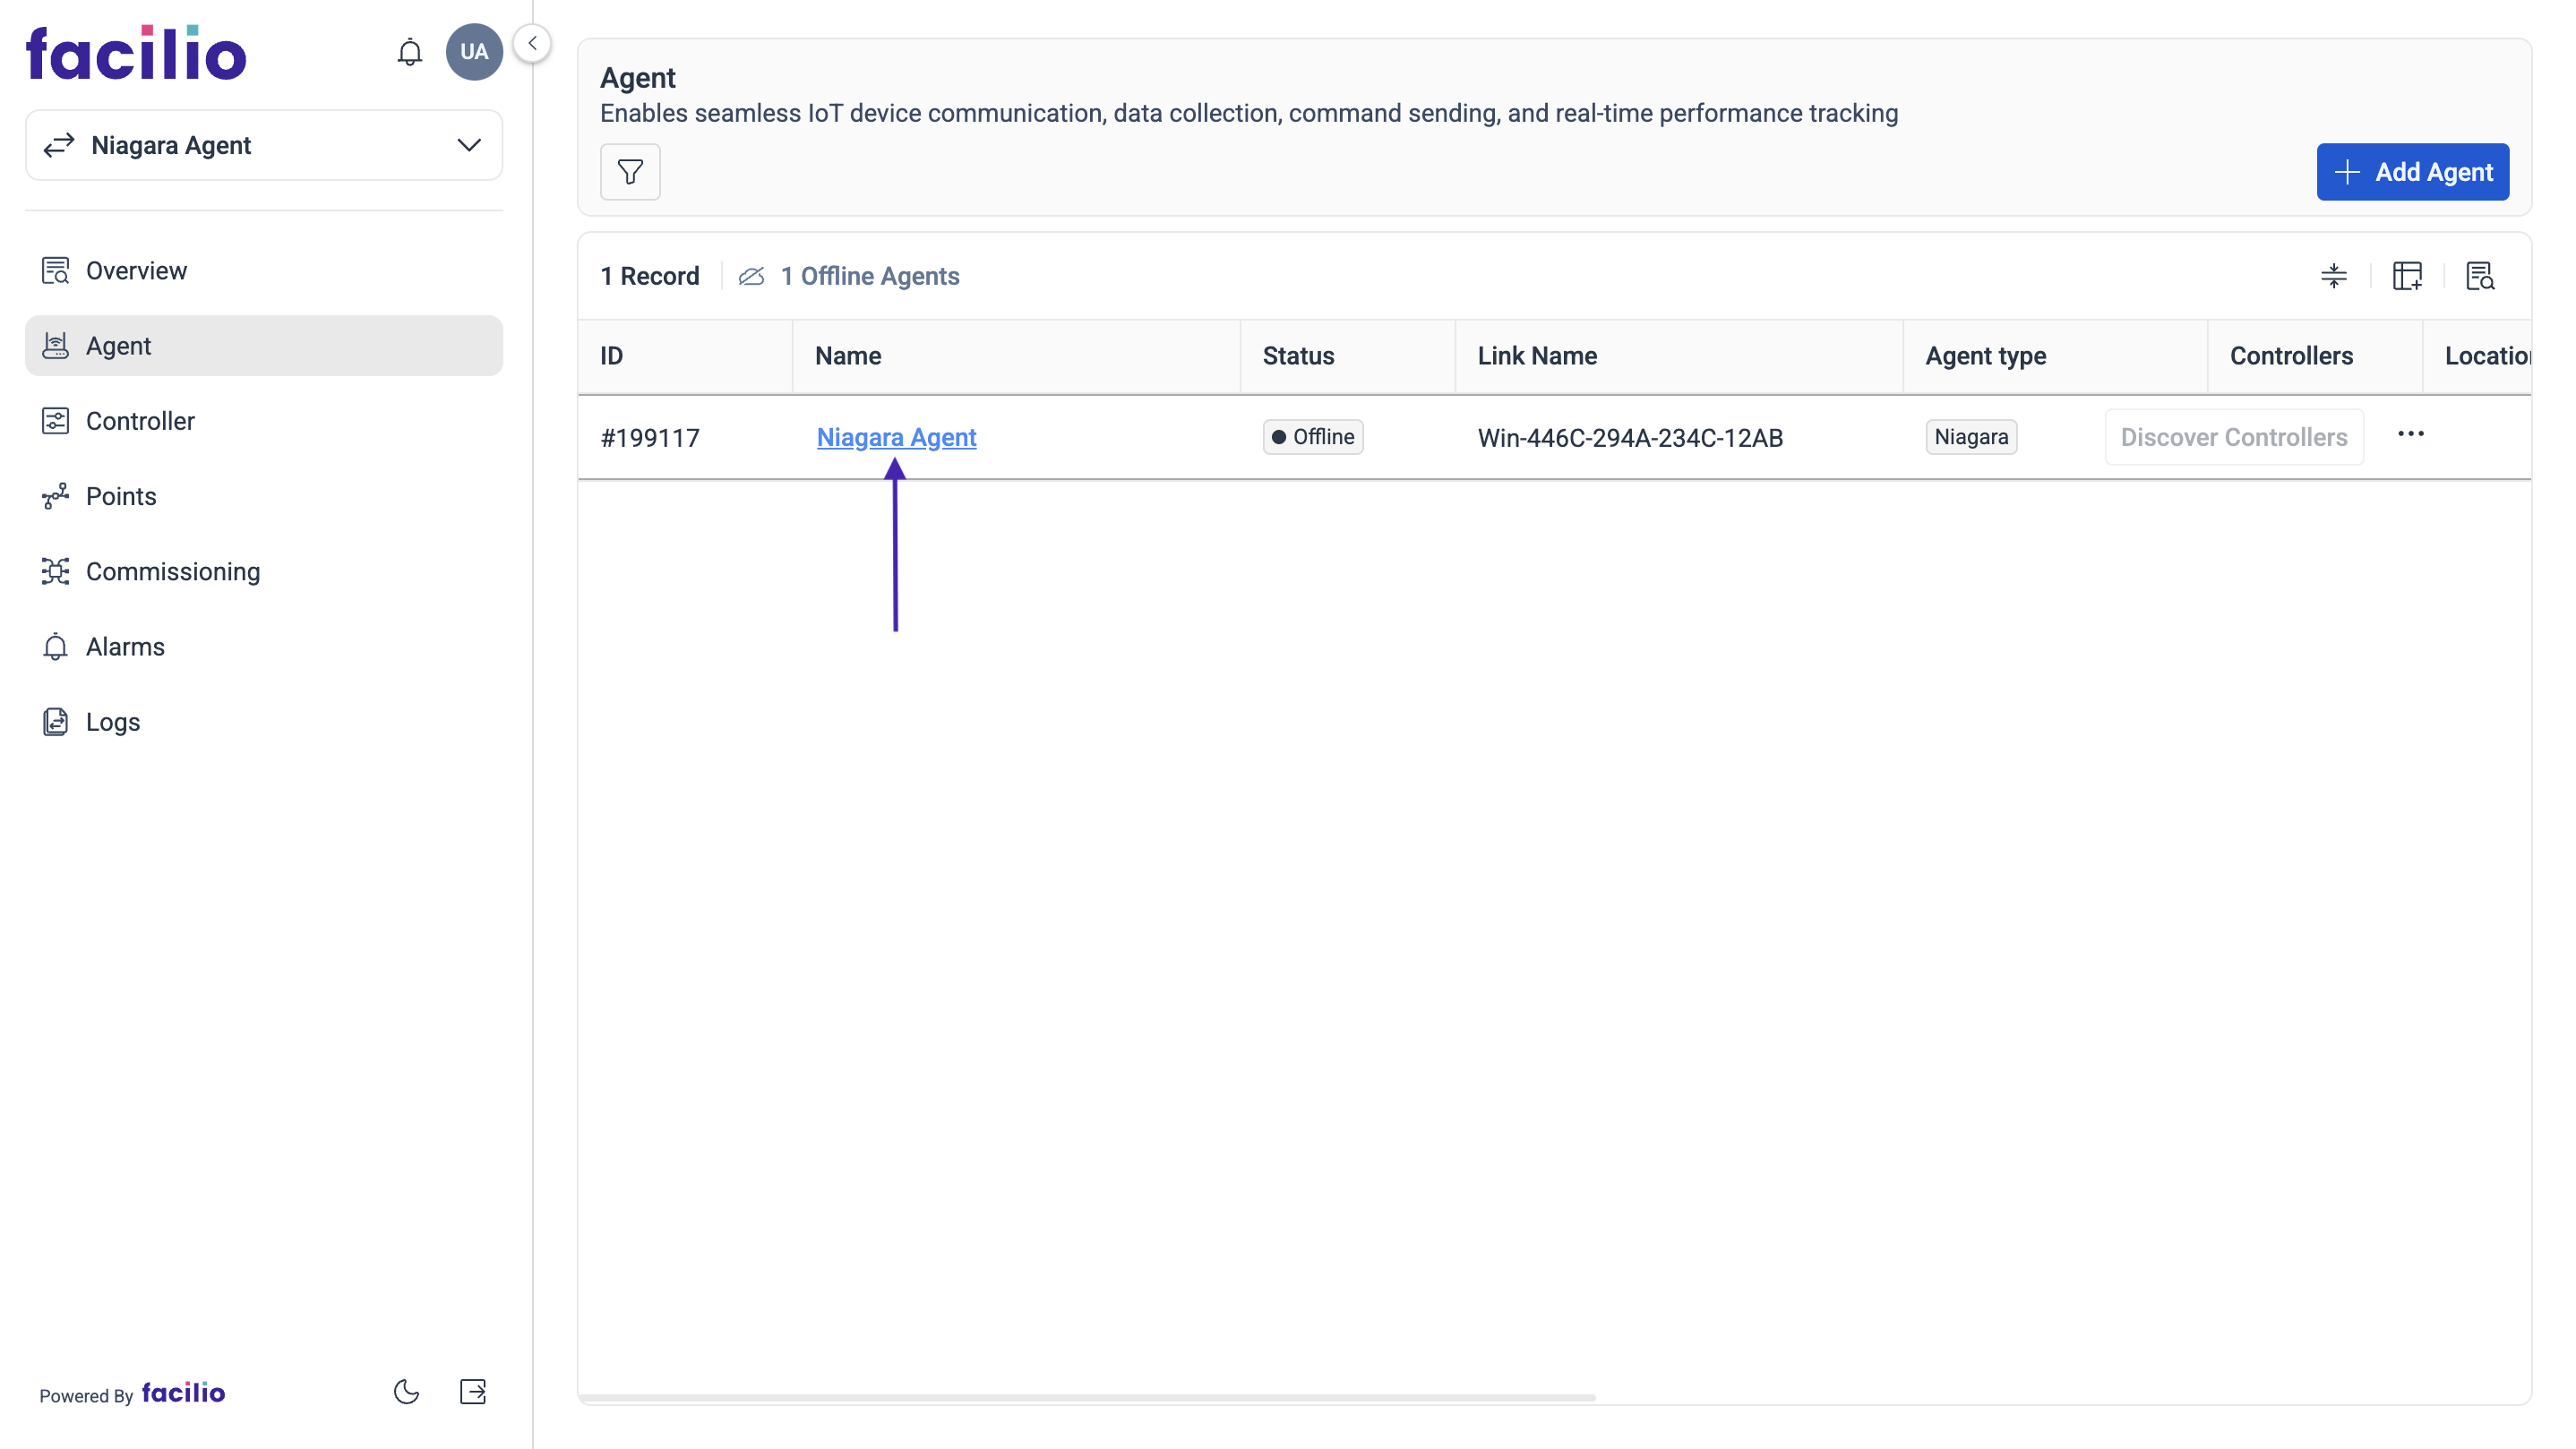
Step 3 - Download Certificate files#
- Click on the Agent that you have added and download the Certificate and Config file, then extract the files from the downloaded zip folder.
-17c797e627dd49cb6d019d4a61732422.png)
B. Add the Niagara Plugin in the Niagara Workbench and Initialize it#
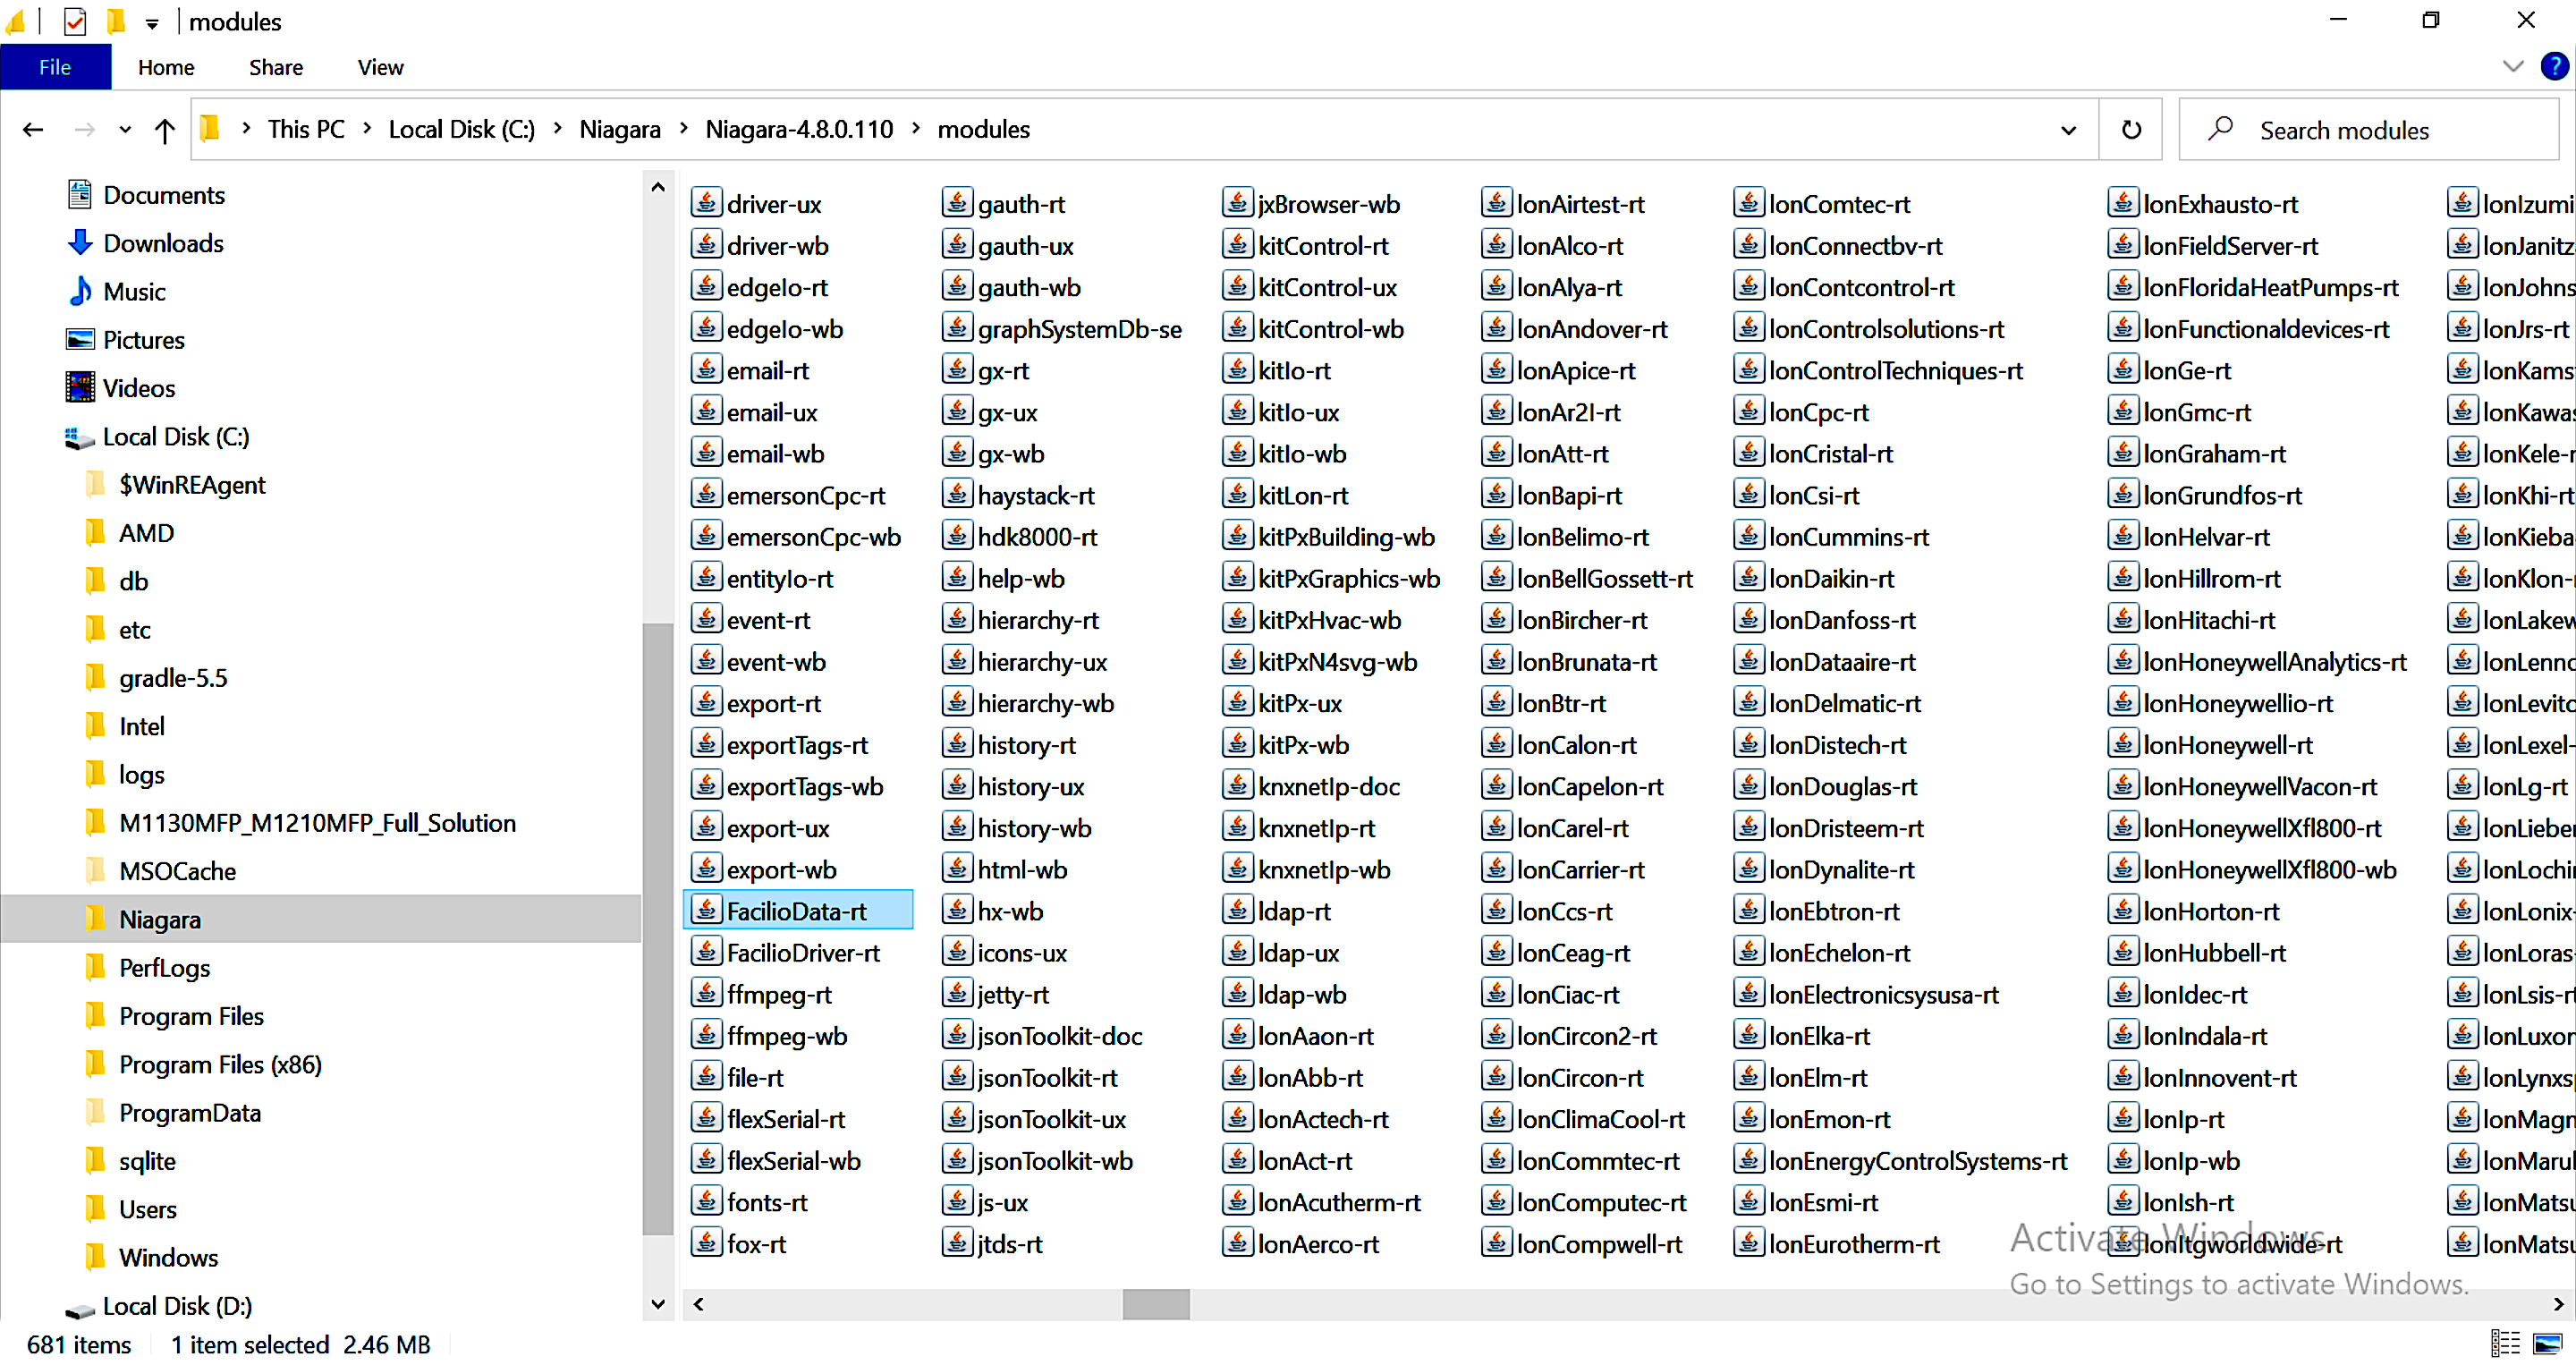
Step 1 - Facilio Driver Installation#
- Copy the downloaded FacilioDriver-rt.jar file to the following directory: This PC > Local Disk(C:) > Niagara > Niagara-4.x > modules.
- Log in to the Niagara Workbench in your network.
-70d779cd85e06c55db1595882e811700.png)
- Refresh the workbench to find the copied Facilio Driver under My modules directory. If you can't find it, close the Workbench and reopen it.
-e5fb27210d7c6f6aa9a523fd70ad974c.png)
- Note: Ignore following steps if you are installing on JACE (proceed to Step 2).
- Navigate to: My Host > My File System > C: > ProgramData > Niagara-4.x > Vykon or Tridium > Shared
- Create a folder named facilio under the shared directory.
-bdaf6cf991f35886b9ff047286194e28.png)
Download the root.crt file from here: link
Move the downloaded files (facilio.config, facilio.crt, root.crt and facilio-private.key) to the facilio folder created in the previous step.
-603dc38bc3848f5268f3a9d335c3bf8a.png)
Step 2 - Facilio Signed Certificate#
For Niagara 4.9 and above versions, Facilio's self-signed certificate needs to be imported to load Facilio's Niagara driver/plugin successfully in both workbench and station. For other versions, you can also follow the steps below to eliminate certificate path validation errors.
Please follow the procedure to import the signed certificate into workbench and station.
Download the faciliosignedcert from this link
- In the Workbench, click on Tools(Top Menu) → Certificate Management

- Click User Trust Store tab and Click on Import button
-e8373b1e92a8f603985807714c35243b.png)
Choose the already downloaded faciliosignedcert.pem file and click Open.
Click OK in the Certificate Import view to complete the import.
Under User Trust Store, faciliosignedcert should be listed.
Repeat the same steps (2-5) for the station. Click on Certificate Management under the Platform of a station. Note: This applies to both Workbench and JACE installations.
-f964caa6dc2ba8302fd8a46a39aceaf0.png)
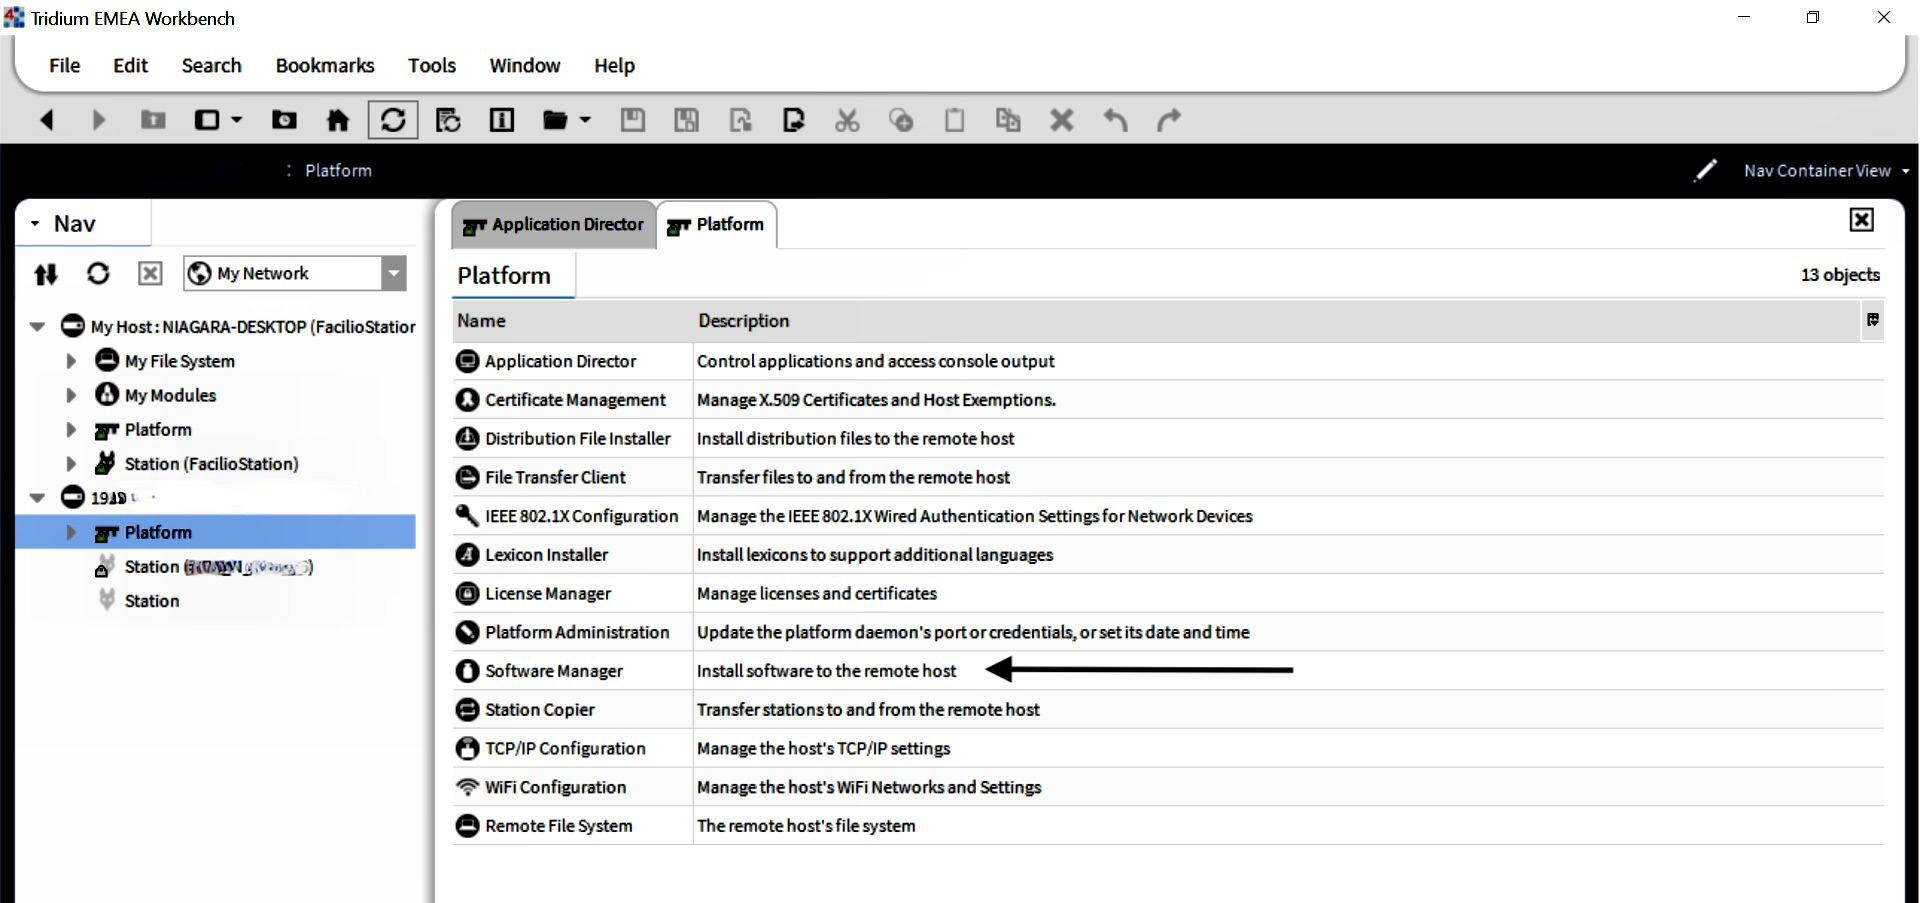
Step 3 - Jace#
- If the Facilio Plugin is being installed on the Supervisor, ignore this step.
To add the Facilio Niagara plugin to Jace, you will need to follow a series of steps that involve transferring the certificate files and installing the Facilio plugin software.
1. Install Software
- Click on Software Manager under Jace Platform.
- Click on Import, select Import software from files.
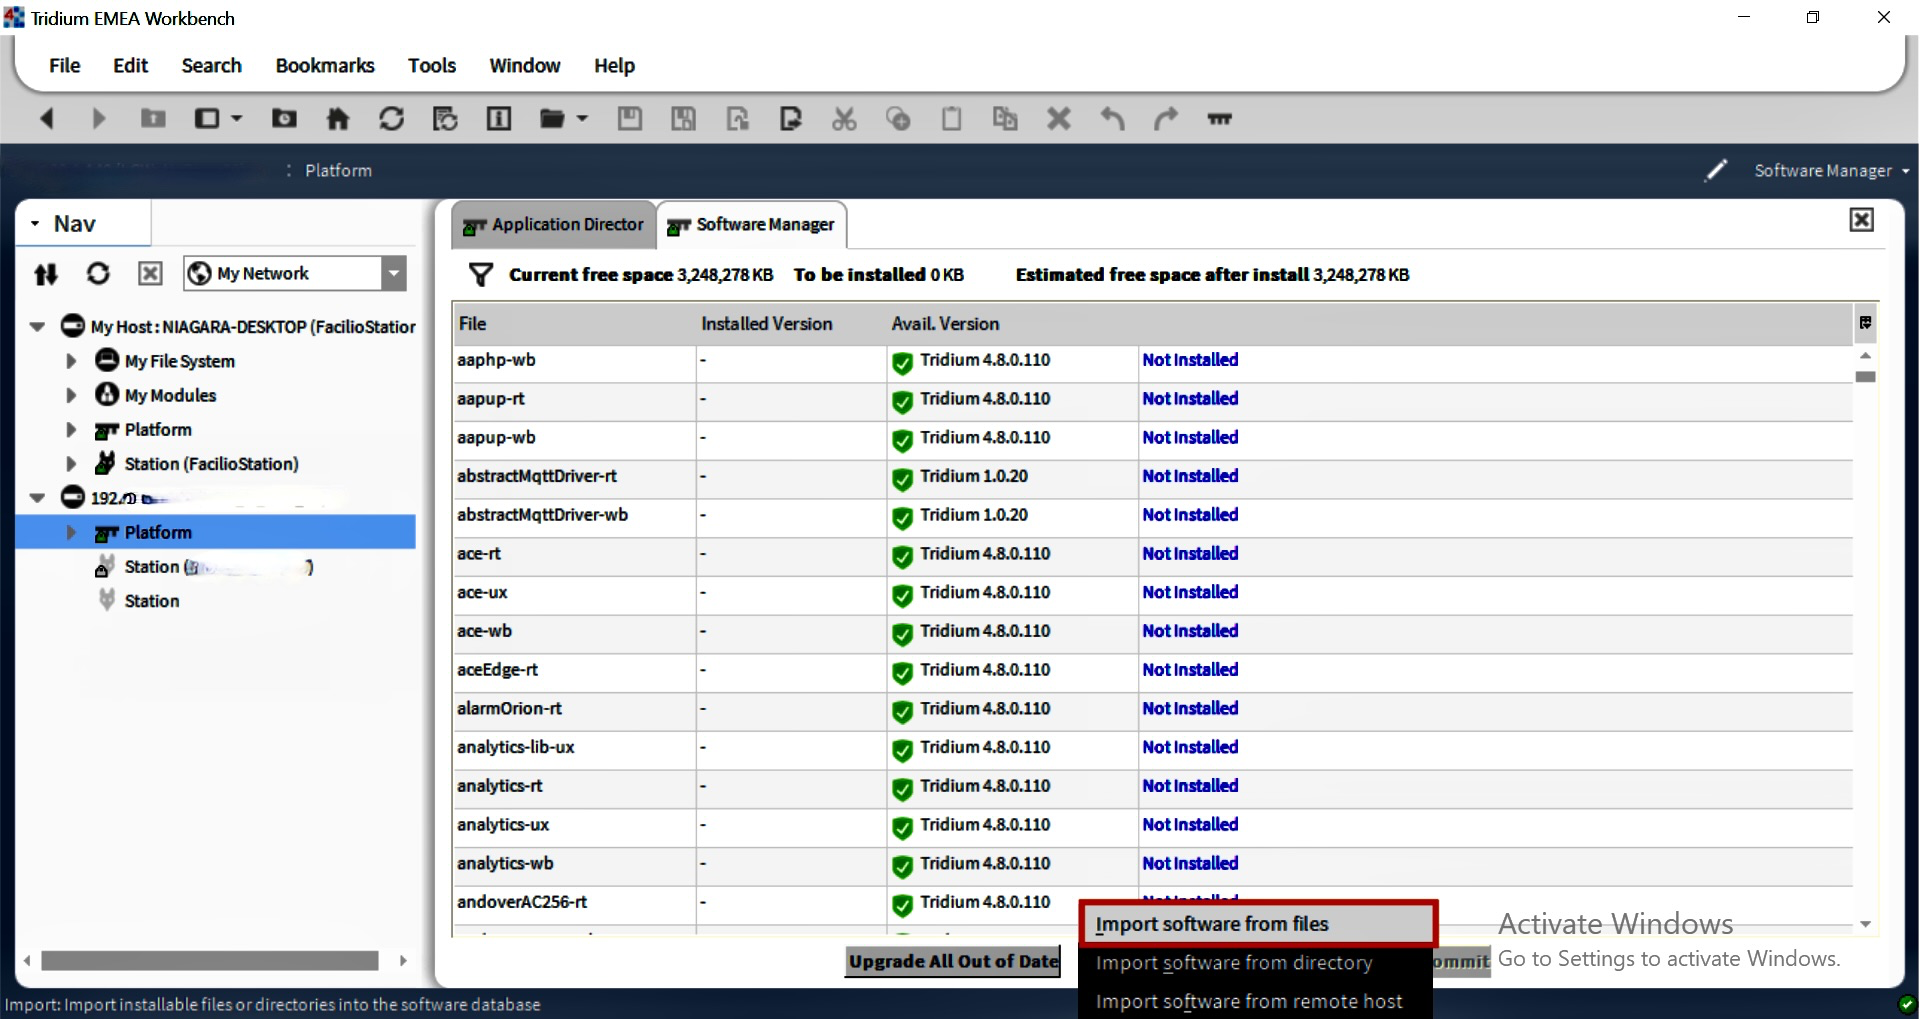
- Select the FacilioDriver-rt.jar and import it.
- Click on FacilioDriver-rt once the import is done.
- Then click Install and Commit.
2. Certificate files
- To transfer the certificate files to Jace, access the Jace Platform and click on the File Transfer client.
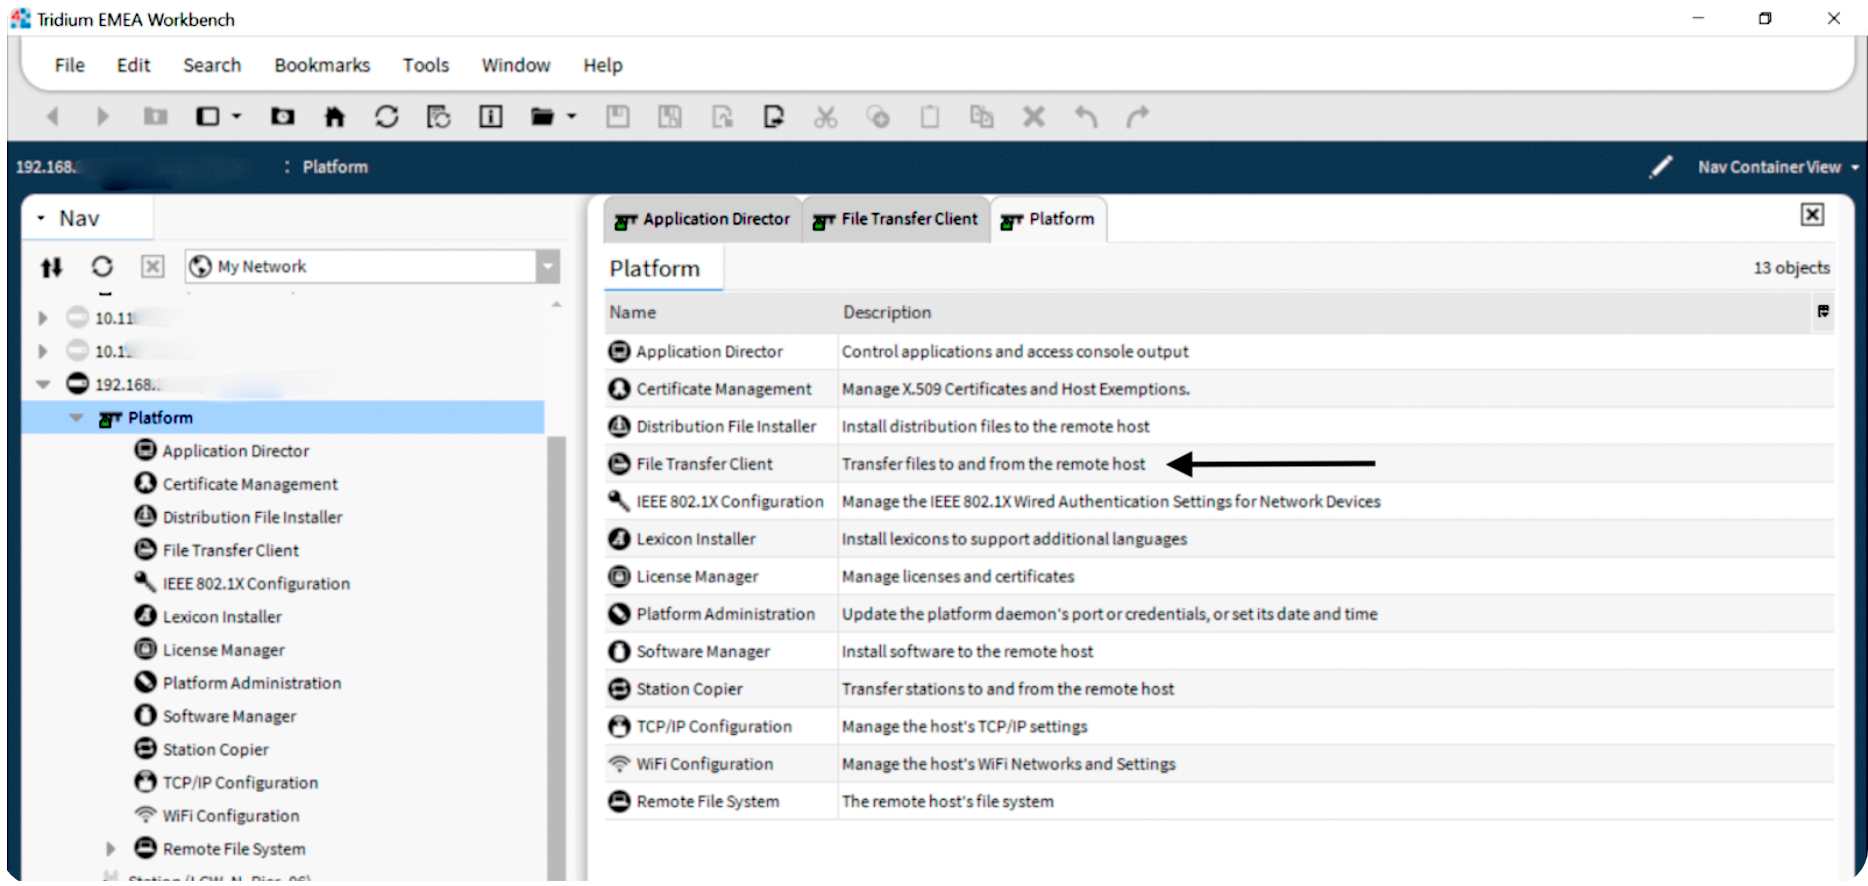
- In the File Transfer client, create a directory named facilio under /home/Niagara/shared (user home).
- Note: Download the root.crt file from here: link if you haven't already done so.
- Move the files (facilio.config, facilio.crt, root.crt and facilio-private.key) from your computer (Left side) to the facilio folder (Right Side).
-4e4e155b4992d966a360a5ad4f0e1b15.png)
Step 4 - Facilio Connector#
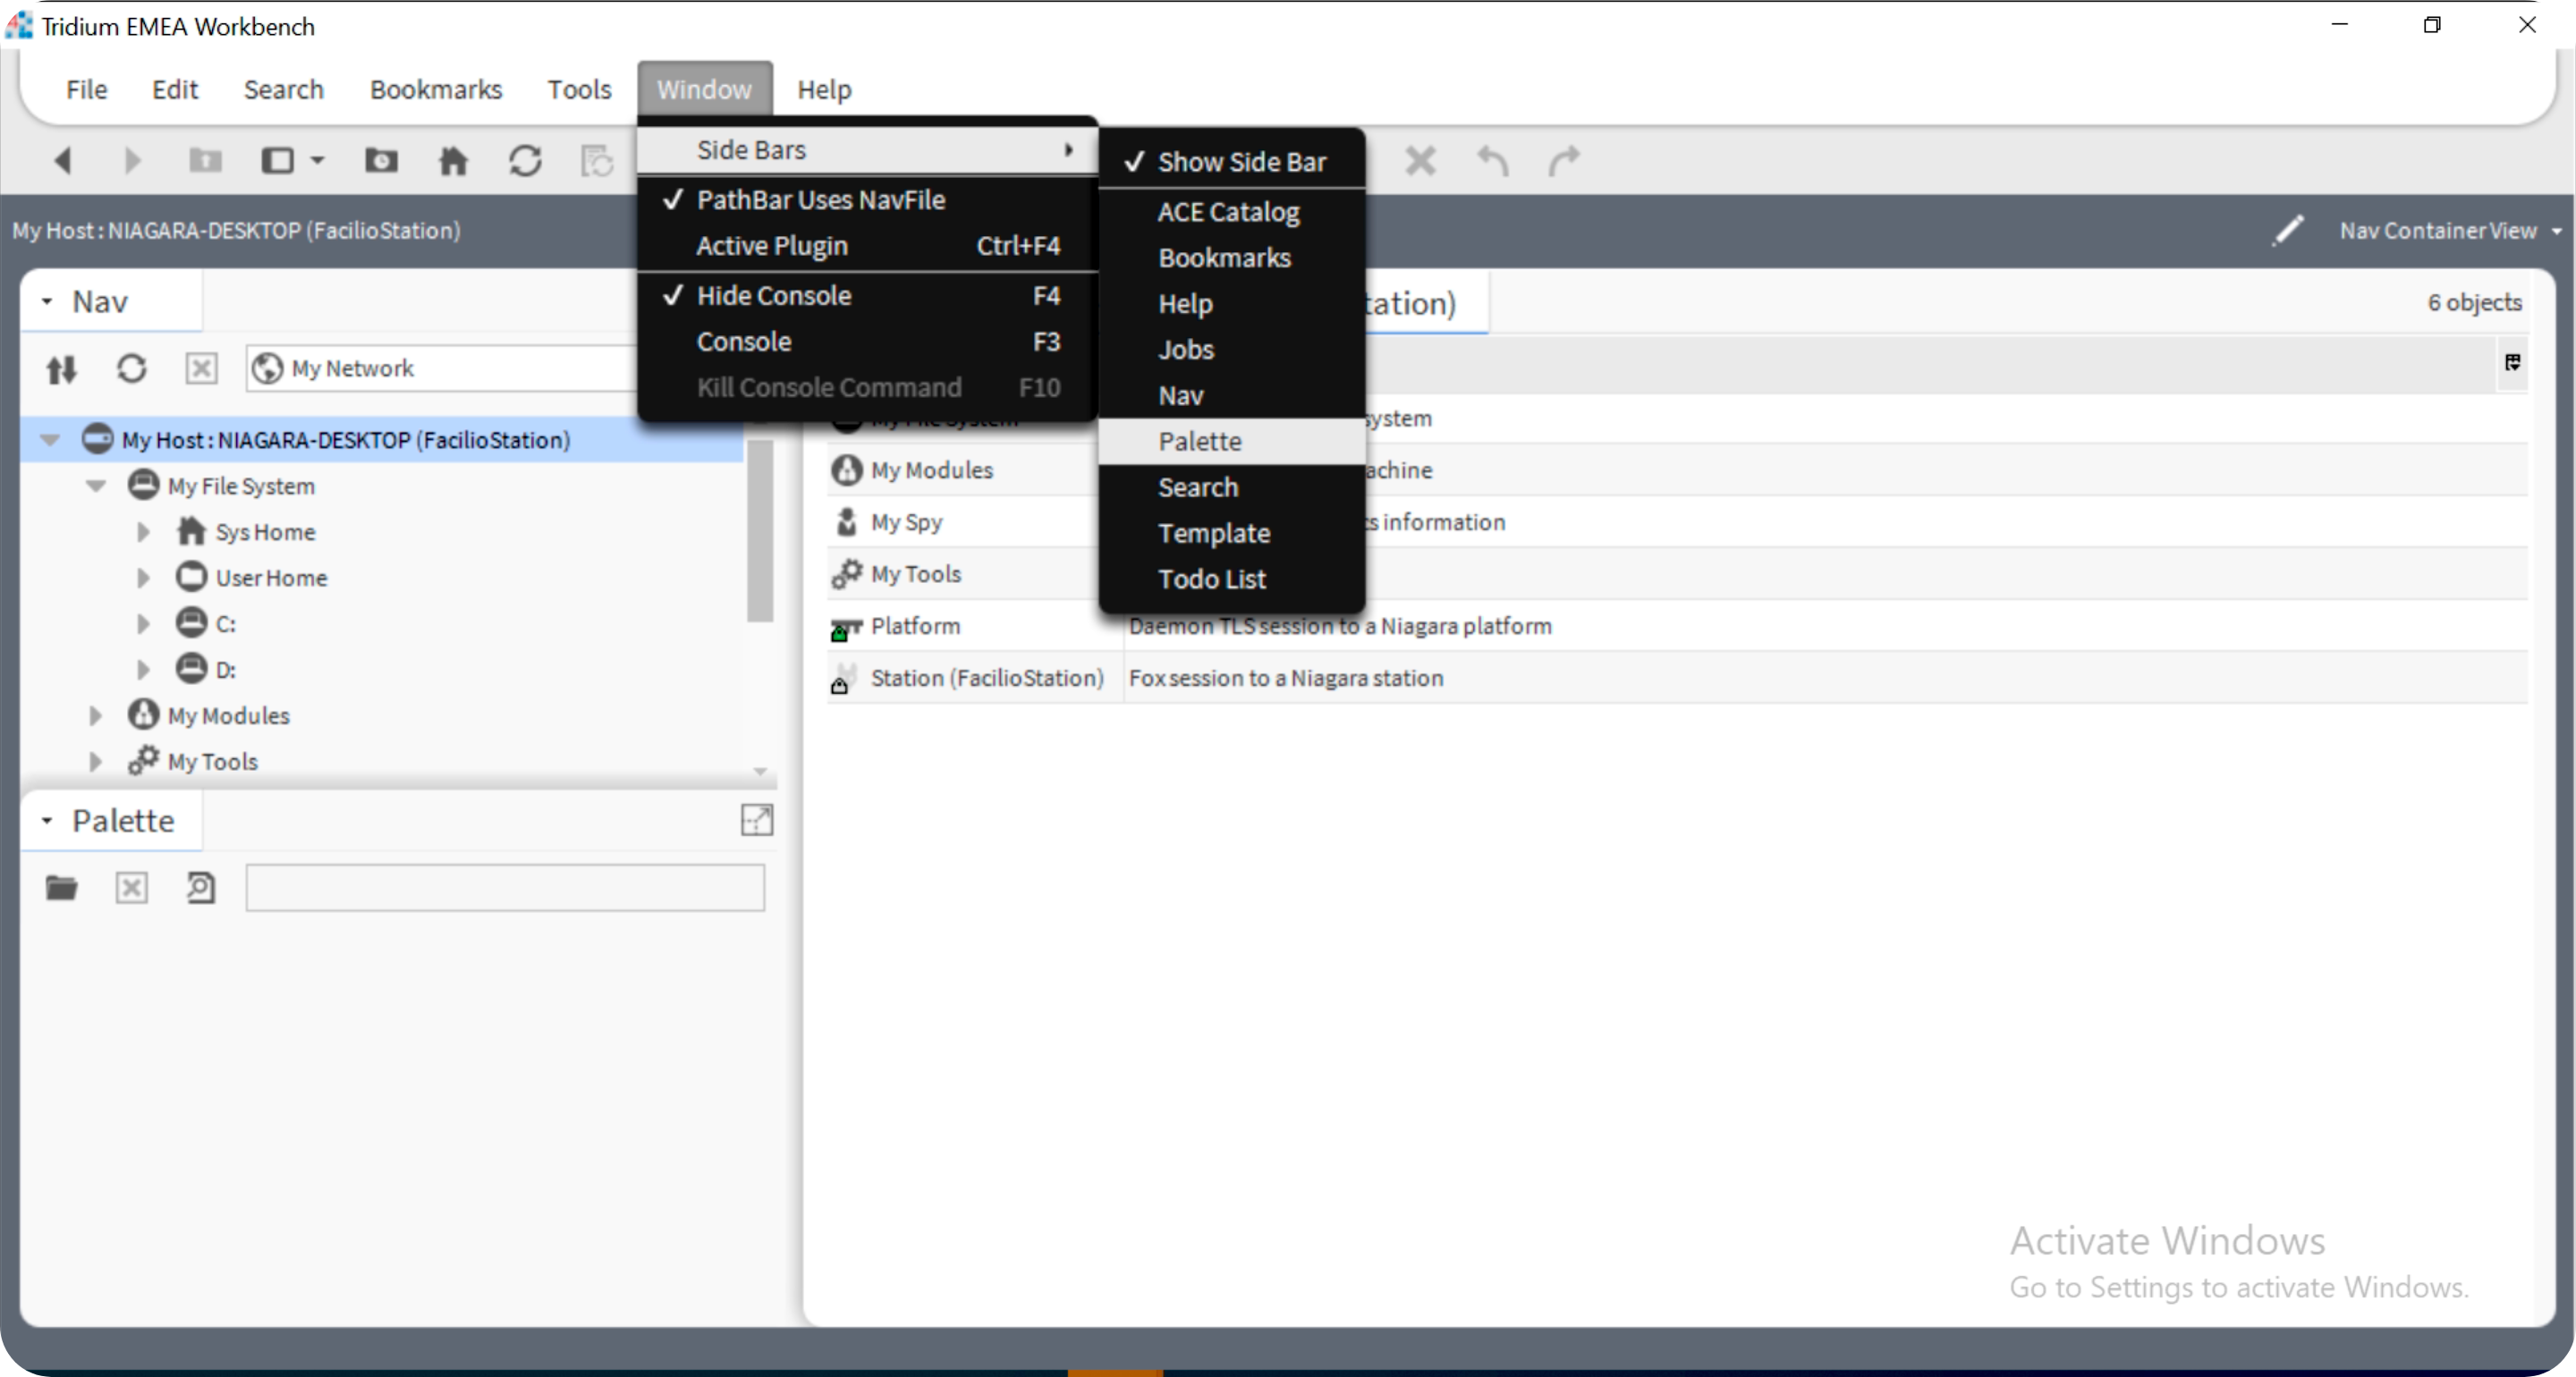
- Open Palette under Windows > SideBar and search for the FacilioDriver and click on it.
- FacilioConnector will be found inside the FacilioDriver.
-655b4afa5dedc09c5504a52b7cc38010.png)
- Create a folder named facilio under the directory MyHost: > Station: > Config
-c38d191804390ddd6459598778542f9a.png)
- Drag and drop the FacilioConnector from the palette to the facilio folder created under config in the previous step.
caution
- If you are getting the following error while drag and drop: The following missing modules are required for root targets to be transferred
- Restart the Niagara Service from Services.
Step 5 - Initiating Connection#
Before initiating the connection, below are the steps to verify the connection success.
- Open MyHost >Platform >Application Director (To see the status of the connection through logs)
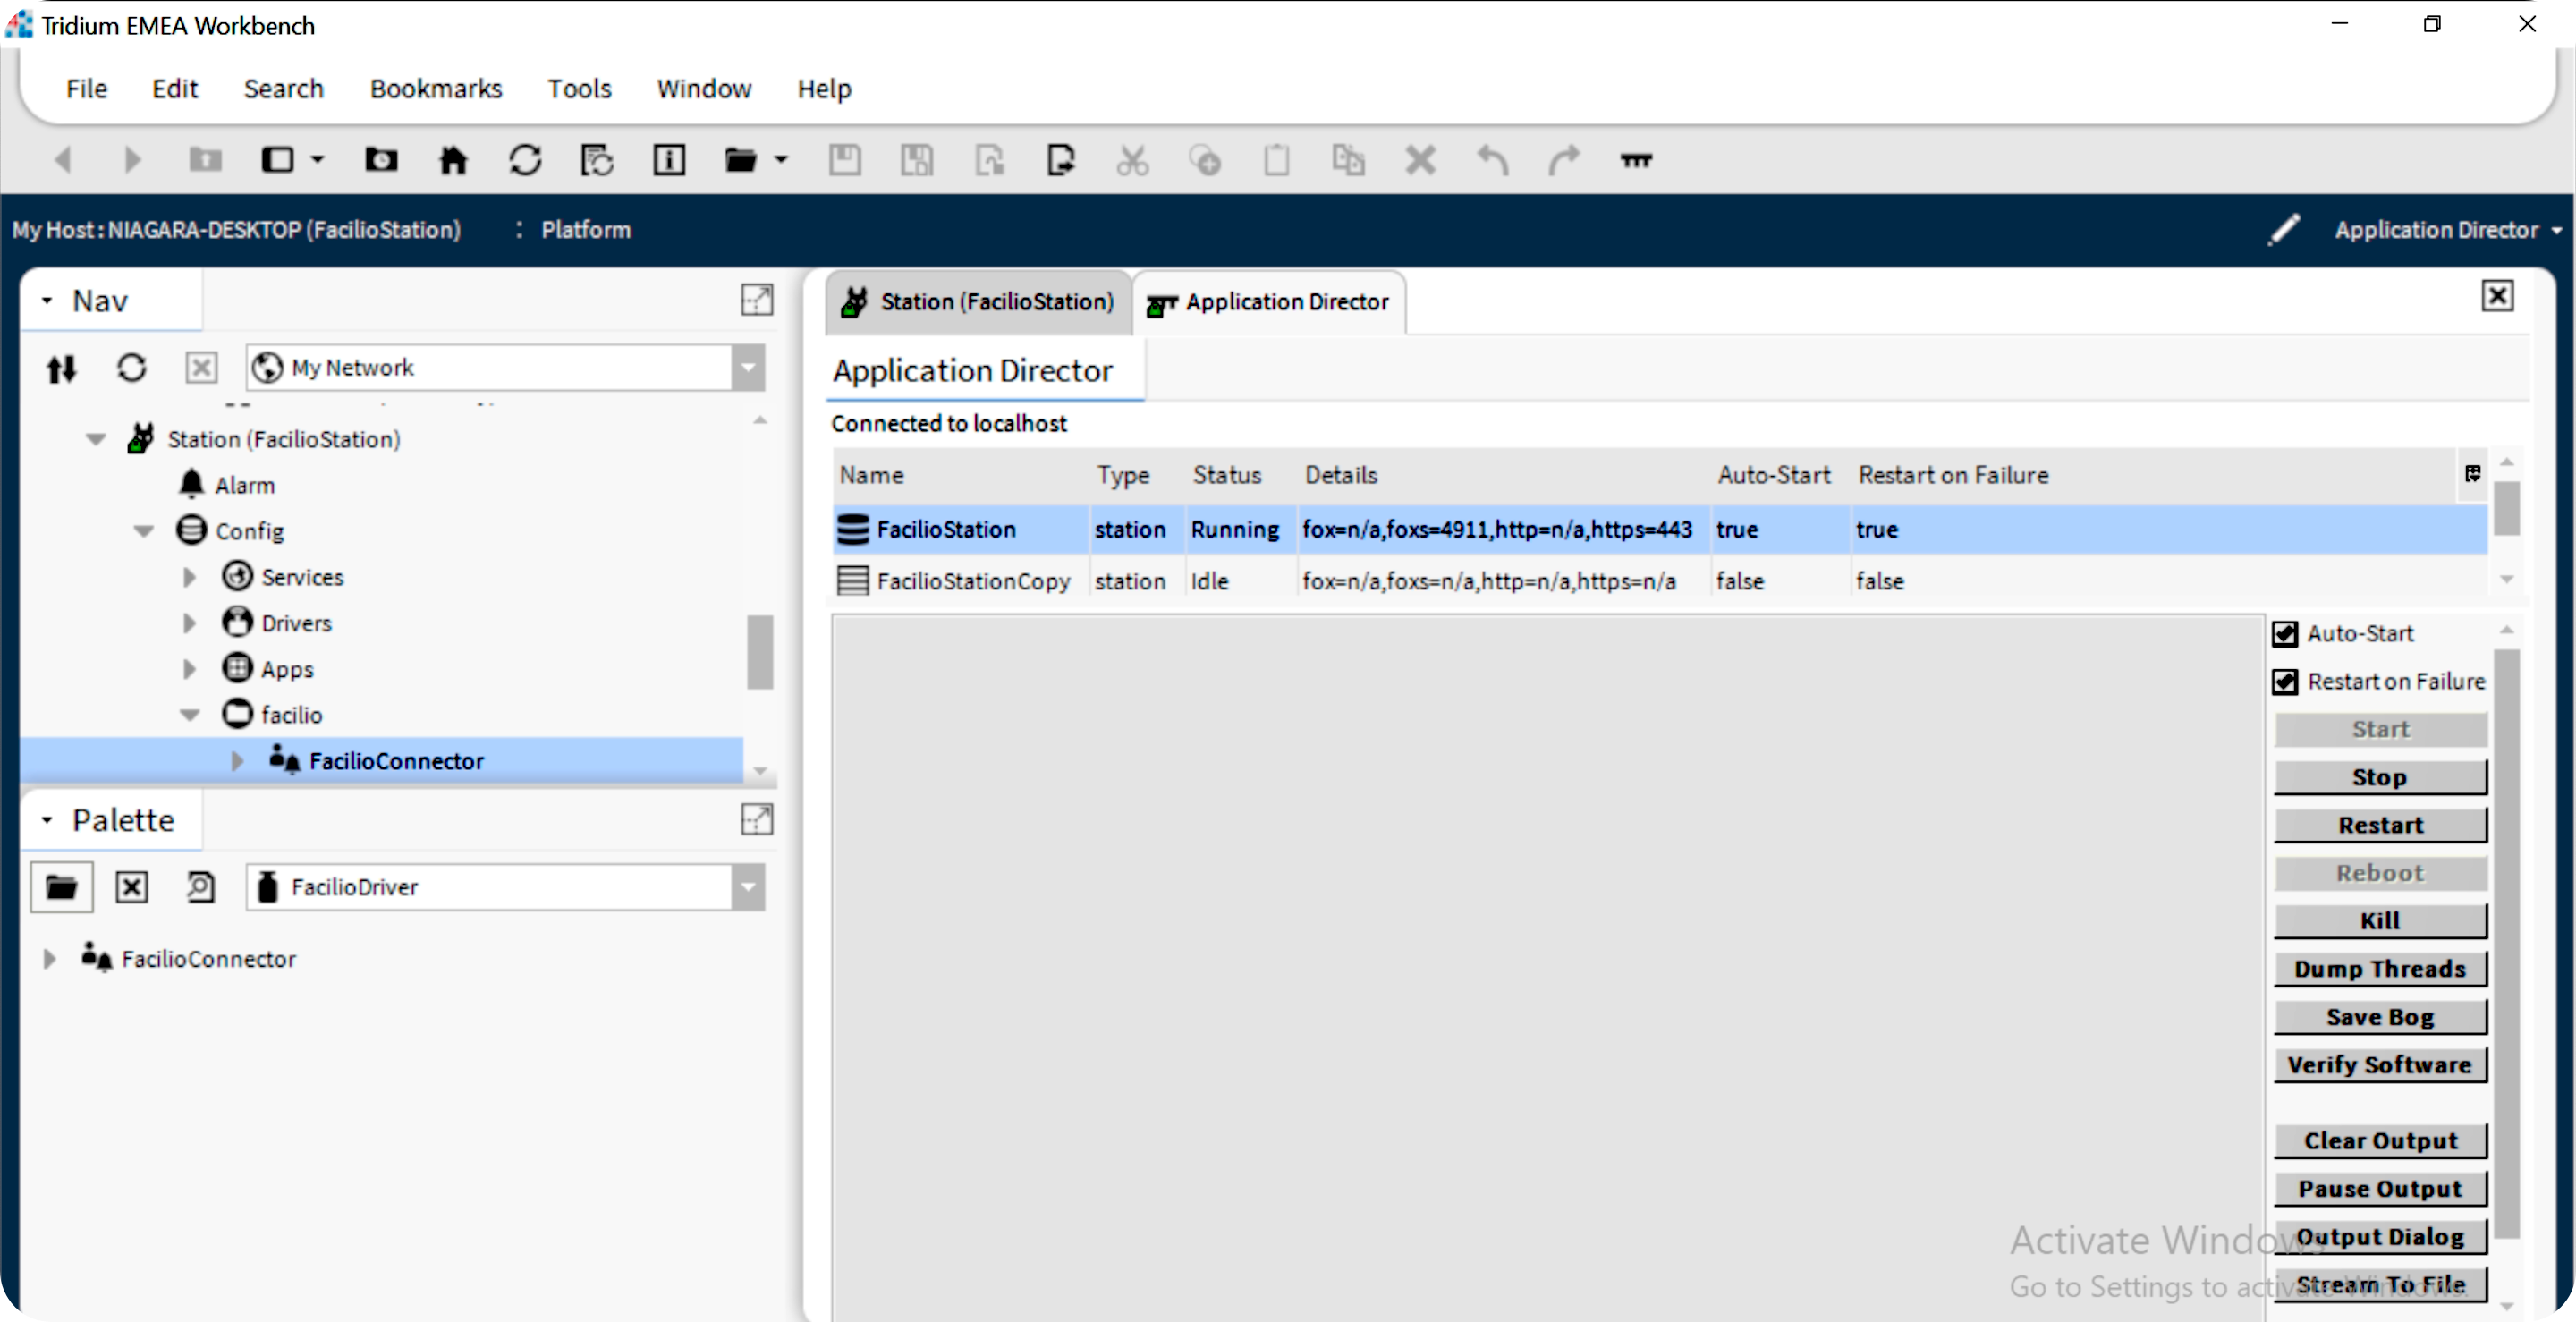
- To initiate connection, go to MyHost > Station > Config > Facilio > FacilioConnector.
- Right-click on the FacilioConnector > Actions > Init Connection.
-ffe41dd645b5733b72826fbd5704ae0e.png)
- After initiating the connection, the logs in the application director will show as Connection Successfully Established.
-15541191881f94995795e0c11569340d.png)
caution
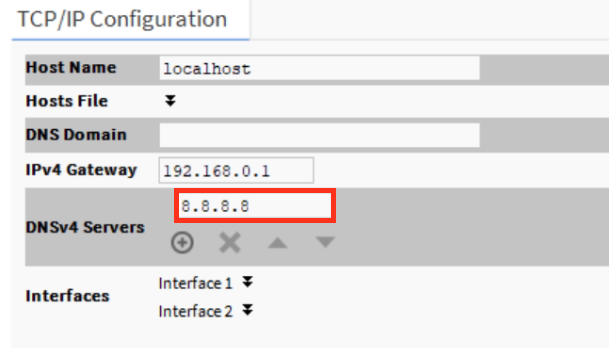
If you encounter the UnknownHostException while initiating the connection, you can resolve it by following the steps below:
- Go to TCP/IP Configurations under Platform.
- Add 8.8.8.8 to DNSv4 Servers. (Refer to the image below)
- Once the DNS server is updated, click the Save button.
- A dialog will ask for permission to restart the Platform. Click Yes.
- Once the Platform and station are restarted, try initiating the connection.
- Go to the Agent Portal. The Niagara agent will now be online and ready to communicate with the networks.
-a3ba60478ba5a70469ad10adac49d5e9.png)
Firewall Configuration (If Needed)#
Outgoing connections to:
- Endpoint: Endpoint can be found in the facilio.config file, MQTT Port: 8883
If you configured the firewall and the connection couldn't be established, then check with the following command:
- Windows (PowerShell):
Test-NetConnection -ComputerName <aws endpoint> -Port 8883- In the response, TcpTestSucceeded should be true. If not, check the firewall configuration.
- Linux:
telnet <aws endpoint> 8883
Troubleshooting Tips#
Tips
- Make sure the certificate and config files (facilio.config, facilio.crt, root.crt and facilio-private.key) are placed in the correct location.
- If restricted internet access is provided, the above-mentioned firewall configurations should be allowed.
- Check that the Niagara Workbench Host ID and Agent Host ID are the same when creating the agent.
- If the Facilio driver is showing up as an Unsigned module and cannot be installed on the server, follow Step 2 in section B (Facilio Signed Certificate).