Windows

Prerequisites#
Before proceeding with the installation of the Java Agent, ensure that your system meets the following requirements:
Operating System:
- Windows
Hardware:
- Minimum of 4 GB RAM
- Minimum of 80 GB hard disk space
Internet Connection:
- An active internet connection is required for downloading and pushing data to the Facilio cloud.
Network Connection:
- Ensure that the system is connected to the Building Management System (BMS) network for proper communication.
System Time
- Ensure that the system time is synchronized with the correct local time zone.
User Session
- Important: The user session should not be logged out for the agent to function properly. If you need the agent to run even when users are logged out, configure it to run under a custom service account (see the Service Account Configuration section below).
Steps to Establish the Connection#
A. Create an agent in the Facilio Platform. B. Install the Facilio Agent on the system. C. Start the Facilio Agent.A. Create an Agent in the Facilio Platform#
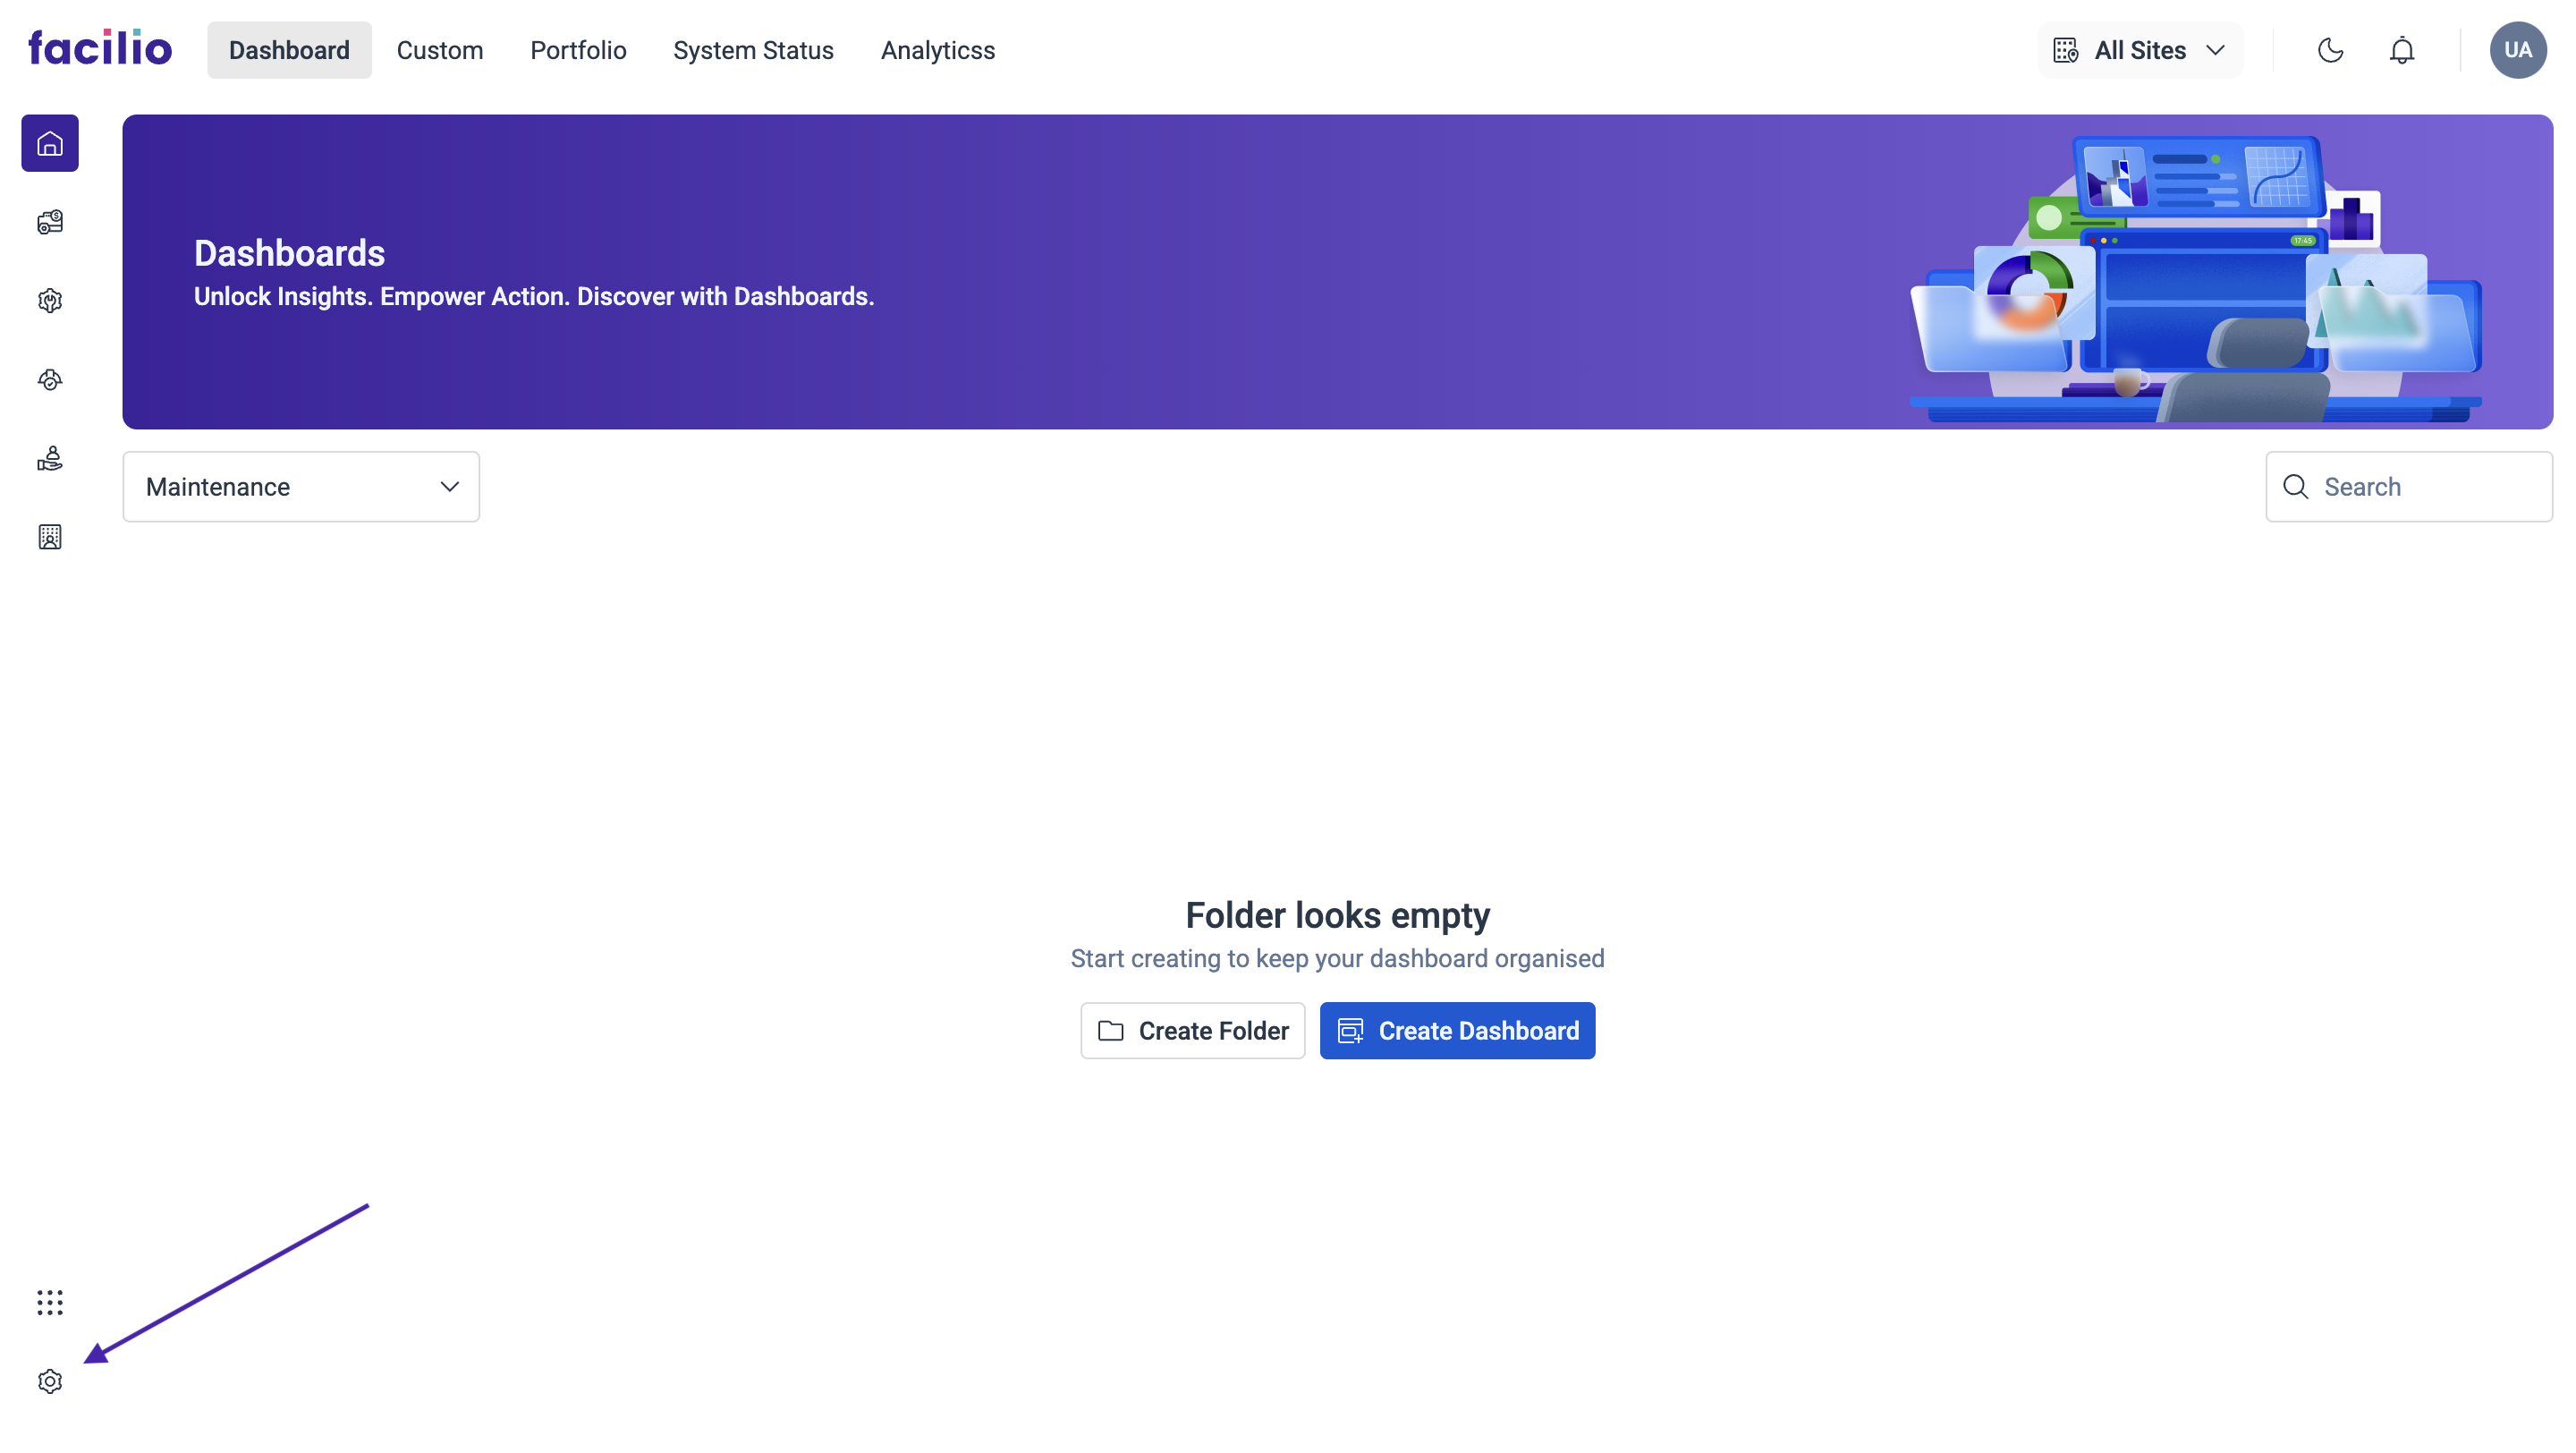
Step 1 - Navigate To Iot Page#
- Log in to the account using the credentials provided to you.
- From the Homepage, go to Settings >> Click on Portals >>> Click on Work Centers >>>> Click on Agent.
-0be818502051f378182ad317ac4581c6.png)
-2c308f3405fa524575396b39e6b9af50.png)
Step 2 - Add Agent#
Below is the Agent Portal interface. To create an agent, click on Agent in the left menu. Follow the steps below to create a new agent.
- Click on Add Agent.
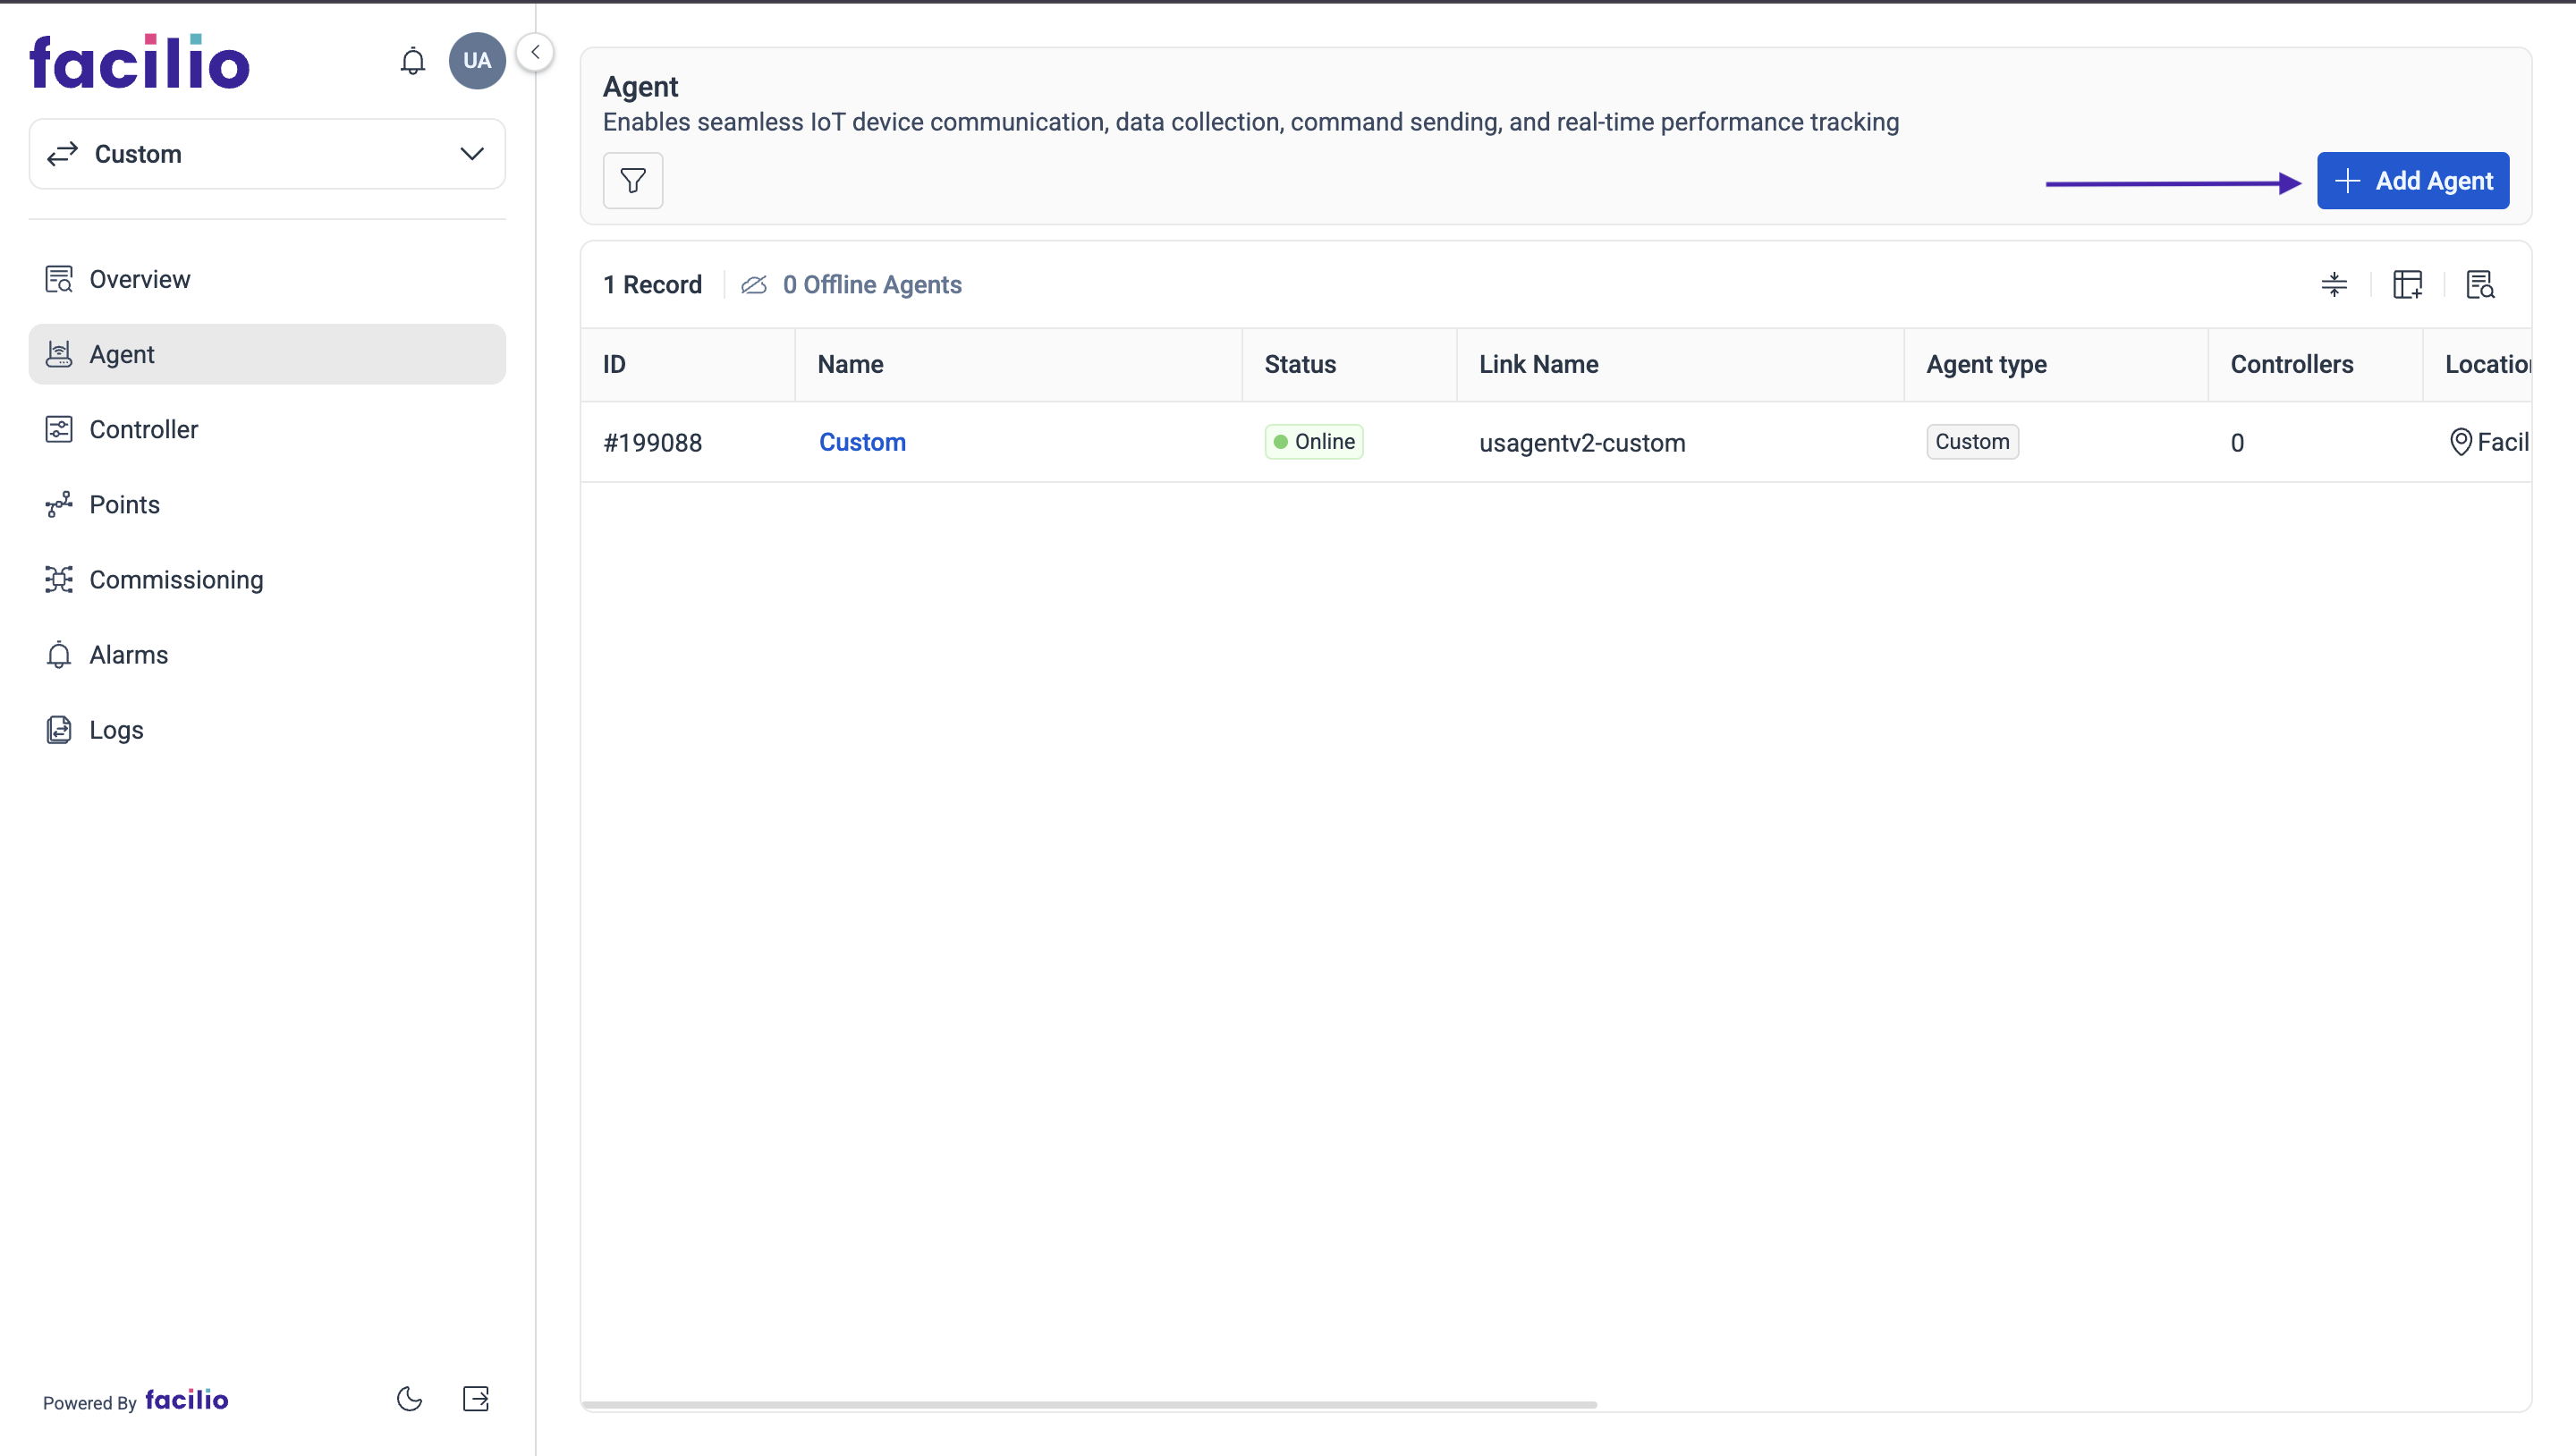
- Select the Agent Type as Facilio and type in the Agent Name.
- Also select the Site name where the agent will be implemented. Then click Save.
-5af37f5385a9a9e4f5a85a70db935a6a.png)
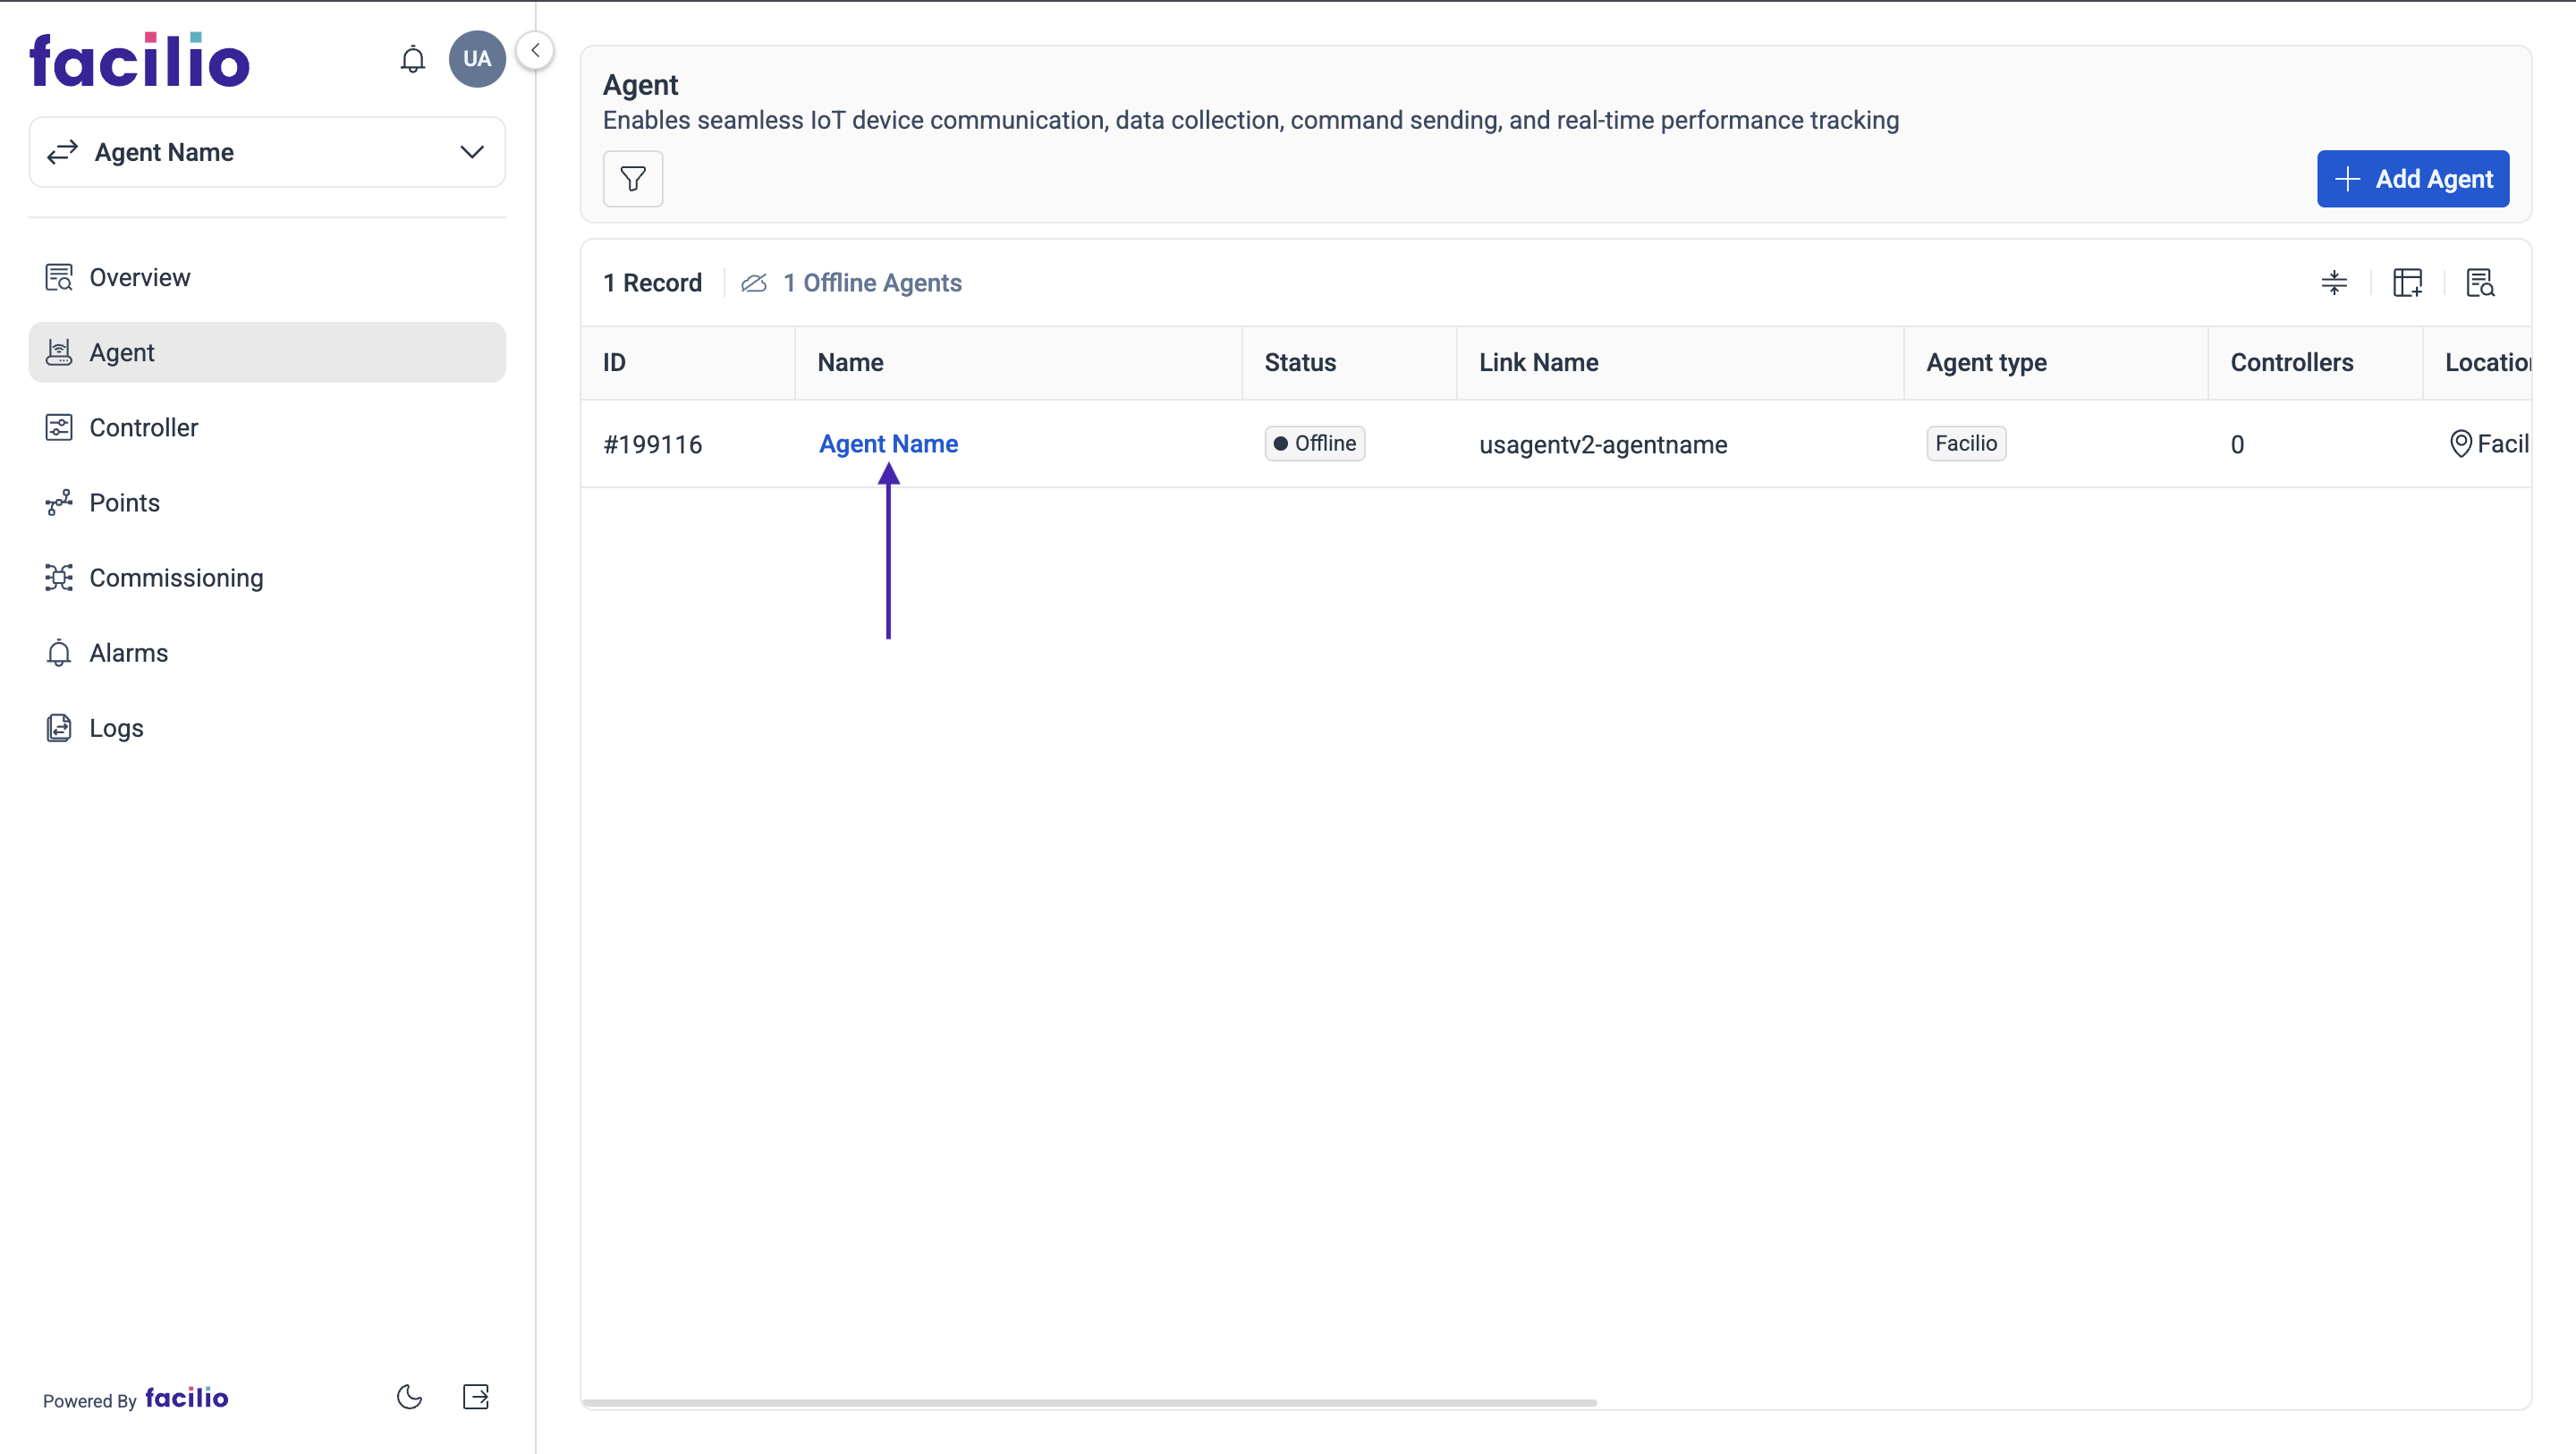
Step 3 - Certificate & Config Files#
- Click on the Agent that you have added and download the Certificate and Config file, then extract the files from the downloaded zip folder.
-be73f1382b45fec00c89a977f4cb43c5.png)
- Create a folder named facilio in the user home directory (C:\Users\CurrentUserName\facilio)
-709d7125008de70f952055929410027d.png)
- Download the root.crt file from here: link
- Move the extracted files (1.facilio.config 2.facilio.crt 3.facilio.private.key, 4.root.crt) to the facilio folder created in the previous step.
- If the protocol is OPC UA, place the self-signed certificate here, which was downloaded from the OPC UA Prerequisites.
-2a24d9d0fc815fb4adcd99a0fb6ea2c2.png)
(Optional) Adding Self-Signed Certificate to Trusted Root Certification Authorities#
Steps:
- Download the certificate file (facilio-certificate.crt).
- Install the certificate into Windows Trusted Root Certification Authorities:
- Double-click the facilio-certificate.crt file.
- Click Install Certificate.
- Select Local Machine.
- Choose "Place all certificates in the following store."
- Select Trusted Root Certification Authorities.
- Complete the wizard.
B. Install the Facilio Agent#
Follow the steps listed below to install the Java Agent:
Download and install JDK (Java Development Kit) from this link.
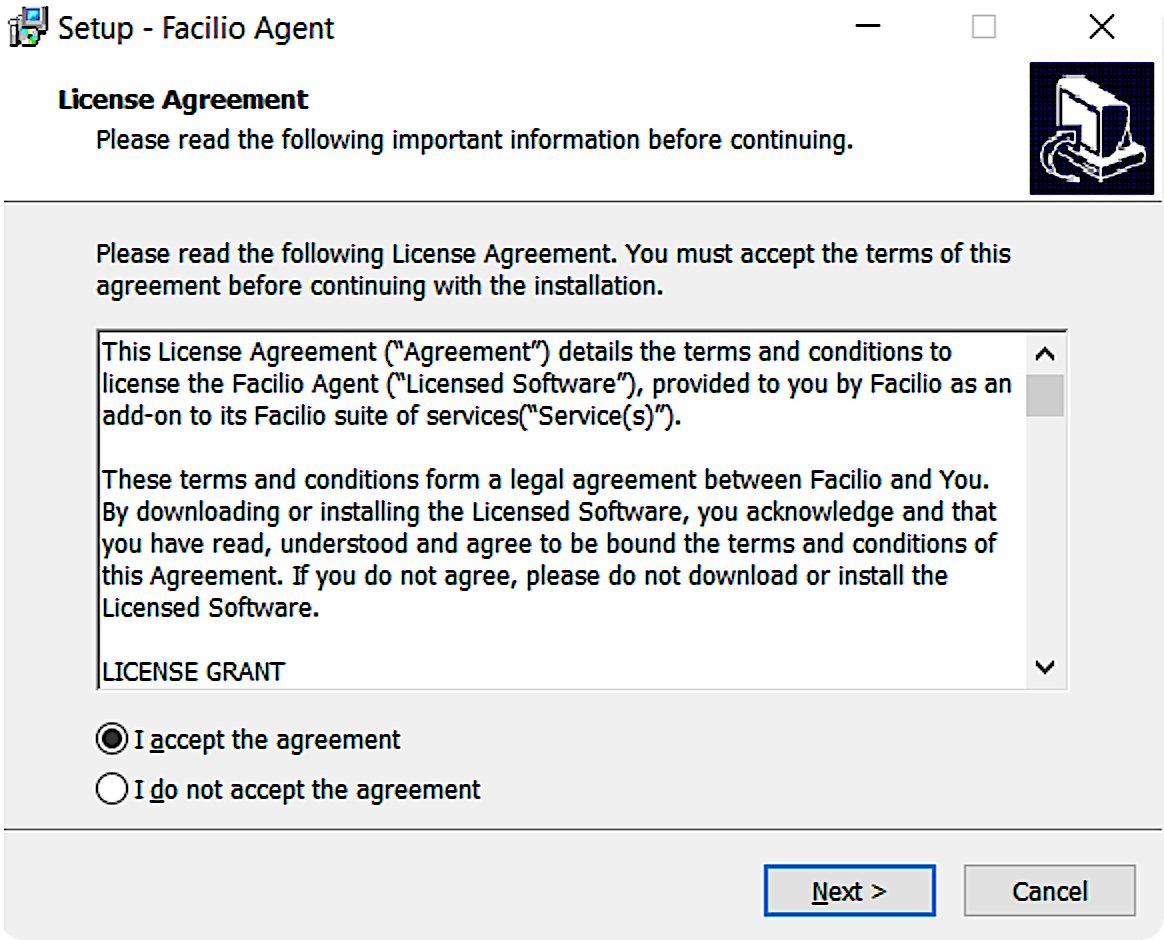
Download the Facilio agent installer from this link
(sha256: 15a8262e6899adeb9420b857b7eb1f95a328a9c6050cc91c145238efd1523ed1). Copy and paste the link in a new tab to download.Double-click to open the installer (FacilioAgentInstaller.exe). Accept the agreement and click Next.
- Choose the installation location and click Next.
.png)
- Uncheck the option "Create a desktop shortcut" and click Next.
- Click Install on the next screen.
.png)
- Ensure that the options 'Run uninstallService.bat' and 'Run installService.bat' are checked.
- Next, click Finish.
.png)
- Close all the console windows that opened during installation.
C. Starting the Agent#
Now that the Java Agent is installed on the system, you will need to start the agent to bring it online.
- Open Task Manager and click on the Services tab.
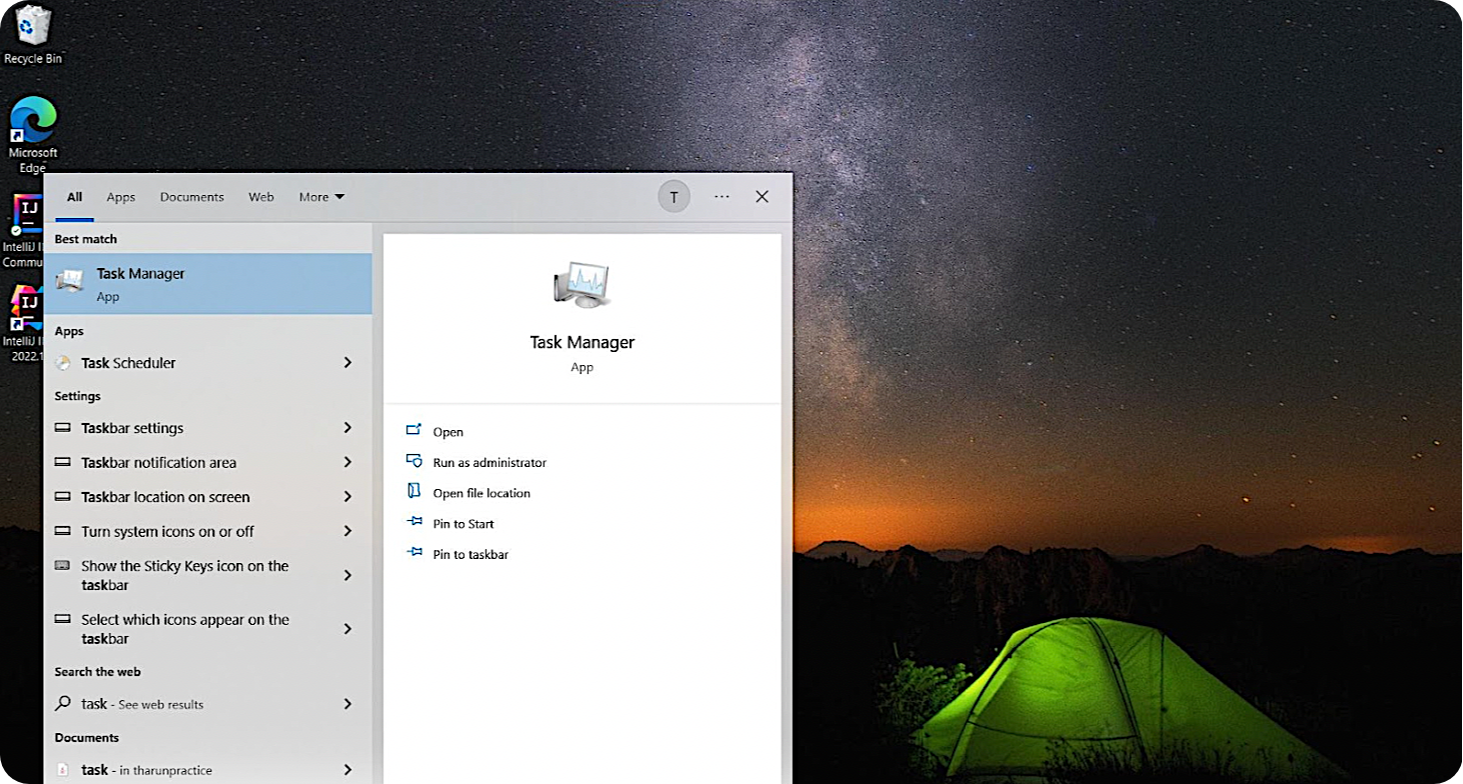
- Search for Facilio Agent, then right-click on it and click Start. The Facilio Agent will take a few minutes to come online.
-7d283fd630331295b69e48ebeae352ab.png)
- Once it's online, go to the Agent Portal. The Facilio Agent will now be online and ready to communicate with the networks.
-9b1e331df43fa815bbdc9f86effd9fce.png)
Firewall Configuration (If Needed)#
Outgoing connections to:
- Endpoint: Endpoint can be found in the facilio.config file, MQTT Port: 8883
If you configured the firewall and the connection couldn't be established, then check with the following command:
- Windows (PowerShell):
Test-NetConnection -ComputerName <aws endpoint> -Port 8883- In the response, TcpTestSucceeded should be true. If not, check the firewall configuration.
Protocols#
The Facilio Agent supports BACnet IP, OPC UA and Modbus IP(Experimental) communication protocols. Choose the appropriate protocol based on your Building Management System (BMS) requirements.
1. BACnet IP#
BACnet IP is a standard protocol for building automation and control networks.
Important Configuration Notes:#
- Controller Discovery: Once controllers are discovered in Facilio, users should NOT change the agent machine's interface address.
- Controller & Point Information: Do not modify the controller's IP address, instance number, network number, or point information after discovery to maintain communication stability.
2. OPC UA#
OPC UA provides secure communication with OPC UA servers using self-signed certificates.
Prerequisites for OPC UA:#
- Download the Self-Signed Certificate: Link
OPC UA Controller add and trust certificate Steps:#
Add Controller in Facilio Platform:
- Navigate to the Controllers page in the Facilio platform
- Click the "Add Controller" button
- Enter the OPC UA server URL
- Select the appropriate security policy and mode that matches your server configuration
- Save the changes
Certificate Trust Process:
- The Facilio self-signed certificate will be displayed in the server
- Important: You need to trust this certificate in your OPC UA server
- After trusting the certificate, re-add the controller with the same configuration
- Save the changes again
Security Configuration:
- Ensure the security policy and mode match between Facilio and your OPC UA server
- The self-signed certificate must be trusted on both ends for secure communication
Service Account Configuration#
If you need the Facilio Agent to run even when users are logged out, configure it to run under a custom service account.
Setup Guide: Facilio Agent with a Custom Service Account#
Follow these three simple steps to configure Facilio Agent to run under a specific user account, ensure the account has the necessary permissions to run the service, and ensure access to required folders.
Step 1: Configure the Service ("This account")#
- Sign in to the computer using an Administrator account.
- Open Services (services.msc).
- Locate Facilio Agent → right-click → select Properties.
- Go to the Log On tab.
- Choose "This account" and enter the service user details (format example: DOMAIN\ServiceUser or COMPUTERNAME\ServiceUser).
- Enter the password, confirm it, and click OK.
- A window will pop up asking to allow "Log on as a service" permission. Click OK to grant this permission.
Step 2: (Optional - If not asked in Step 1) Grant "Log on as a service" Permission#
This ensures the service can actually start under the selected account.
- Open Local Security Policy: Navigate via Administrative Tools → Local Security Policy.
- In the policy editor, go to: Local Policies → User Rights Assignment.
- Find "Log on as a service" and double-click it.
- Click "Add User or Group…", enter your service user account, use "Check Names" to validate, then click OK.
- Click OK again to apply changes.
- Run
gpupdate /forceto apply settings immediately. To run this command: Win + X, then select Command Prompt (Admin) or Windows PowerShell (Admin) to open an elevated window. Typegpupdate /forceand enter. Wait for the command to complete; you'll see messages like "User Policy update completed successfully" and "Computer Policy update completed successfully."
Step 3: Verify Service Account Configuration#
- Open Services (services.msc) and locate the Facilio Agent service.
- Right-click on Facilio Agent → Properties → Log On tab.
- Verify that "This account" is selected and shows your service account.
- Click OK and try to start the service to ensure it works with the service account.
- If the service starts successfully, the configuration is complete.
Troubleshooting Tips#
Tips
- After a system restart or Windows updates, the agent may go offline. Simply log in to your Windows account once, and the agent will automatically restart and come back online. If you have configured the agent to run under a custom service account, it should automatically restart without requiring user login.
- Check the Java version; it should be JDK 21. (Command to check: java -version)
- If the service is installed but the Facilio agent is not starting, you can open Task Manager, go to the Services tab and stop the service. Next, go to the Processes tab and stop any Facilio process that is running. Lastly, go to the Details tab and stop any java.exe that is running. Finally, you can restart the service.
- If the agent is up and running but is not pushing any data to the cloud, please check whether the certificate and config files (facilio.config, facilio.crt, root.crt and facilio-private.key) are placed in the correct location.
- For BACnetIP, the agent uses any of the ports 47808-47810. So the port must not be occupied by any other processes in the system.
- If none of the above is working, please email the log files mentioned below to this email address – support@facilio.com
- C:\Users\<(current-user)>\facilio\logs\agentlog
- C:\Program Files (x86)\Facilio\Logs\servicelog