Importing Data
Data import is uploading the data in bulk into the application instead of feeding every detail manually. It is helpful in simplifying the onboarding process and when there is a requirement to upload or modify similar info, in a large quantity of data. The application allows you to upload the data through Excel files, letting the users organize the whole data in a single medium. Its ability to import data enables the users to save time and focus on analyzing the available data.
Field-Wise Precautions
Preparing the data sheet is a crucial part of the data import procedure. Updating certain fields that belong to specific types needs additional care to ensure flawless import. The following table depicts the field types requiring special handling or cautions during bulk upload and how to update the corresponding field values while preparing the sheet for data import into various modules across the application.
| Field Type | Field Input (in Excel) |
|---|---|
| Lookup | Enter the main field value of the lookup module's default form Example: Email Address, Subject, and Vendor Name are the main fields for Users, Work Orders, and Vendor Modules, respectively. Note: If the field is multi-select and the field value is more than one option, you must separate the options by a comma (,). |
| Picklist | Specify only the values available in the dropdown list |
| Multi-select | Specify only the values available in the dropdown list Note: In case of multiple field values you must separate them by a comma (,). |
| Boolean | Provide the exact values defined as options in case of a radio button. The field values should be either True or False in the case of a check box |
| Date | Provide the date in string format Note: You can specify the date format for the values in the sheet while importing the data. |
| Decimal | Specify the value in the SI unit, or the application reads the entered value in the corresponding SI unit based on the field metric Example: Pressure and weight field values are read in Pascal (Pa) and Kilograms (Kg), respectively. |
| Duration | Provide the field value in seconds or the application reads the entered value in seconds |
While preparing the Excel sheet for data import, ensure that you take into account the following information:
Do not misspell or use values other than the defined ones in the case of lookup, picklist, and boolean type fields.
Remember, any value is not case-sensitive.
Ensure the Excel file contains the data for all the mandatory fields (both system and custom fields) belonging to the module.
Example: The Site Name and Module State are mandatory fields for the Site module.
Failing to adhere to the above-specified details may lead to validation errors during the data import.
Accessing the Import URL
You can import the data into the application module-wise. To access the import page for a particular module, use the application URL of your organization followed by "/import/modulename" and ensure not to have space and use only lowercase letters in the URL (example, https://app.facilio.com/app/import/workorder).
Note: The data import link is available only for the Supported Modules.
Illustrating Data Import
A sample illustration explaining the data import procedure for the Site module is shown below. To upload the site details,
Open the site import link for your organization. The Import screen appears as shown below.
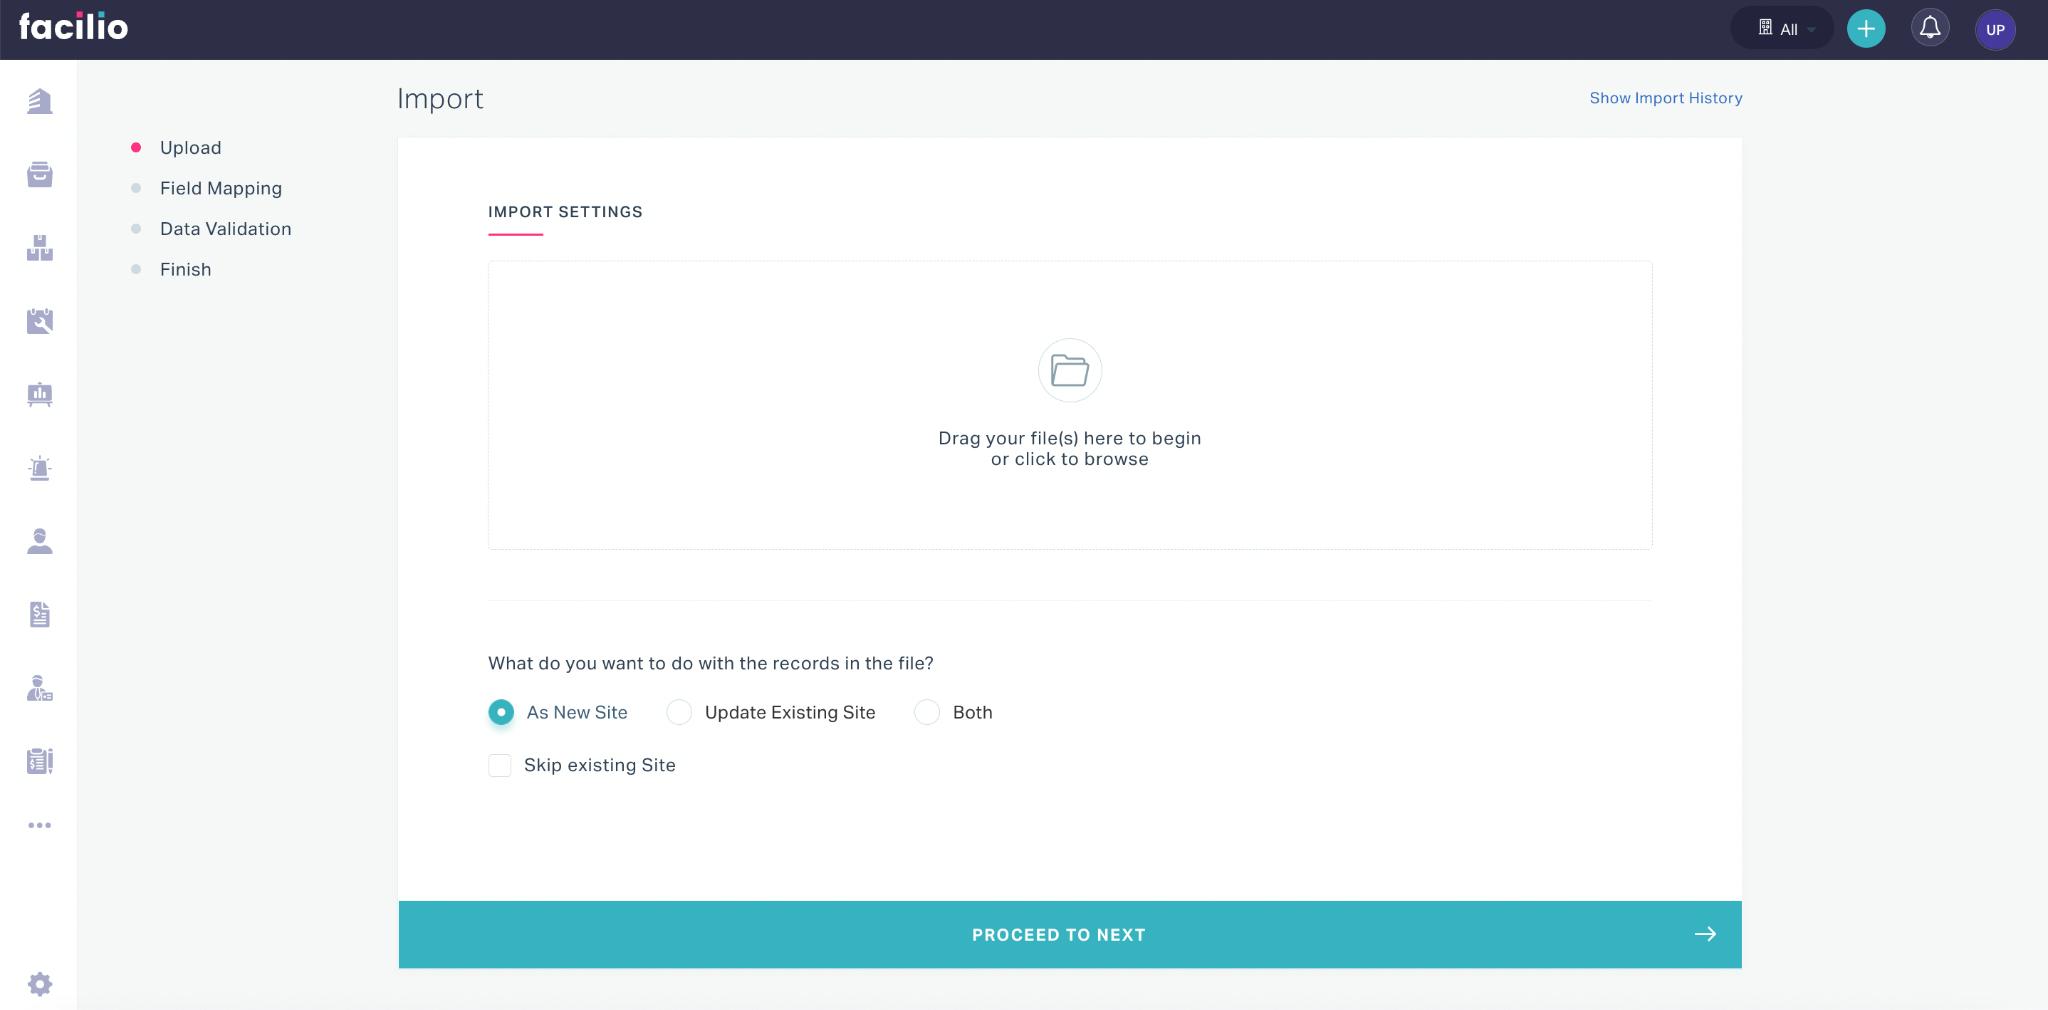
Upload the file that contains the data to be imported.
Note: Only XLS and XLSX files are supported. You can have the space data sorted using a standard template.
Specify what you want to do with the records in the file. You can choose how to import the file content by selecting any of the following options:
As New Site - To create a new site and import the details
Update Existing Site - To modify the existing details or import additional details to the existing site
Both - To update the existing site details and also import the new site details in the file
Note: You can enable the Skip Existing Site field to ignore uploading the existing site details in the file, if any.
Click PROCEED TO NEXT. The FILE MAPPING section appears as shown below.
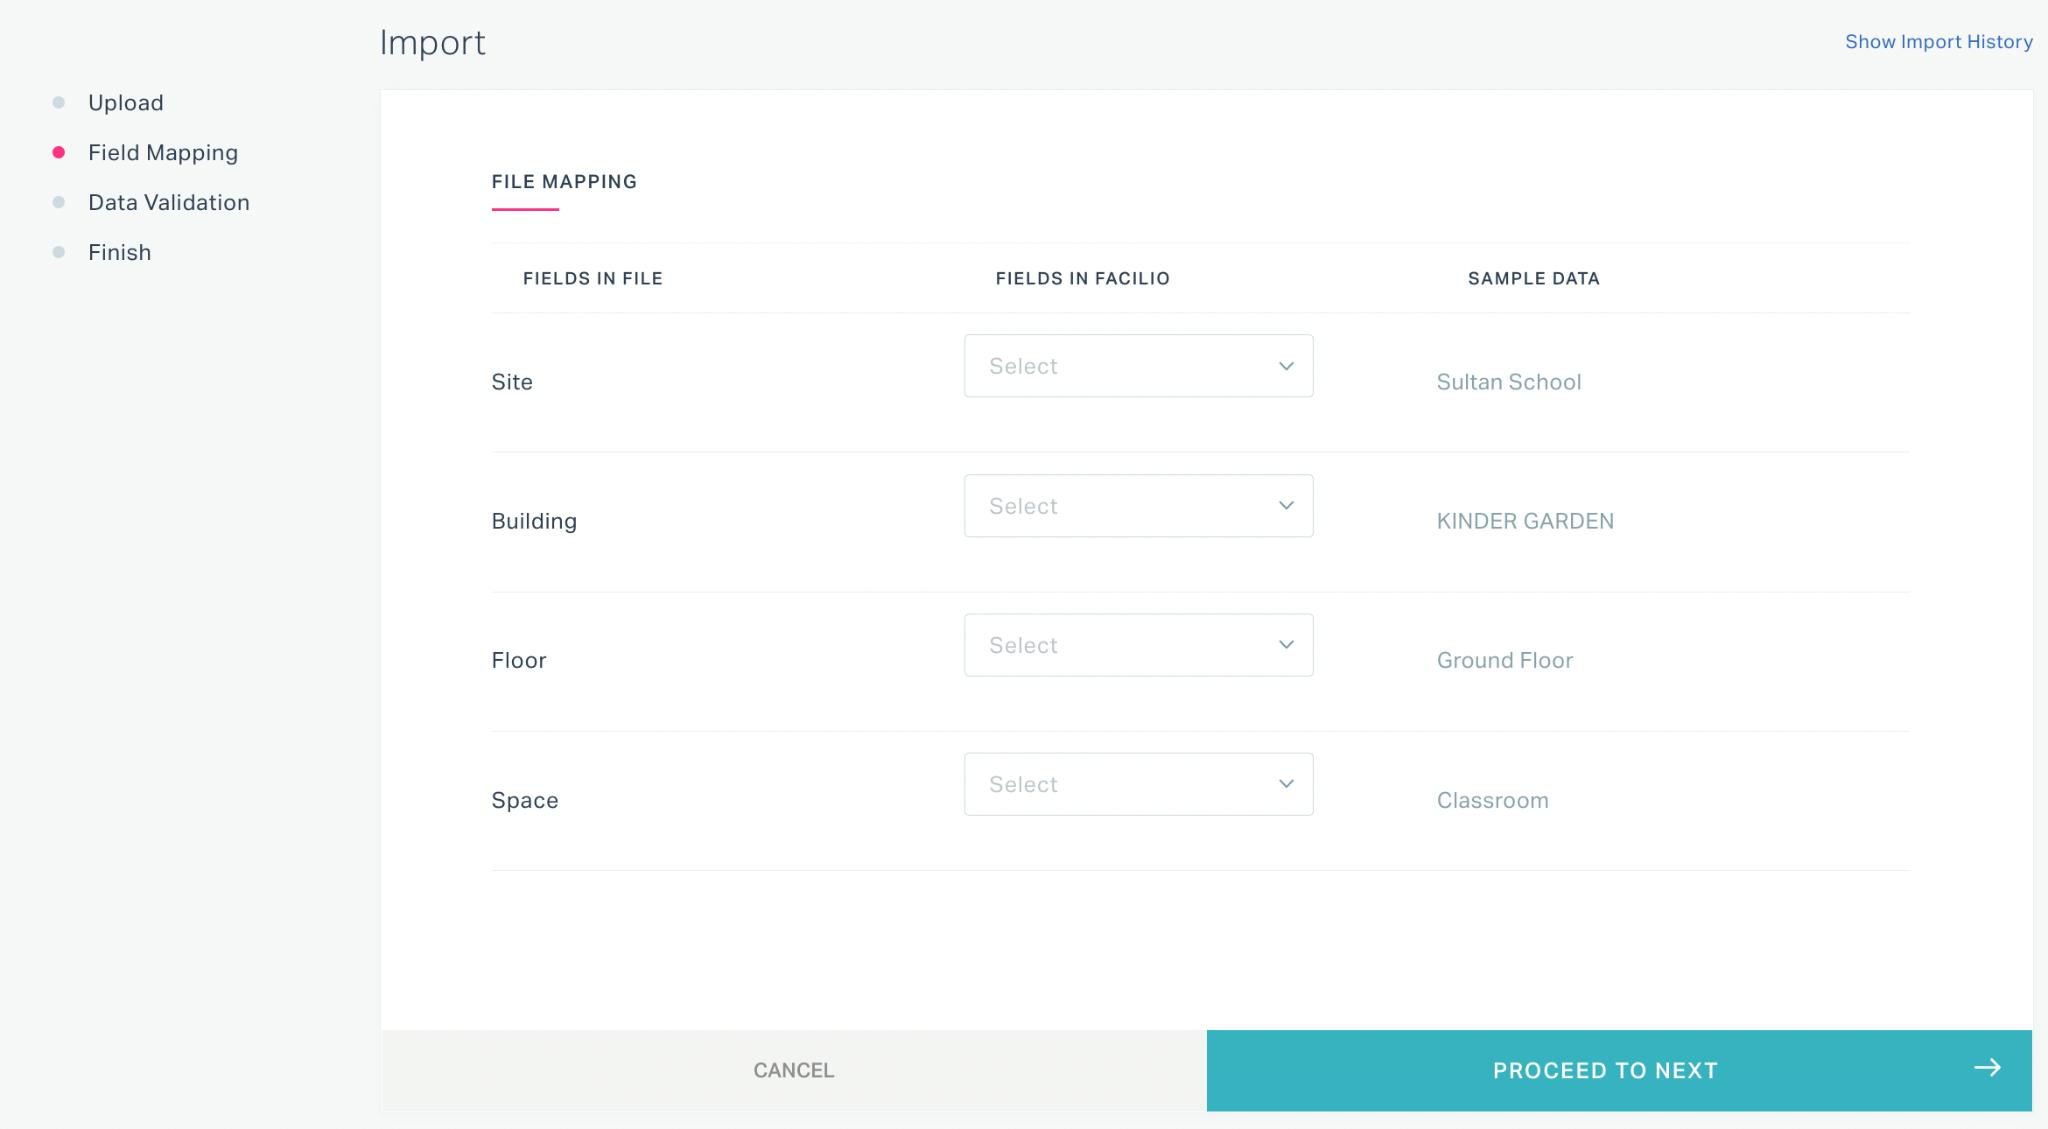
Map the fields in the file to the appropriate fields in the application.
Note: The application throws a validation error if you haven't mapped a mandatory module field to any field in the file. In case of site import, ensure mapping the Site and Module State fields to the relevant fields in the Excel sheet.
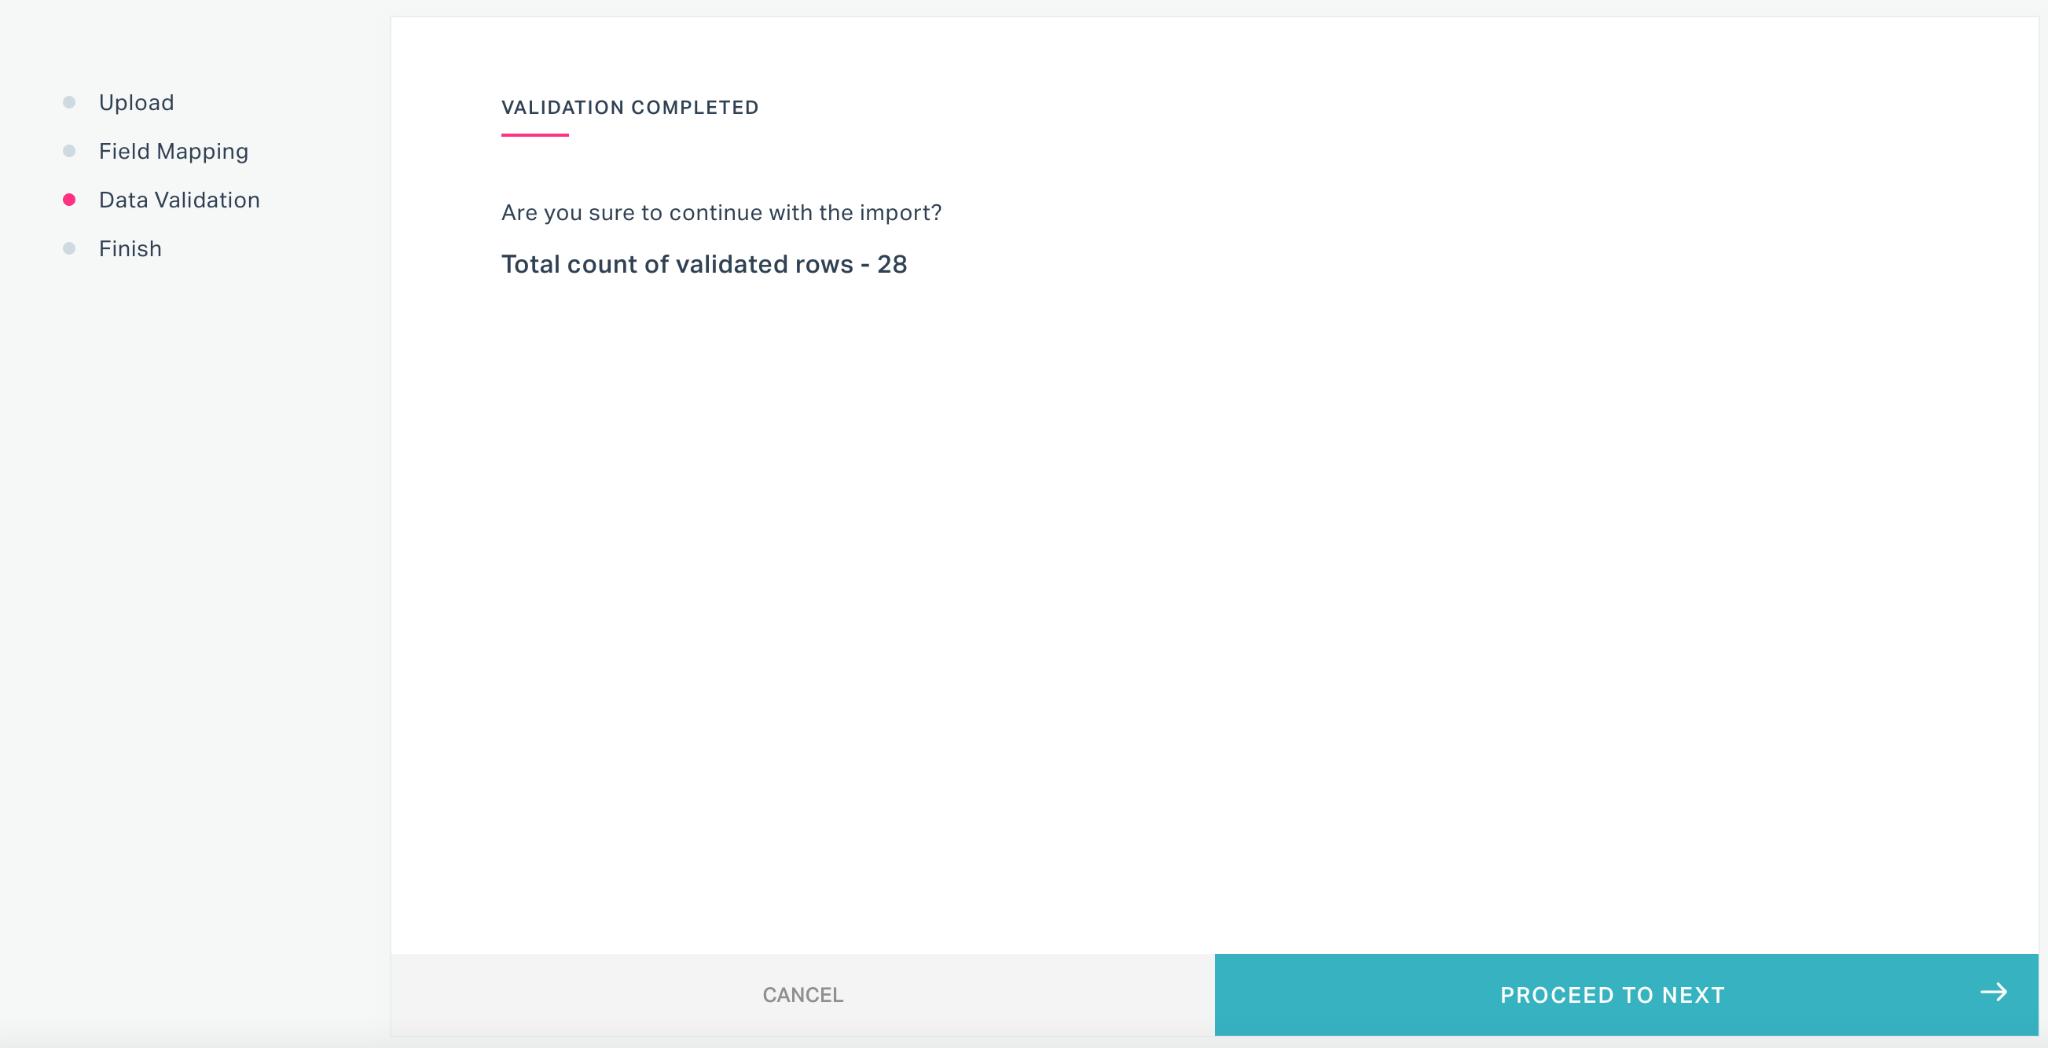
Click PROCEED TO NEXT. The application validates the data uploaded. Once the validation is complete, the application prompts you to confirm whether to proceed with the import.
Click PROCEED TO NEXT. The data import is now successfully scheduled.
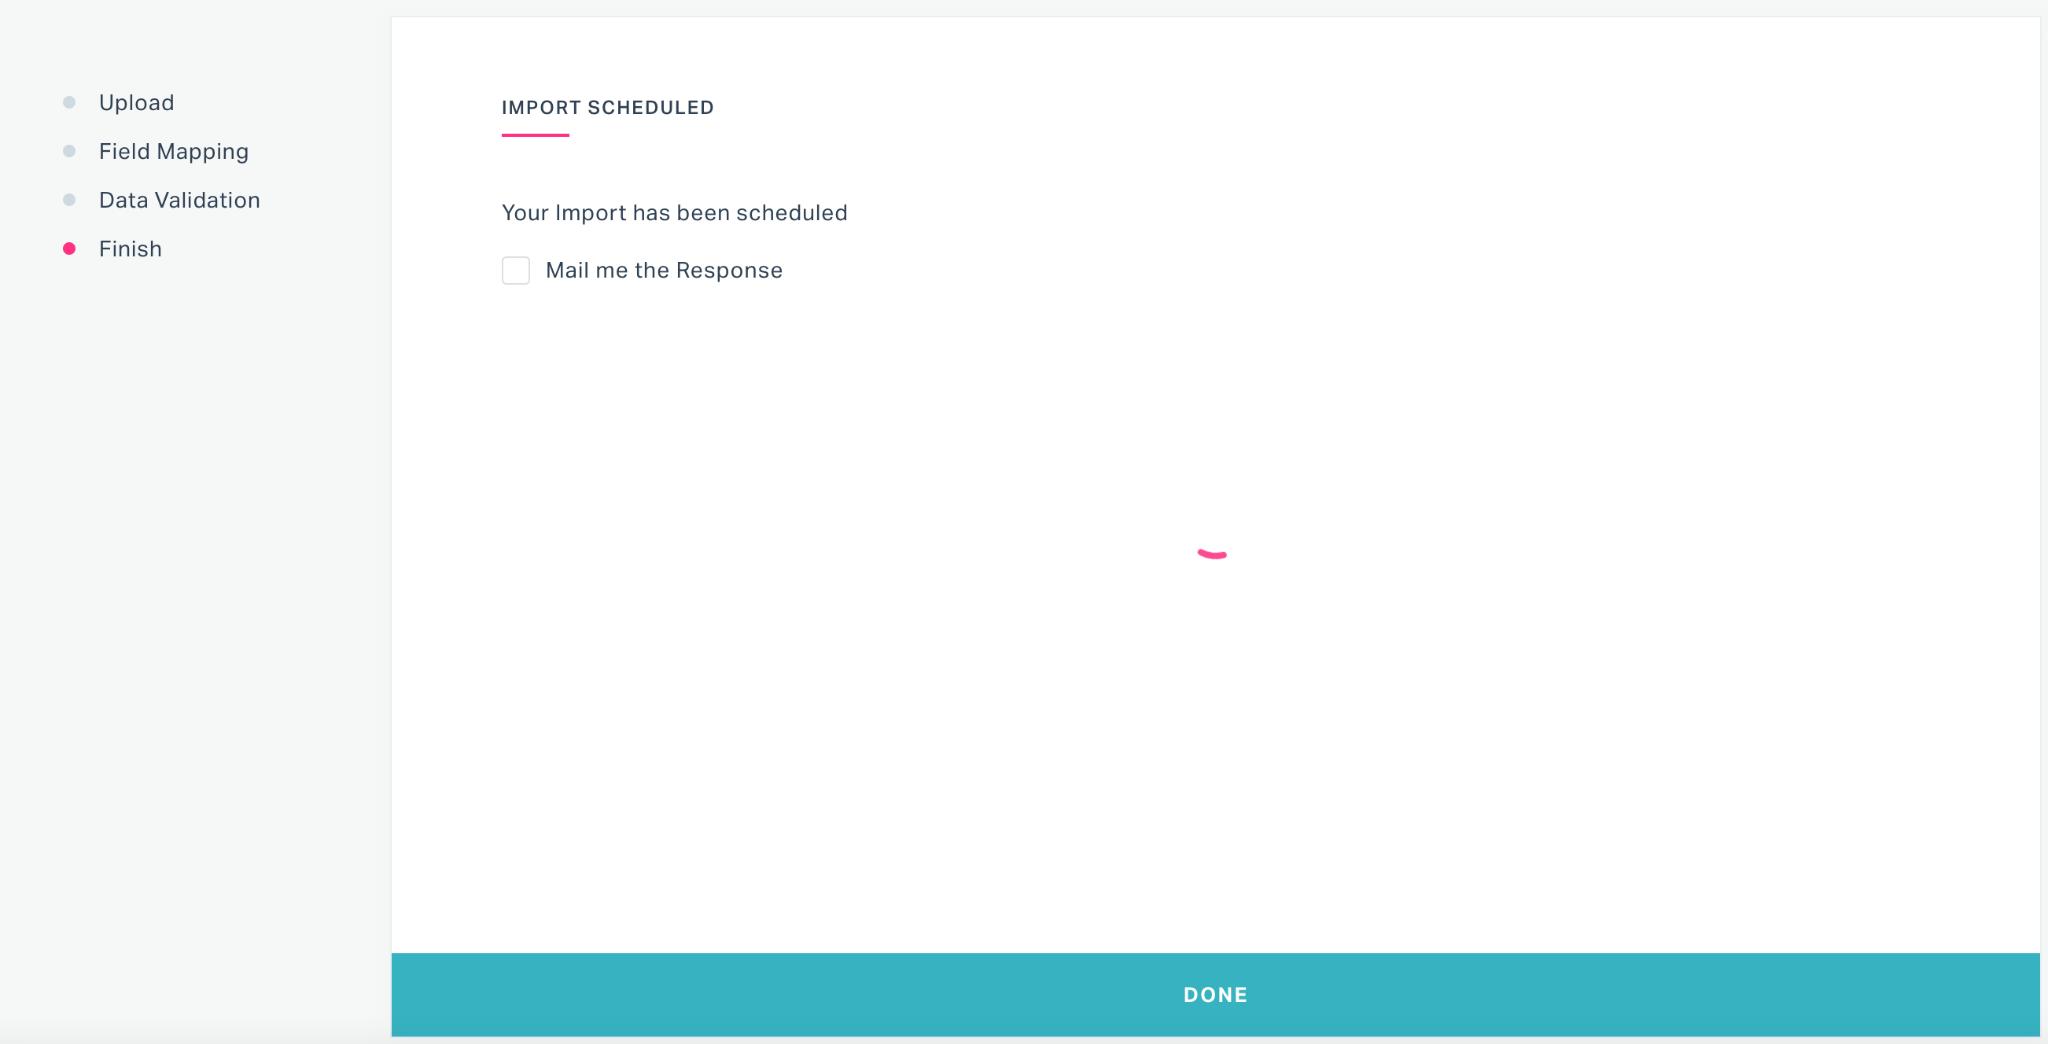
Click DONE to finish the import.
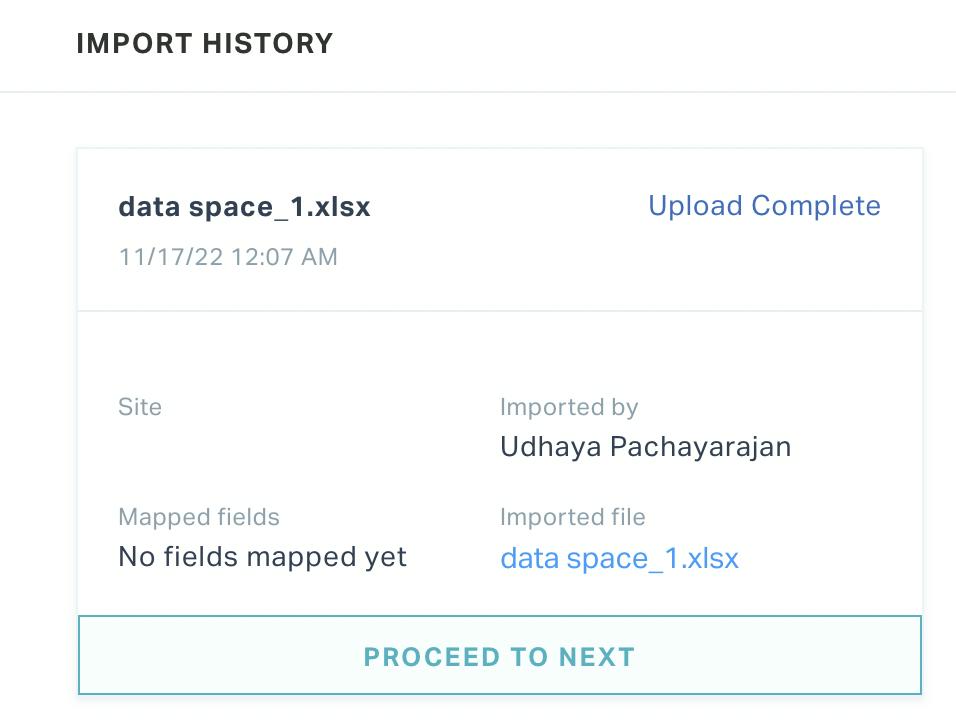
You can use the Show Import History link in the Import screen to check the status of the upload.
Note: Similar procedure applies for the other modules within the application supporting data import.
Supported Modules
The data import is applicable only for selected modules based on the real-time possibility to maintain offline data. The following modules in the application support data import:
- Asset
- Space
- Building
- Floor
- SIte
- WorkOrder
- Task
- Purchased Item
- Purchased Tool
- Preventive Maintenance
- Task Template
- Task Section Template
- PM Include Exclude Resource
- PM Trigger
- PM Resource Planner
- PM Reminder